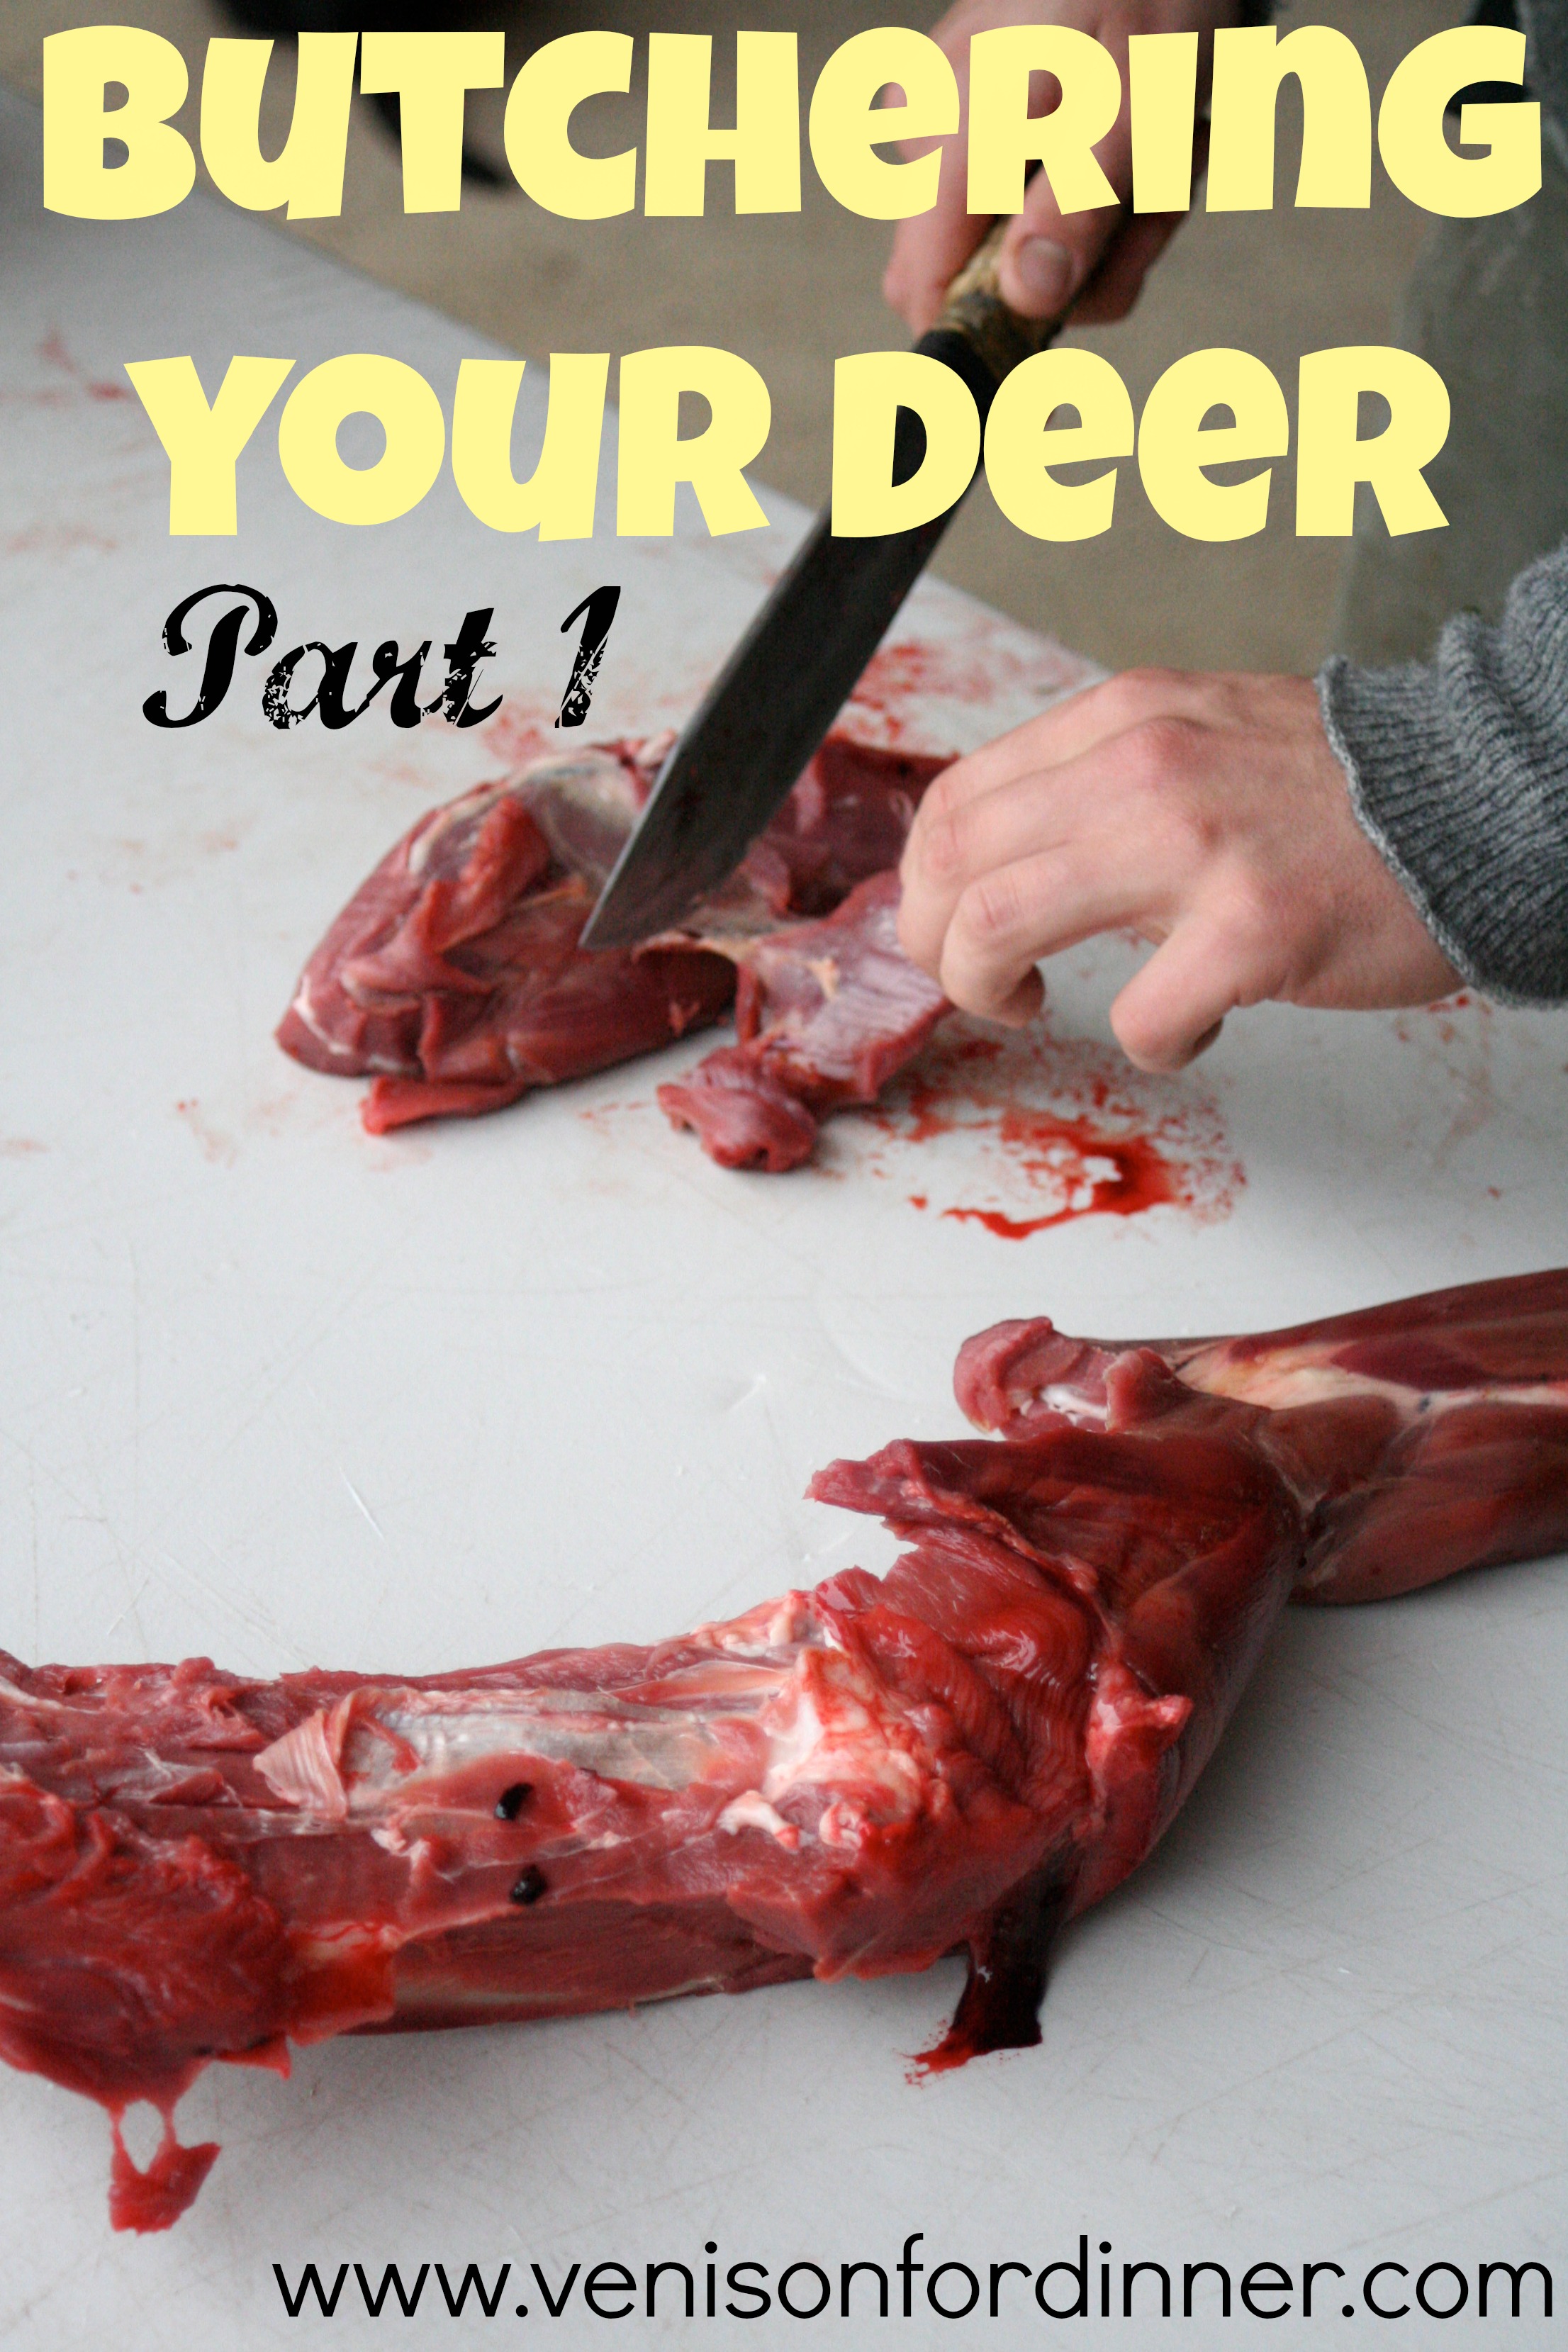
Last year I managed to take photos of *most* of the process of butchering deer. Butchering doesn't include the hanging, skinning, gutting, that's all done before and I'm usually at home with the boys while he does that. Mac has expressed interest in helping with it this coming fall which is neat as he's always had a healthy fear of large animals, even when they're dead.
Let me repeat again and again and again that we are not professionals. I do not know exact names of cuts. BUT, Marius and I have been butchering deer and other animals for ourselves, other family members and friends quite often so between growing up and our relationship together we have butchered deer, moose, bear, cows, pigs, sheep, turkeys, ducks, geese, grouse, chickens and there is probably others I'm forgetting! The deer where we live are Black Tails and give us about 40 pounds of meat off the bone, so please note that larger deer will probably be a little different in some areas. (Where we might cut into stew meat, might be big enough for a roast on a large Mule Deer.)
Butchering Deer: The Front Quarters and Backstraps
Unfortunately I was busy with the cow when he cut the front legs off, so this starts at the point where you have the front legs off. To get them off, the deer is hanging by it's hind legs, and you simply cut straight up from the joint to detatch it. The meat in this area is grinding and stew meat so you're not cutting into steaks if you mess up.
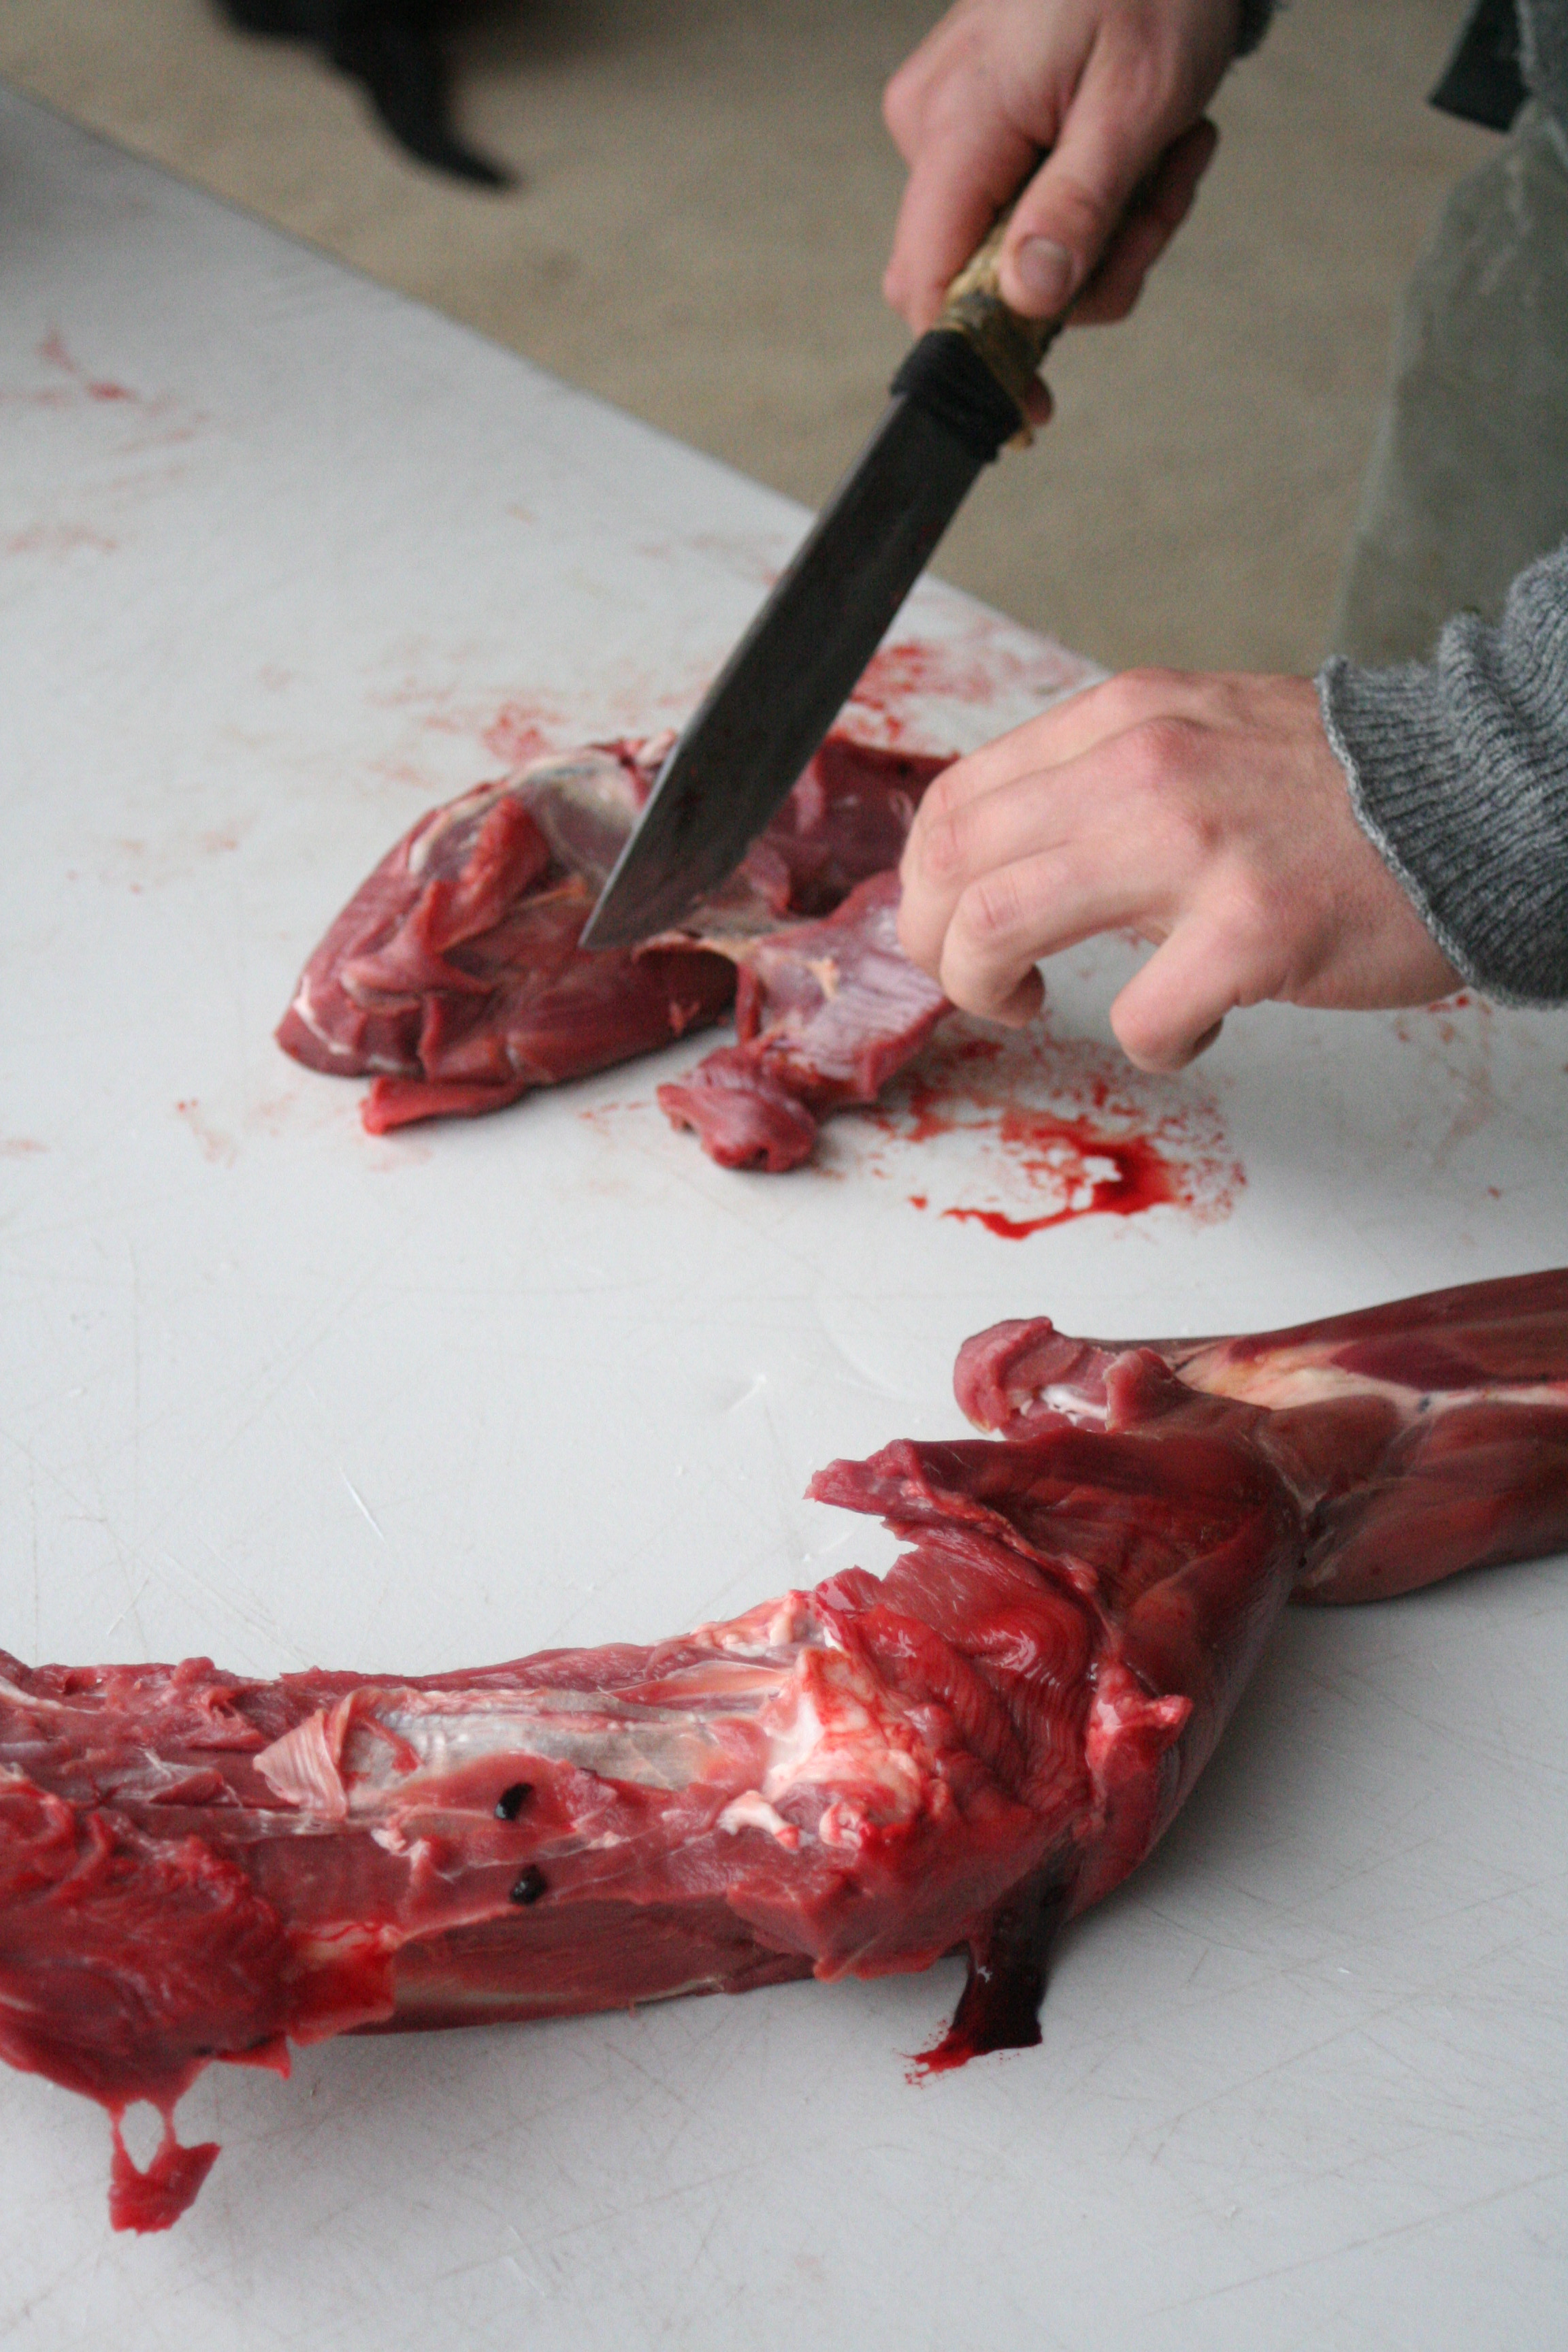
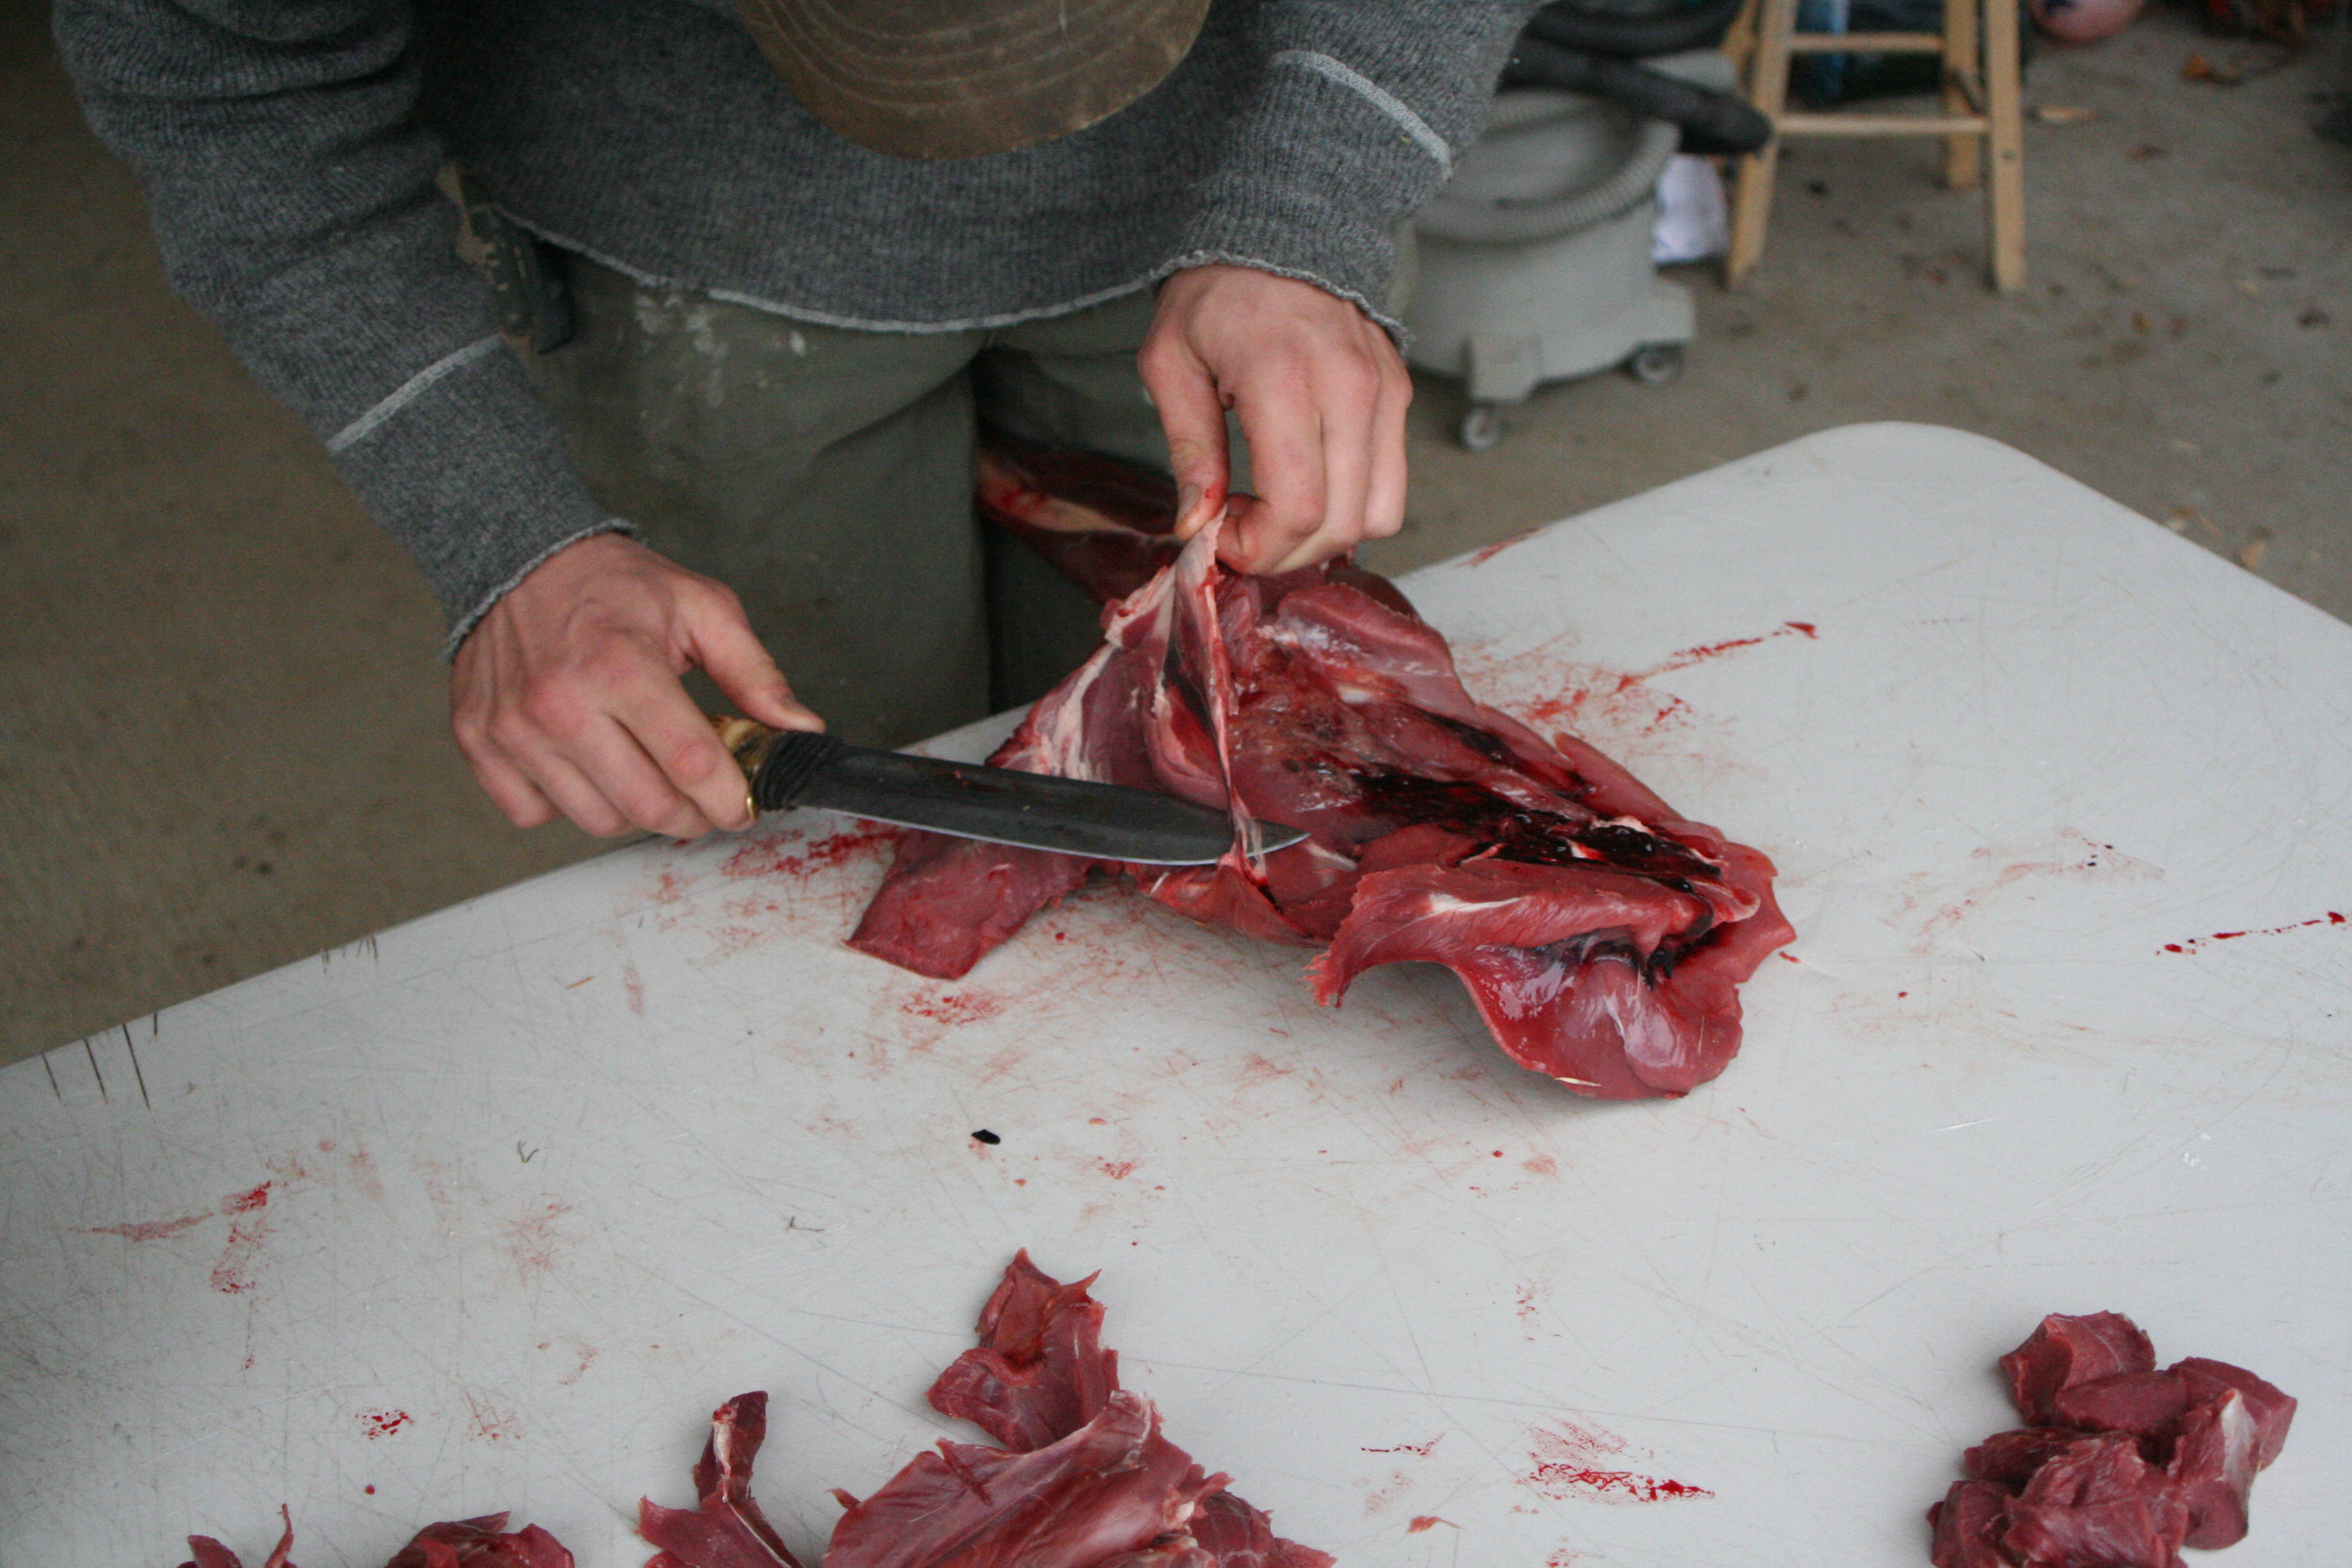
With the front legs, you start by simply deboning in as large of chunks as you can.
He then trims off what will be grinding meat, dividing it from stew meat. Stew meat has less sinew, but has 'rough grain' meaning it needs to be slow cooked. I'll show a picture of it lower down.
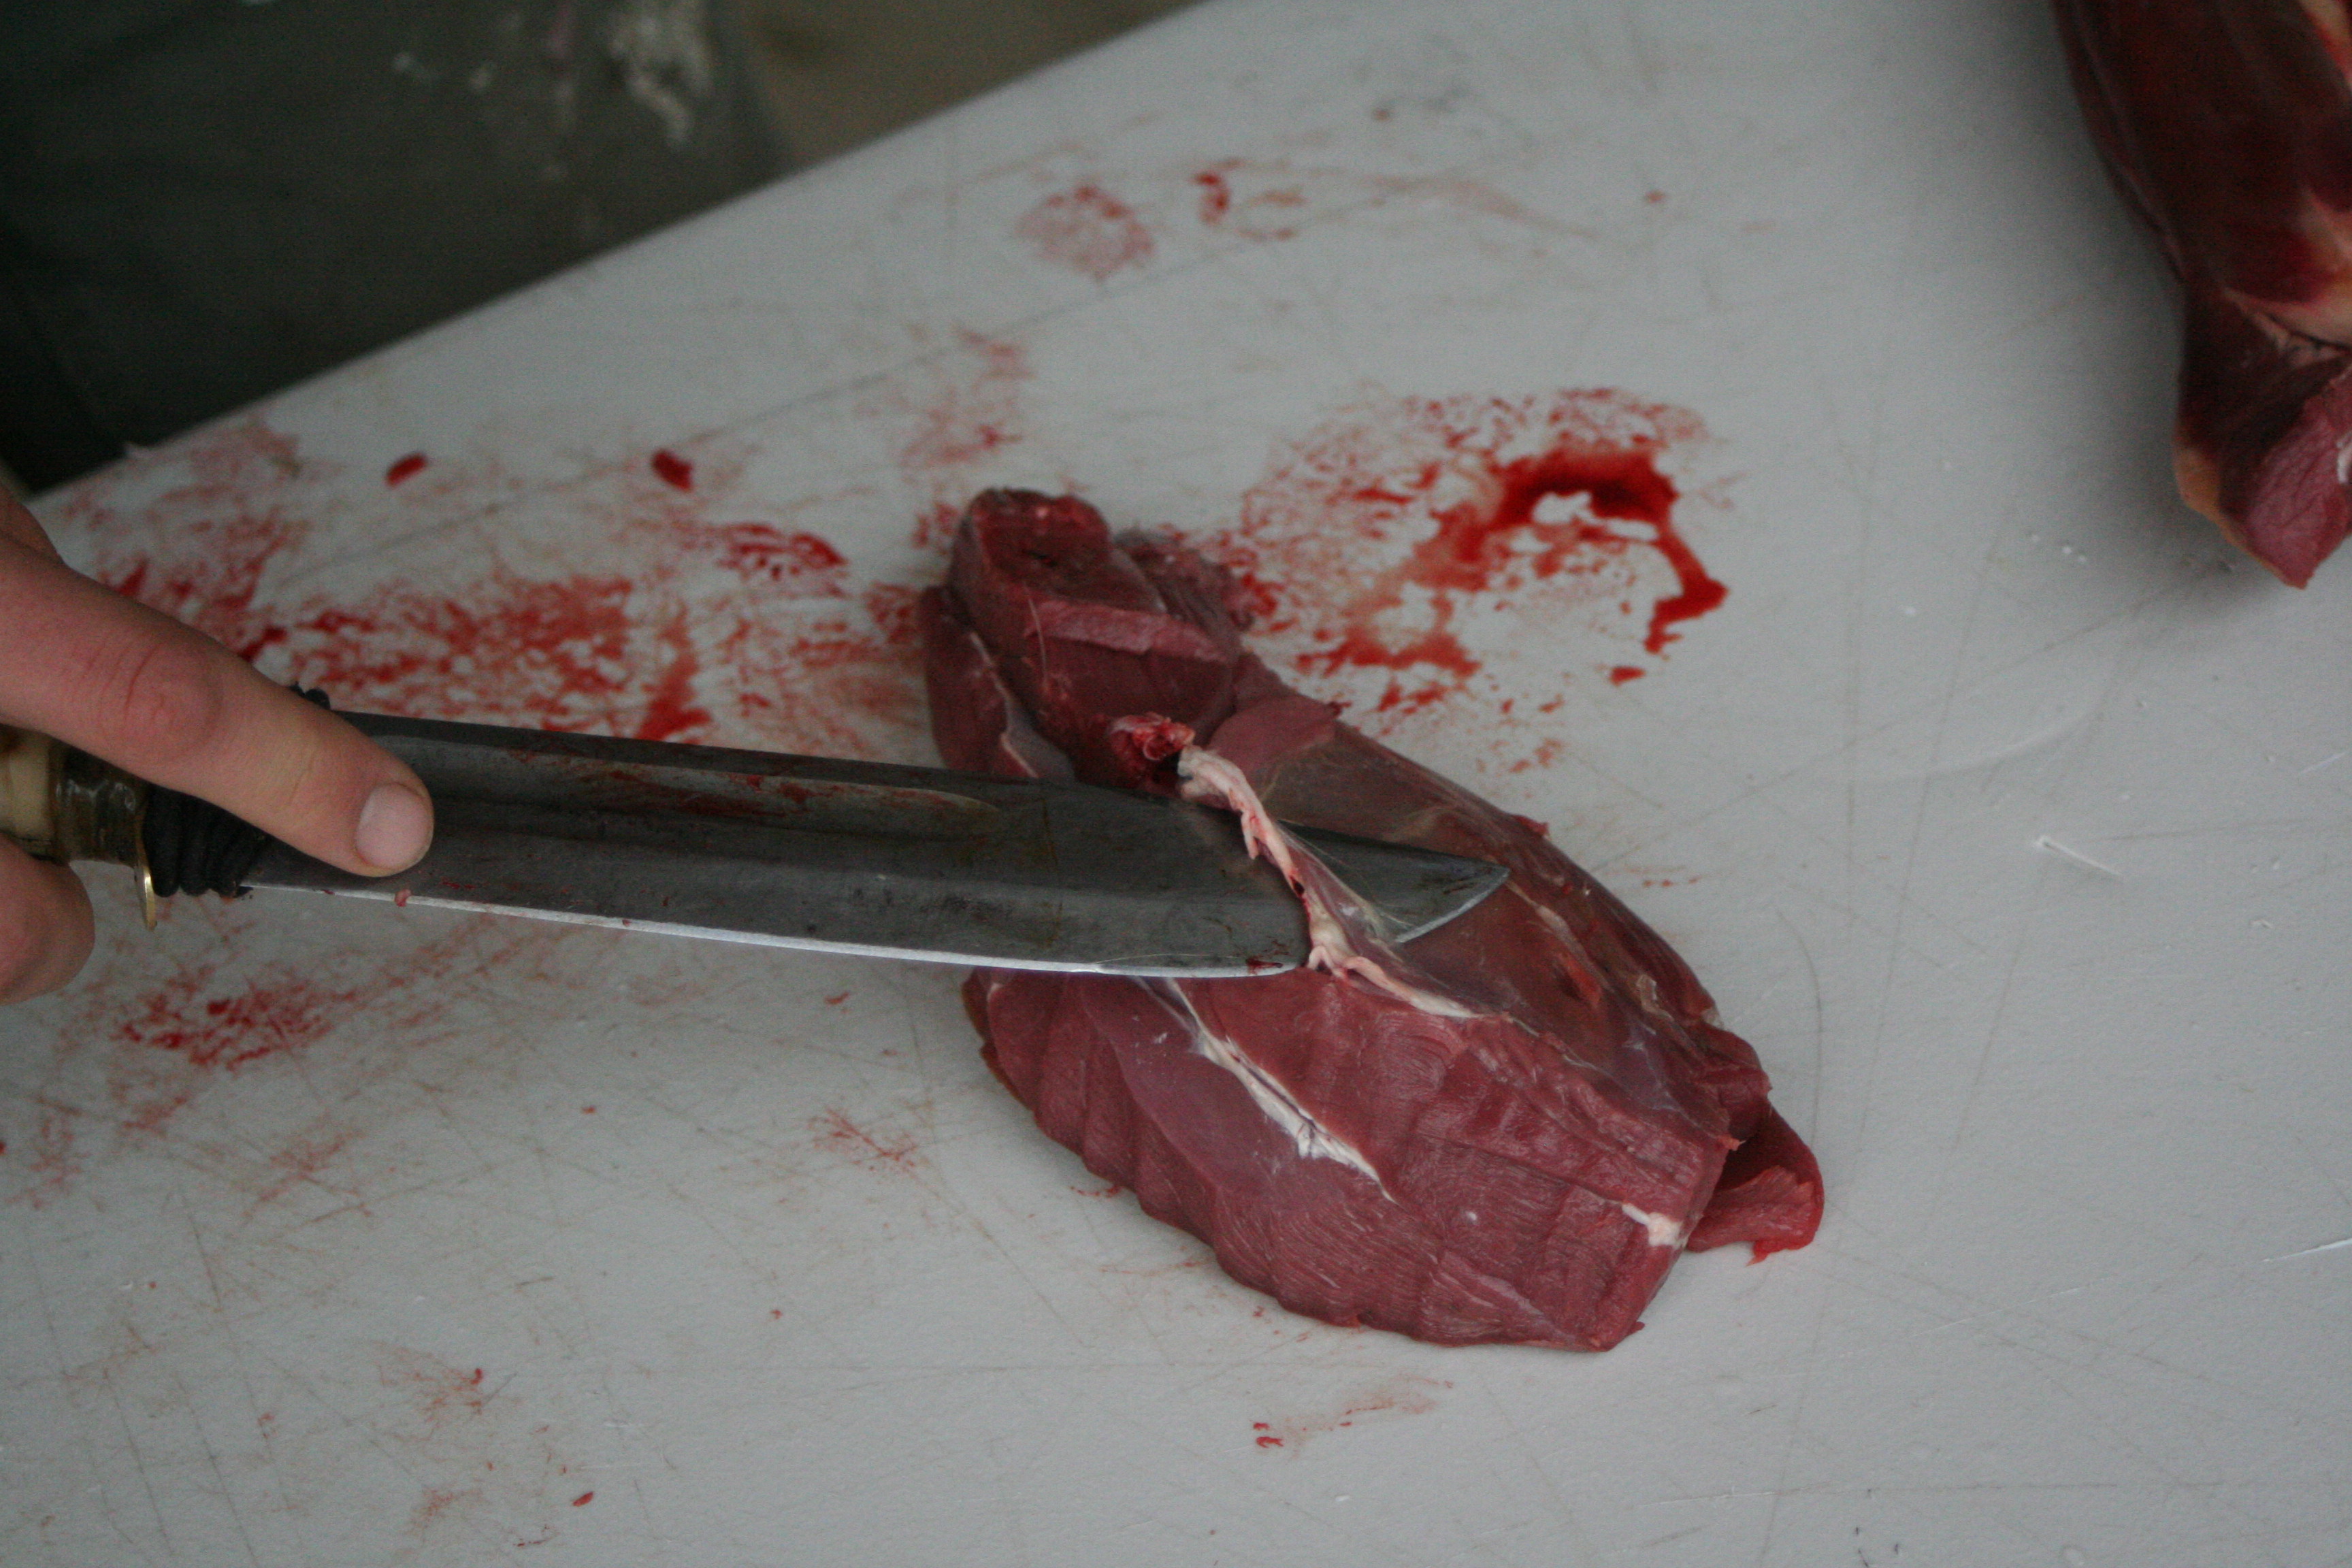
He takes care to trim off some sinew/connective tissue so that the finished product will be nicer. It isn't neccessary to do this everywhere, but this below will be stew meat and it's nicer to have it without gristle.
Holding the foot between his legs makes it more stable to continue deboning the meat.
On the shoulder blade there is about as clean as it gets scraping the meat off. We let dogs chew on it afterwards so it doesn't go to waste. If we have more than our dog can handle, we give it to other friends dogs. One friend cuts up and dehydrates bones from deer in their excalibur dehydrator. One day when I have my own dog and an excalibur I will do the same!
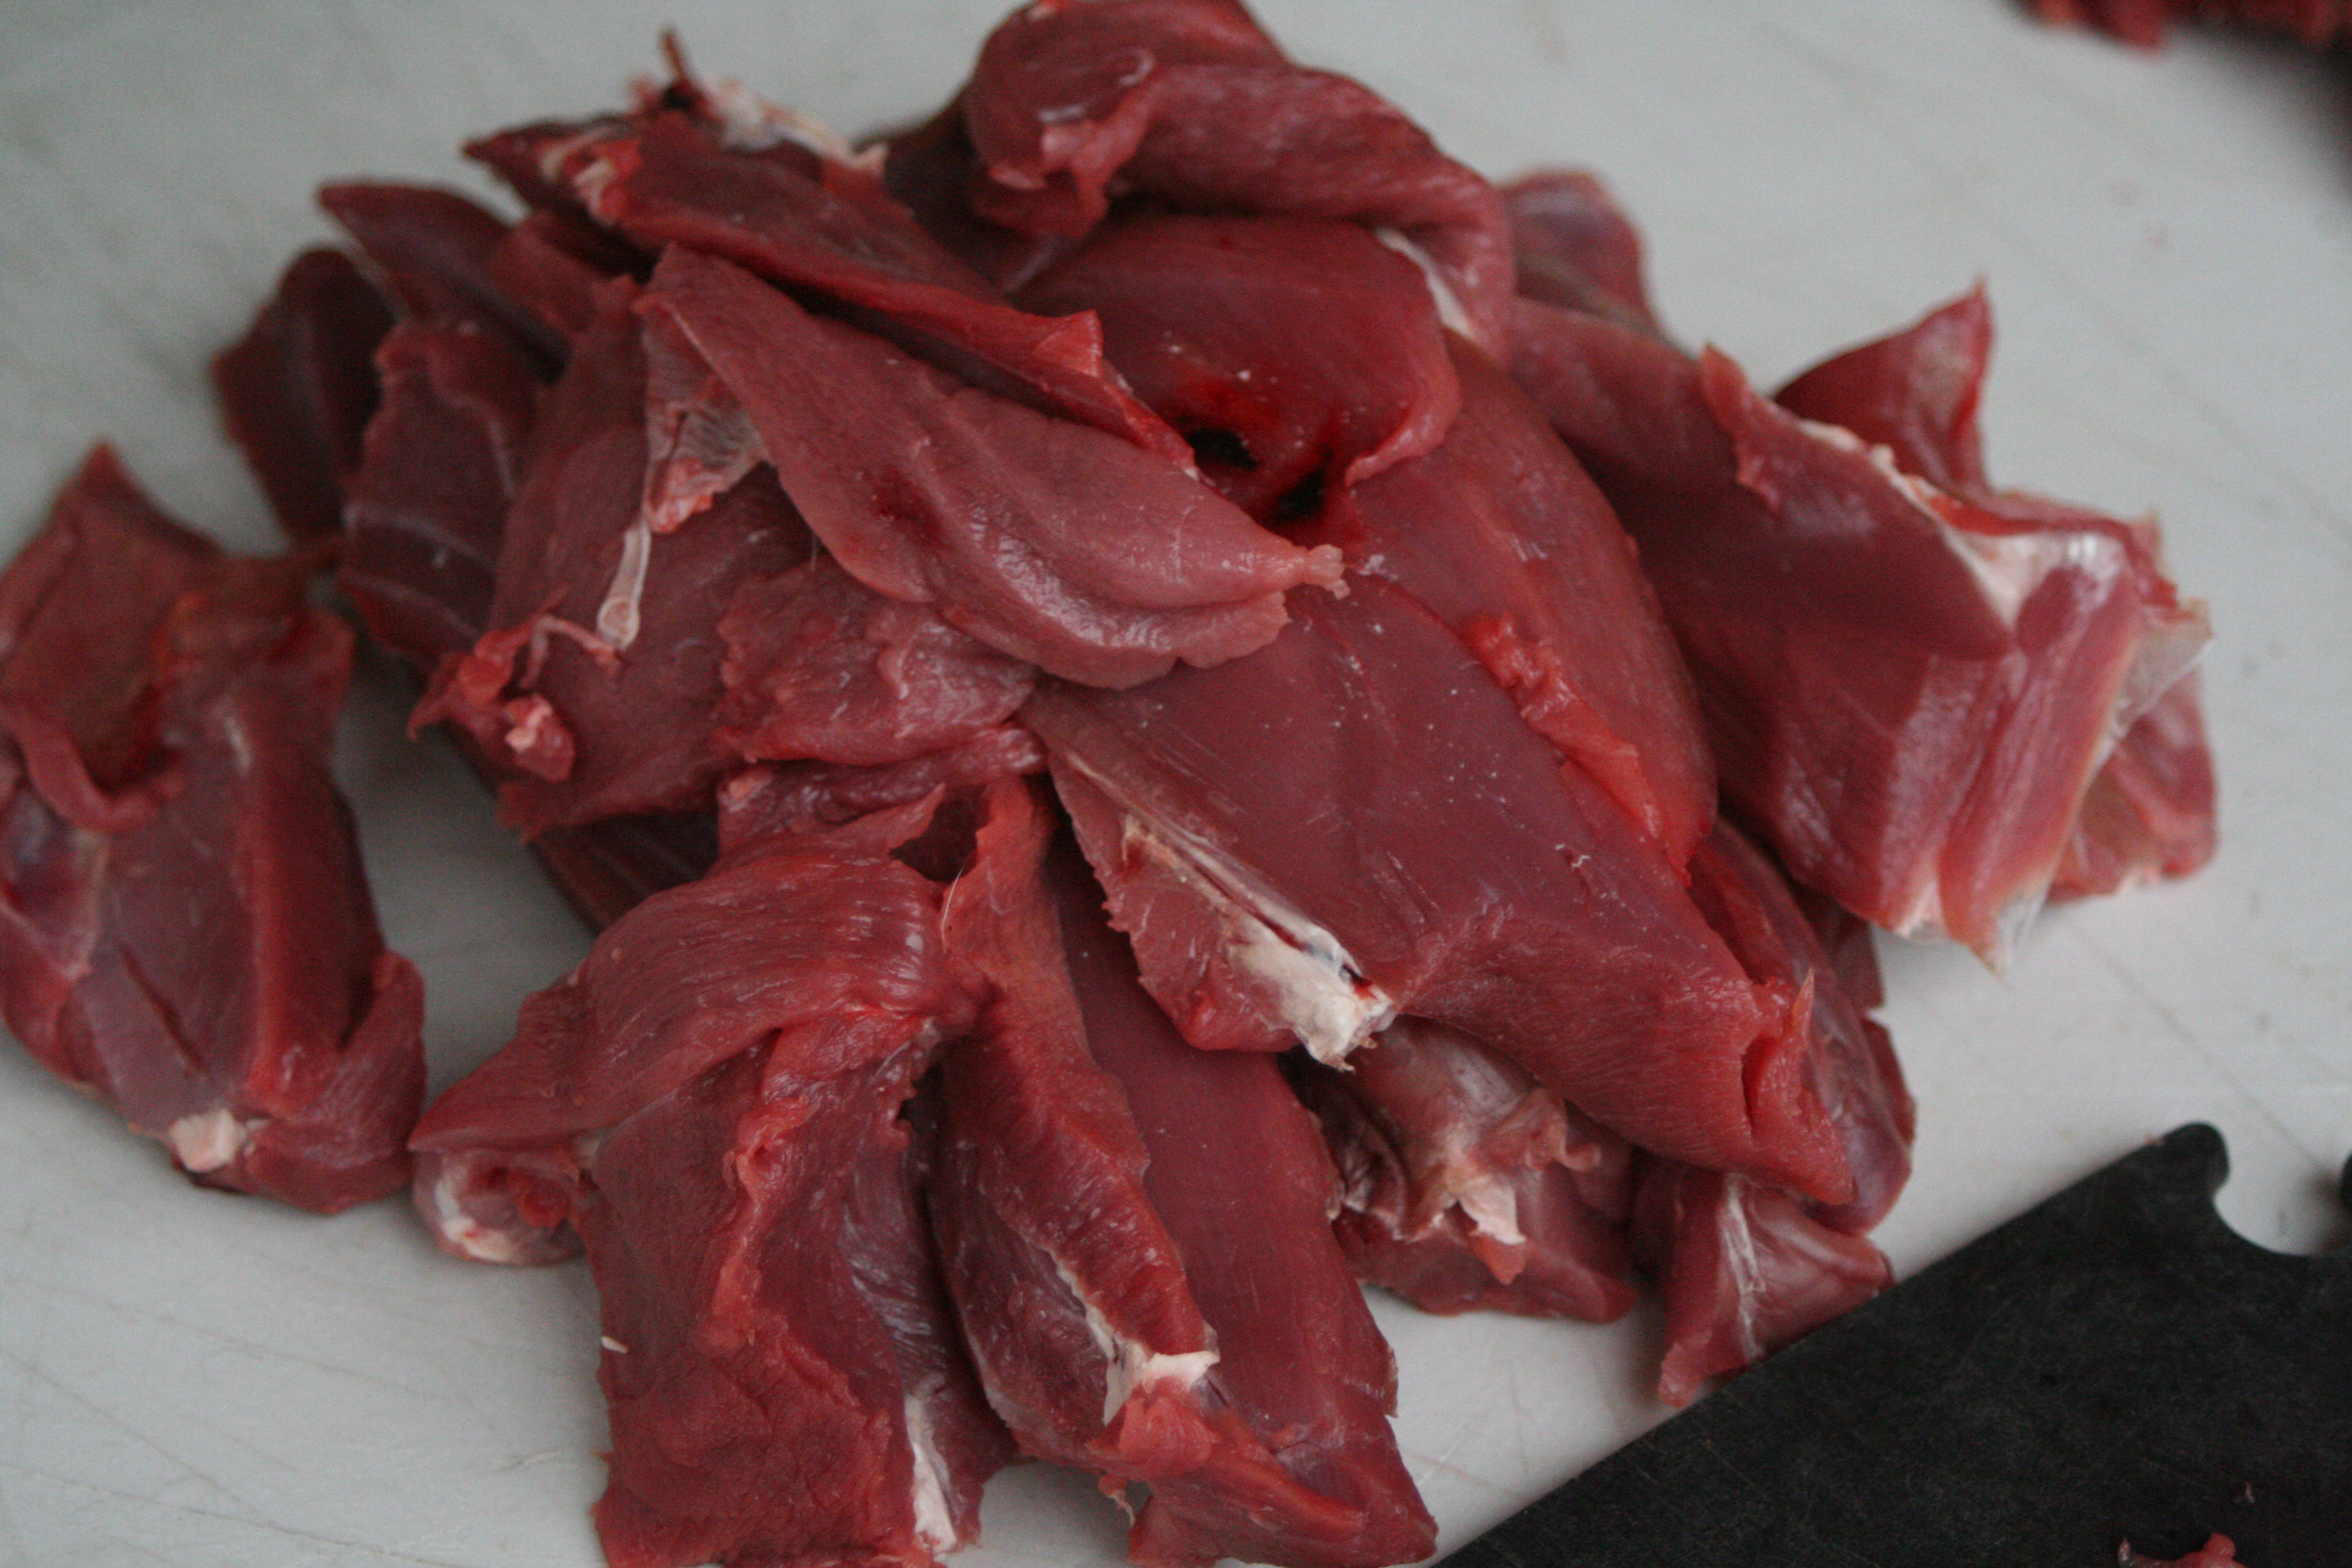
You can see the grain in the stew meat below is quite coarse in some pieces, but this will make excellent meals!
Then we have the grinding meat, which is quite often pieces that are trimmed off after the initial cutting of larger chunks off, and are too small to do anything else with. More of this could have been made into stew meat but alas, I wanted more sausage than stew meat.
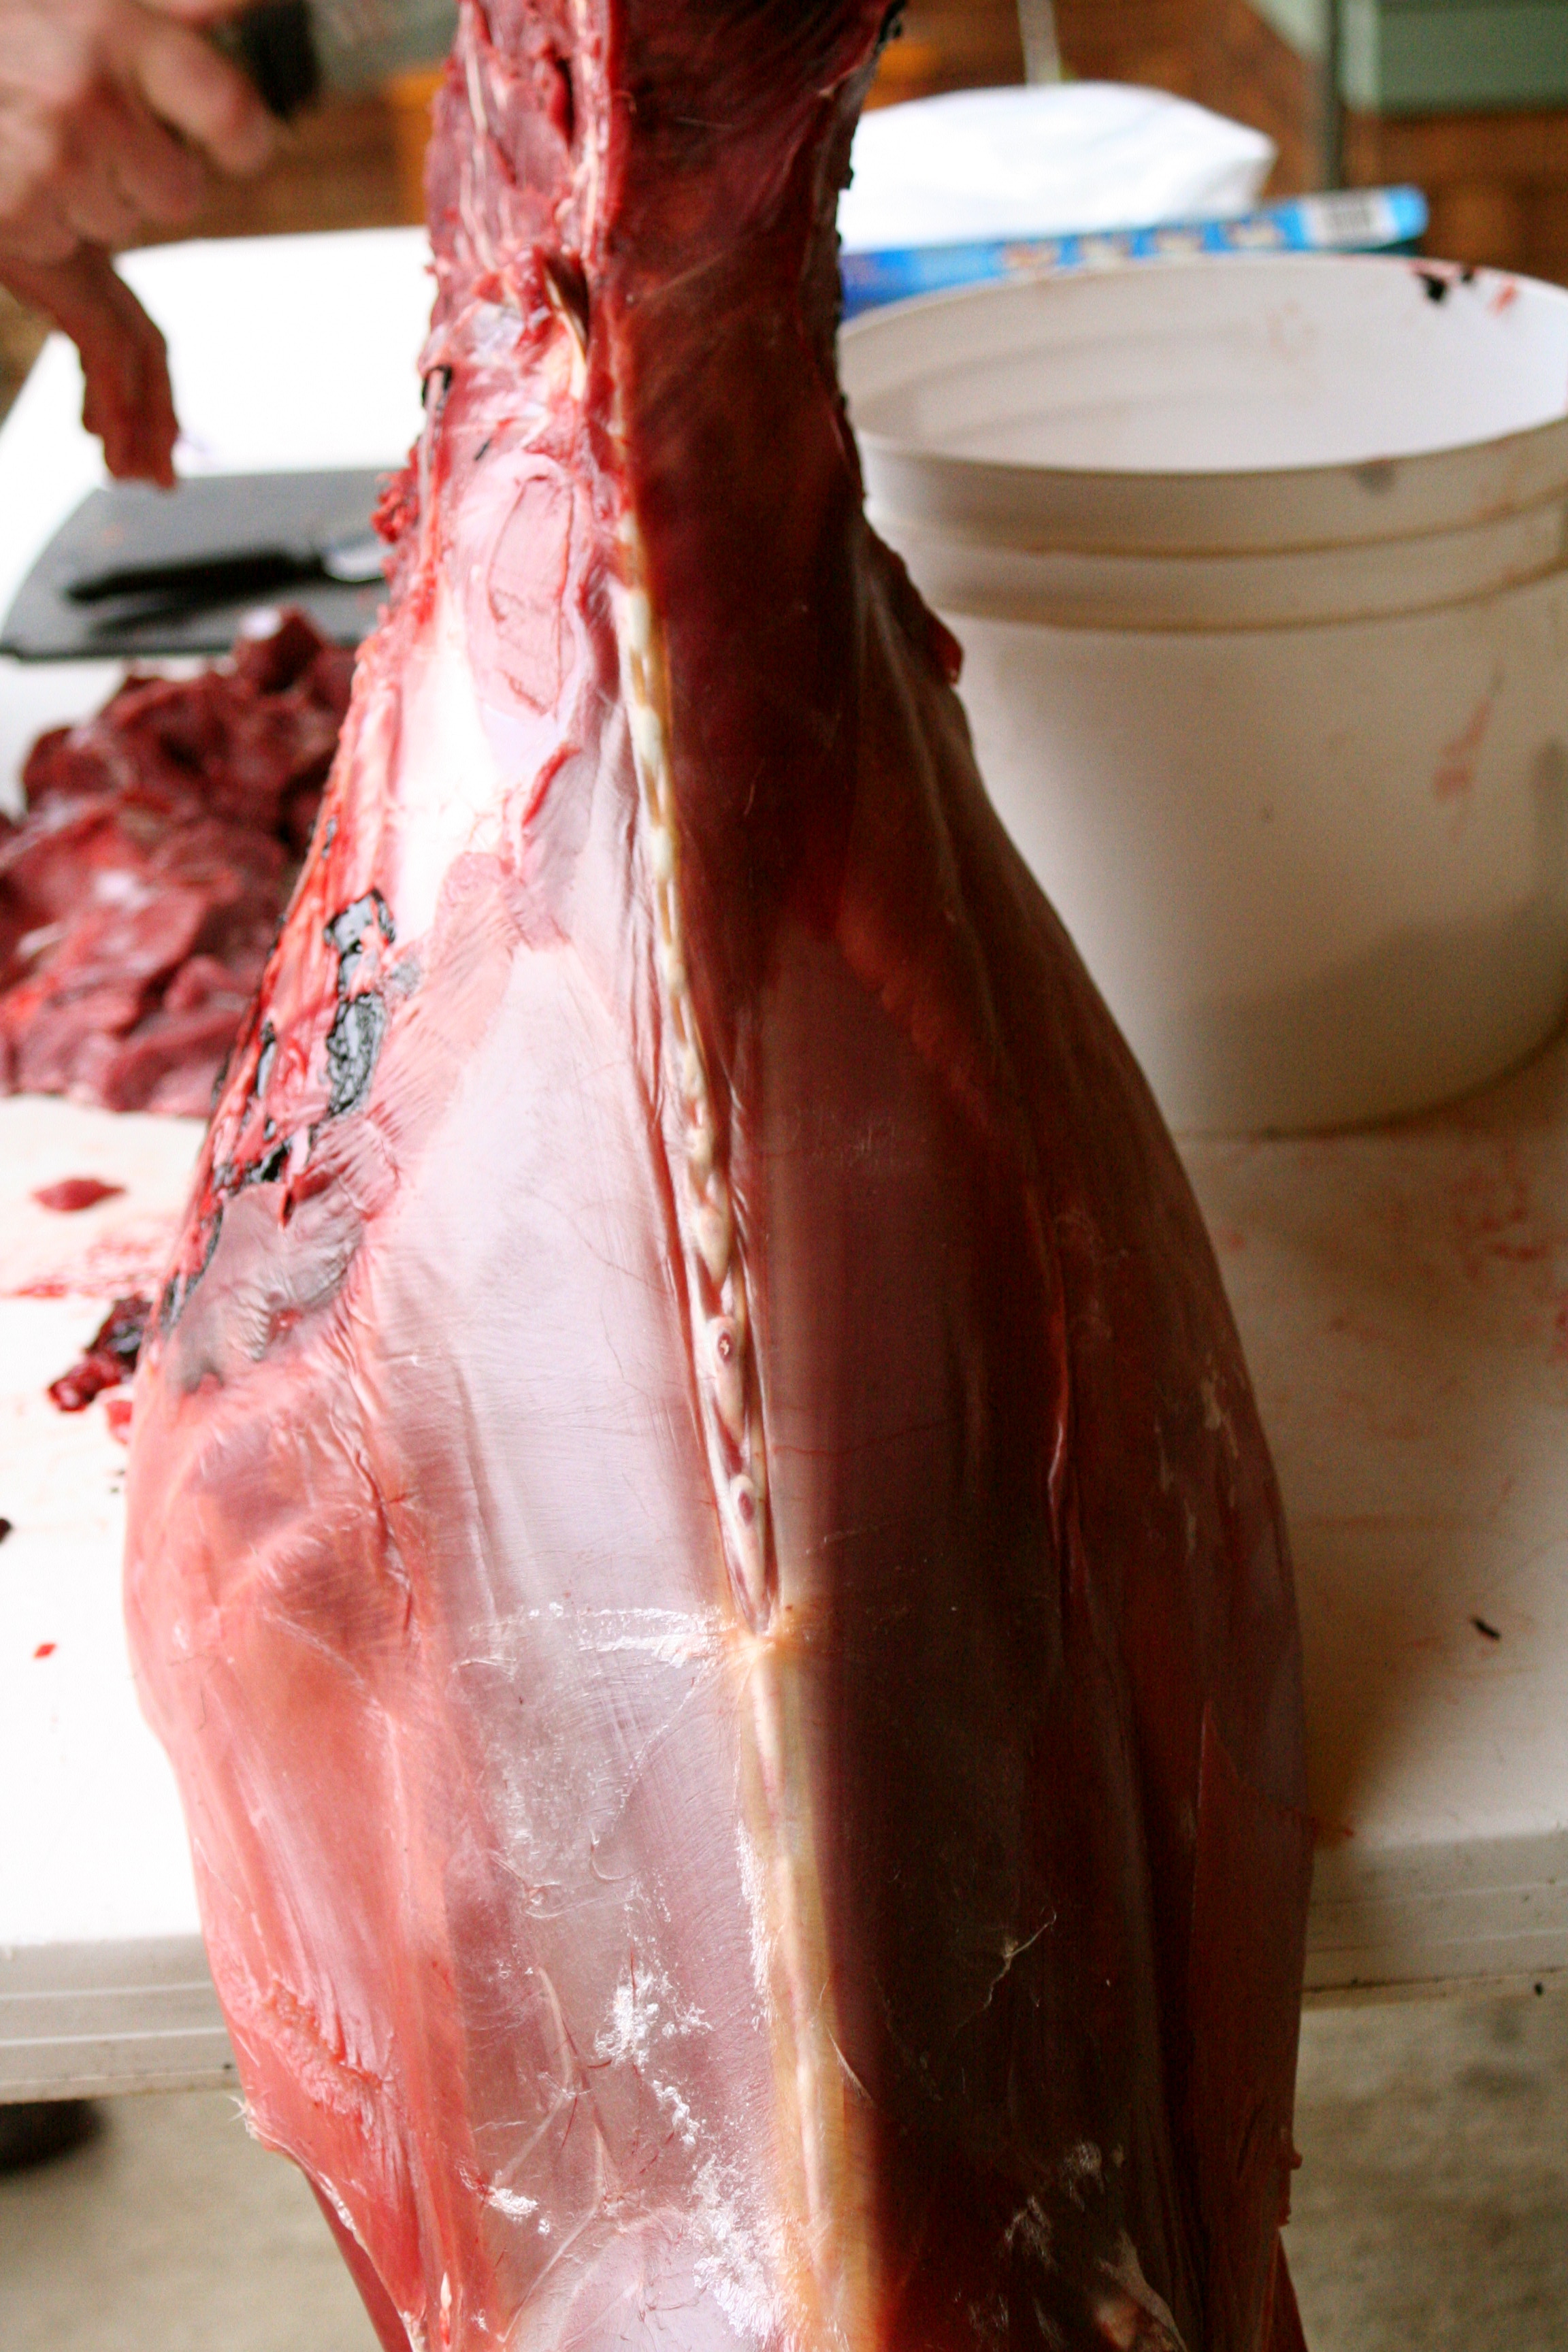
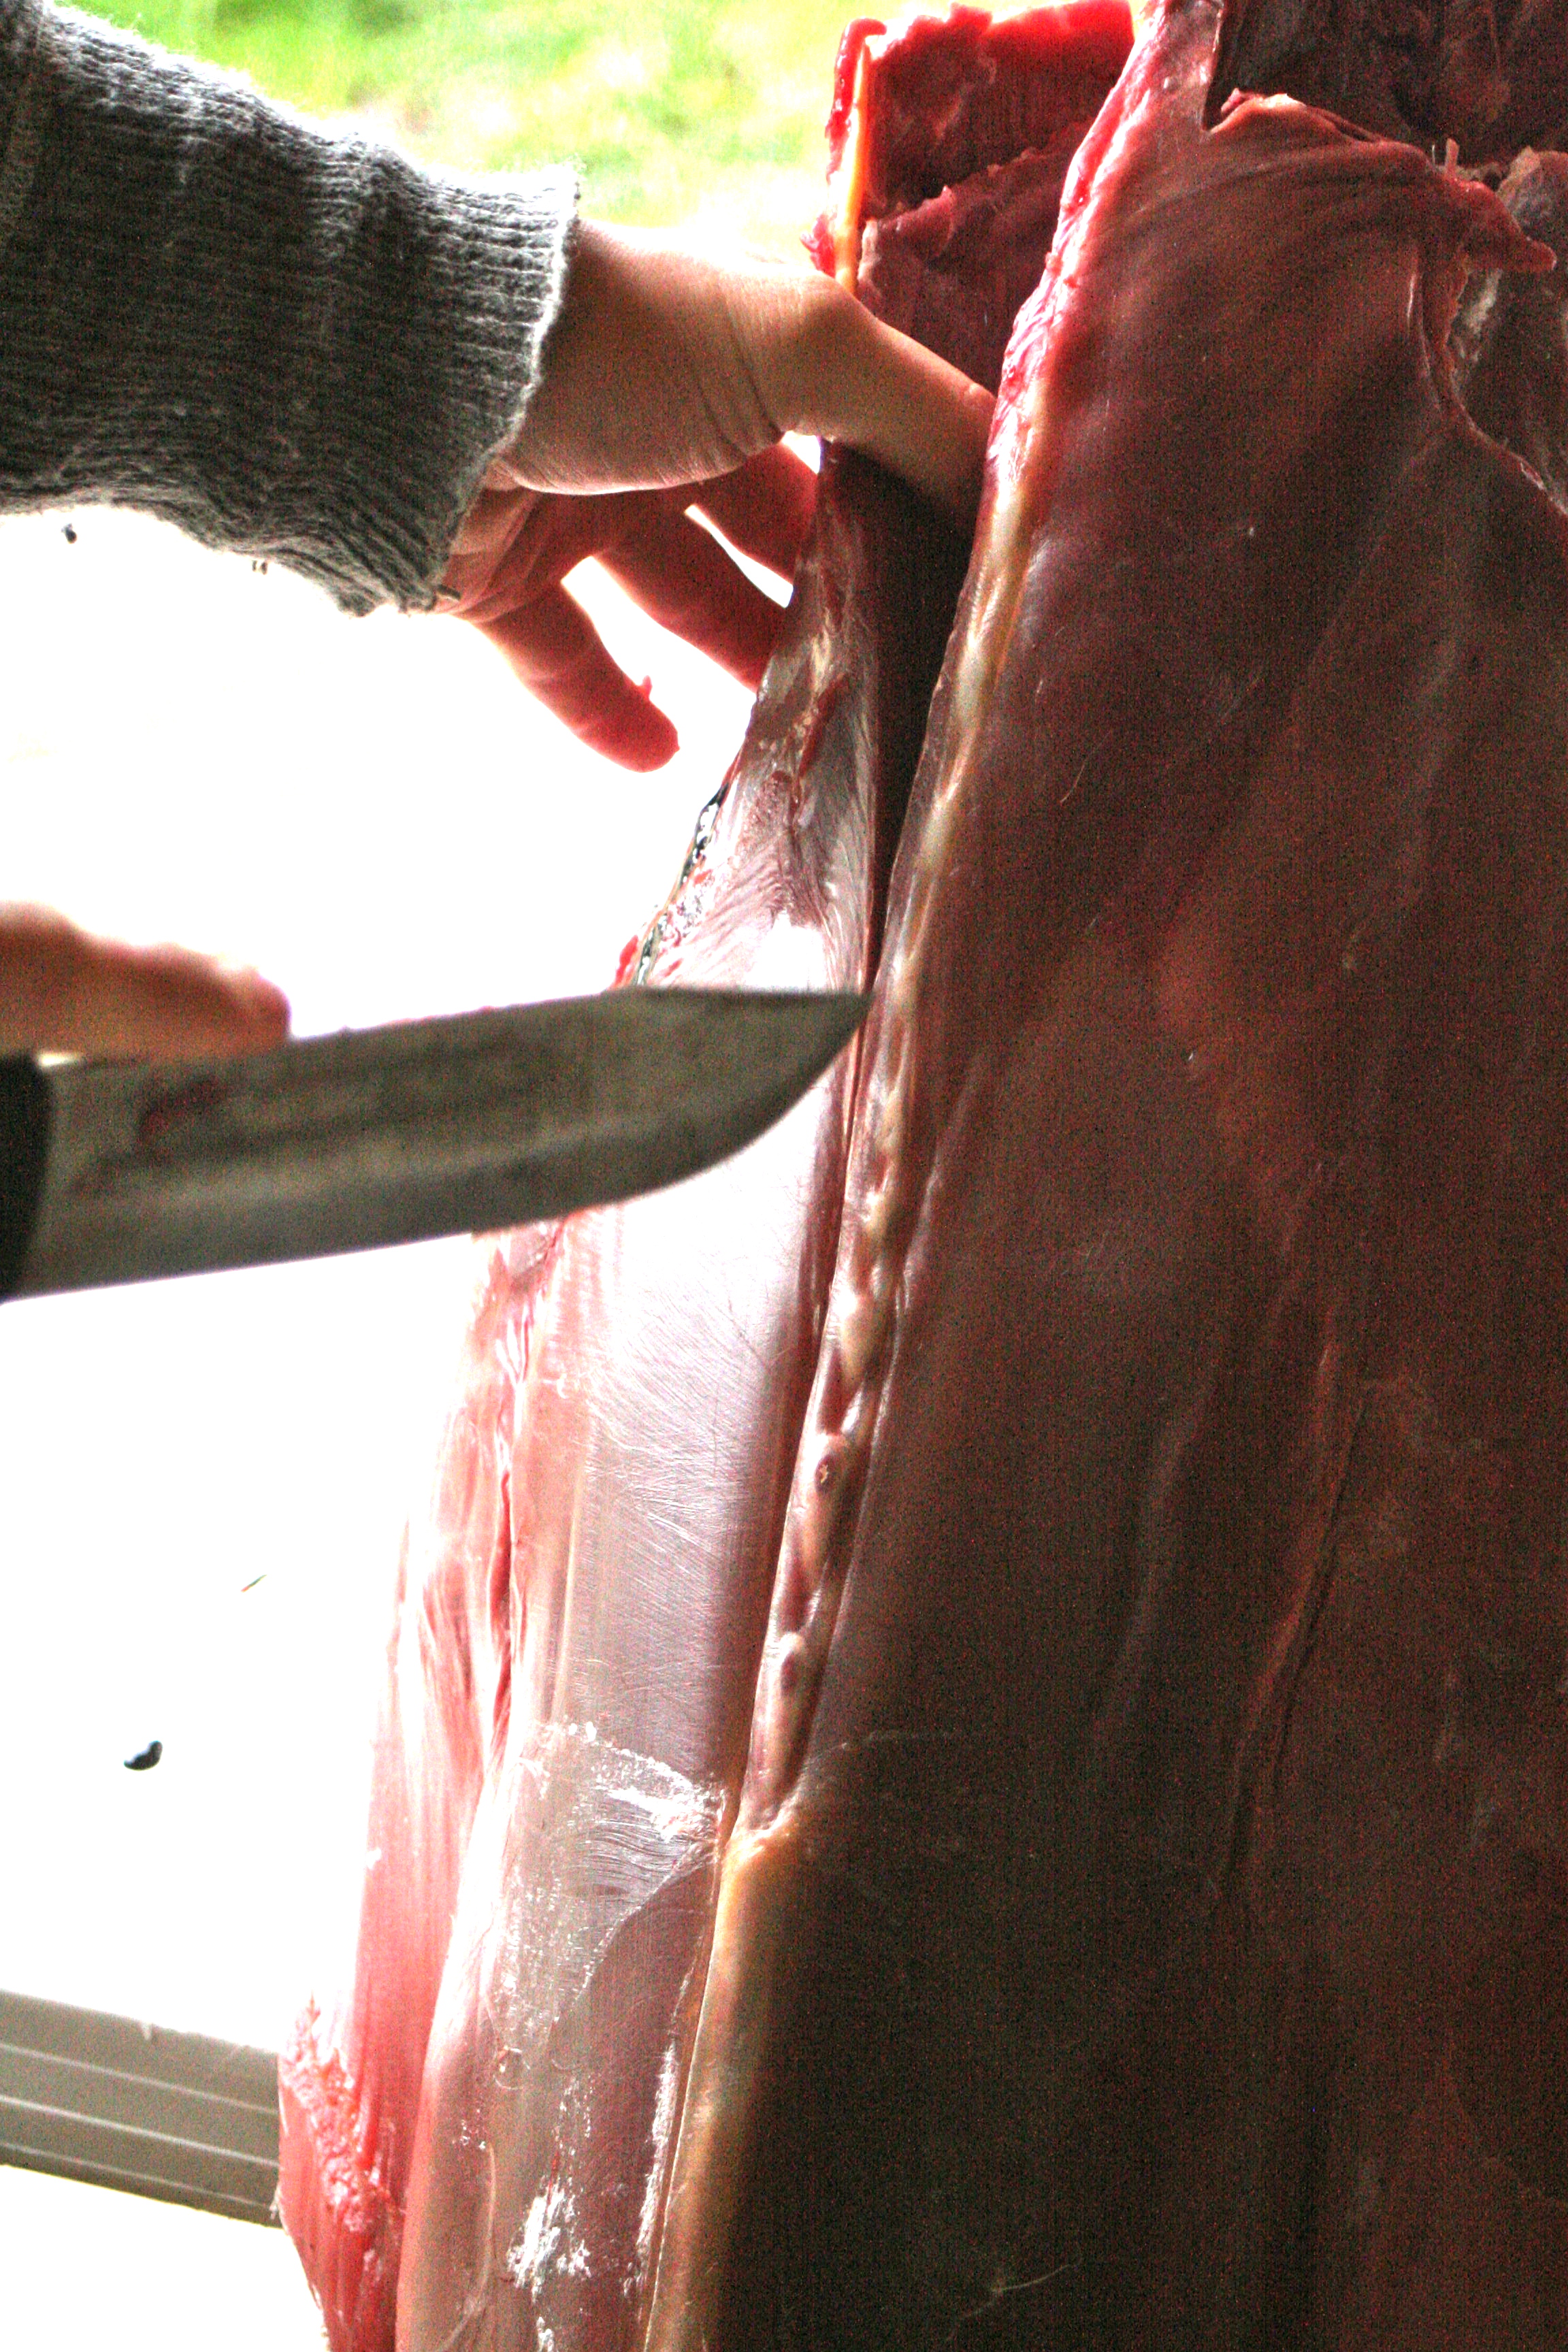
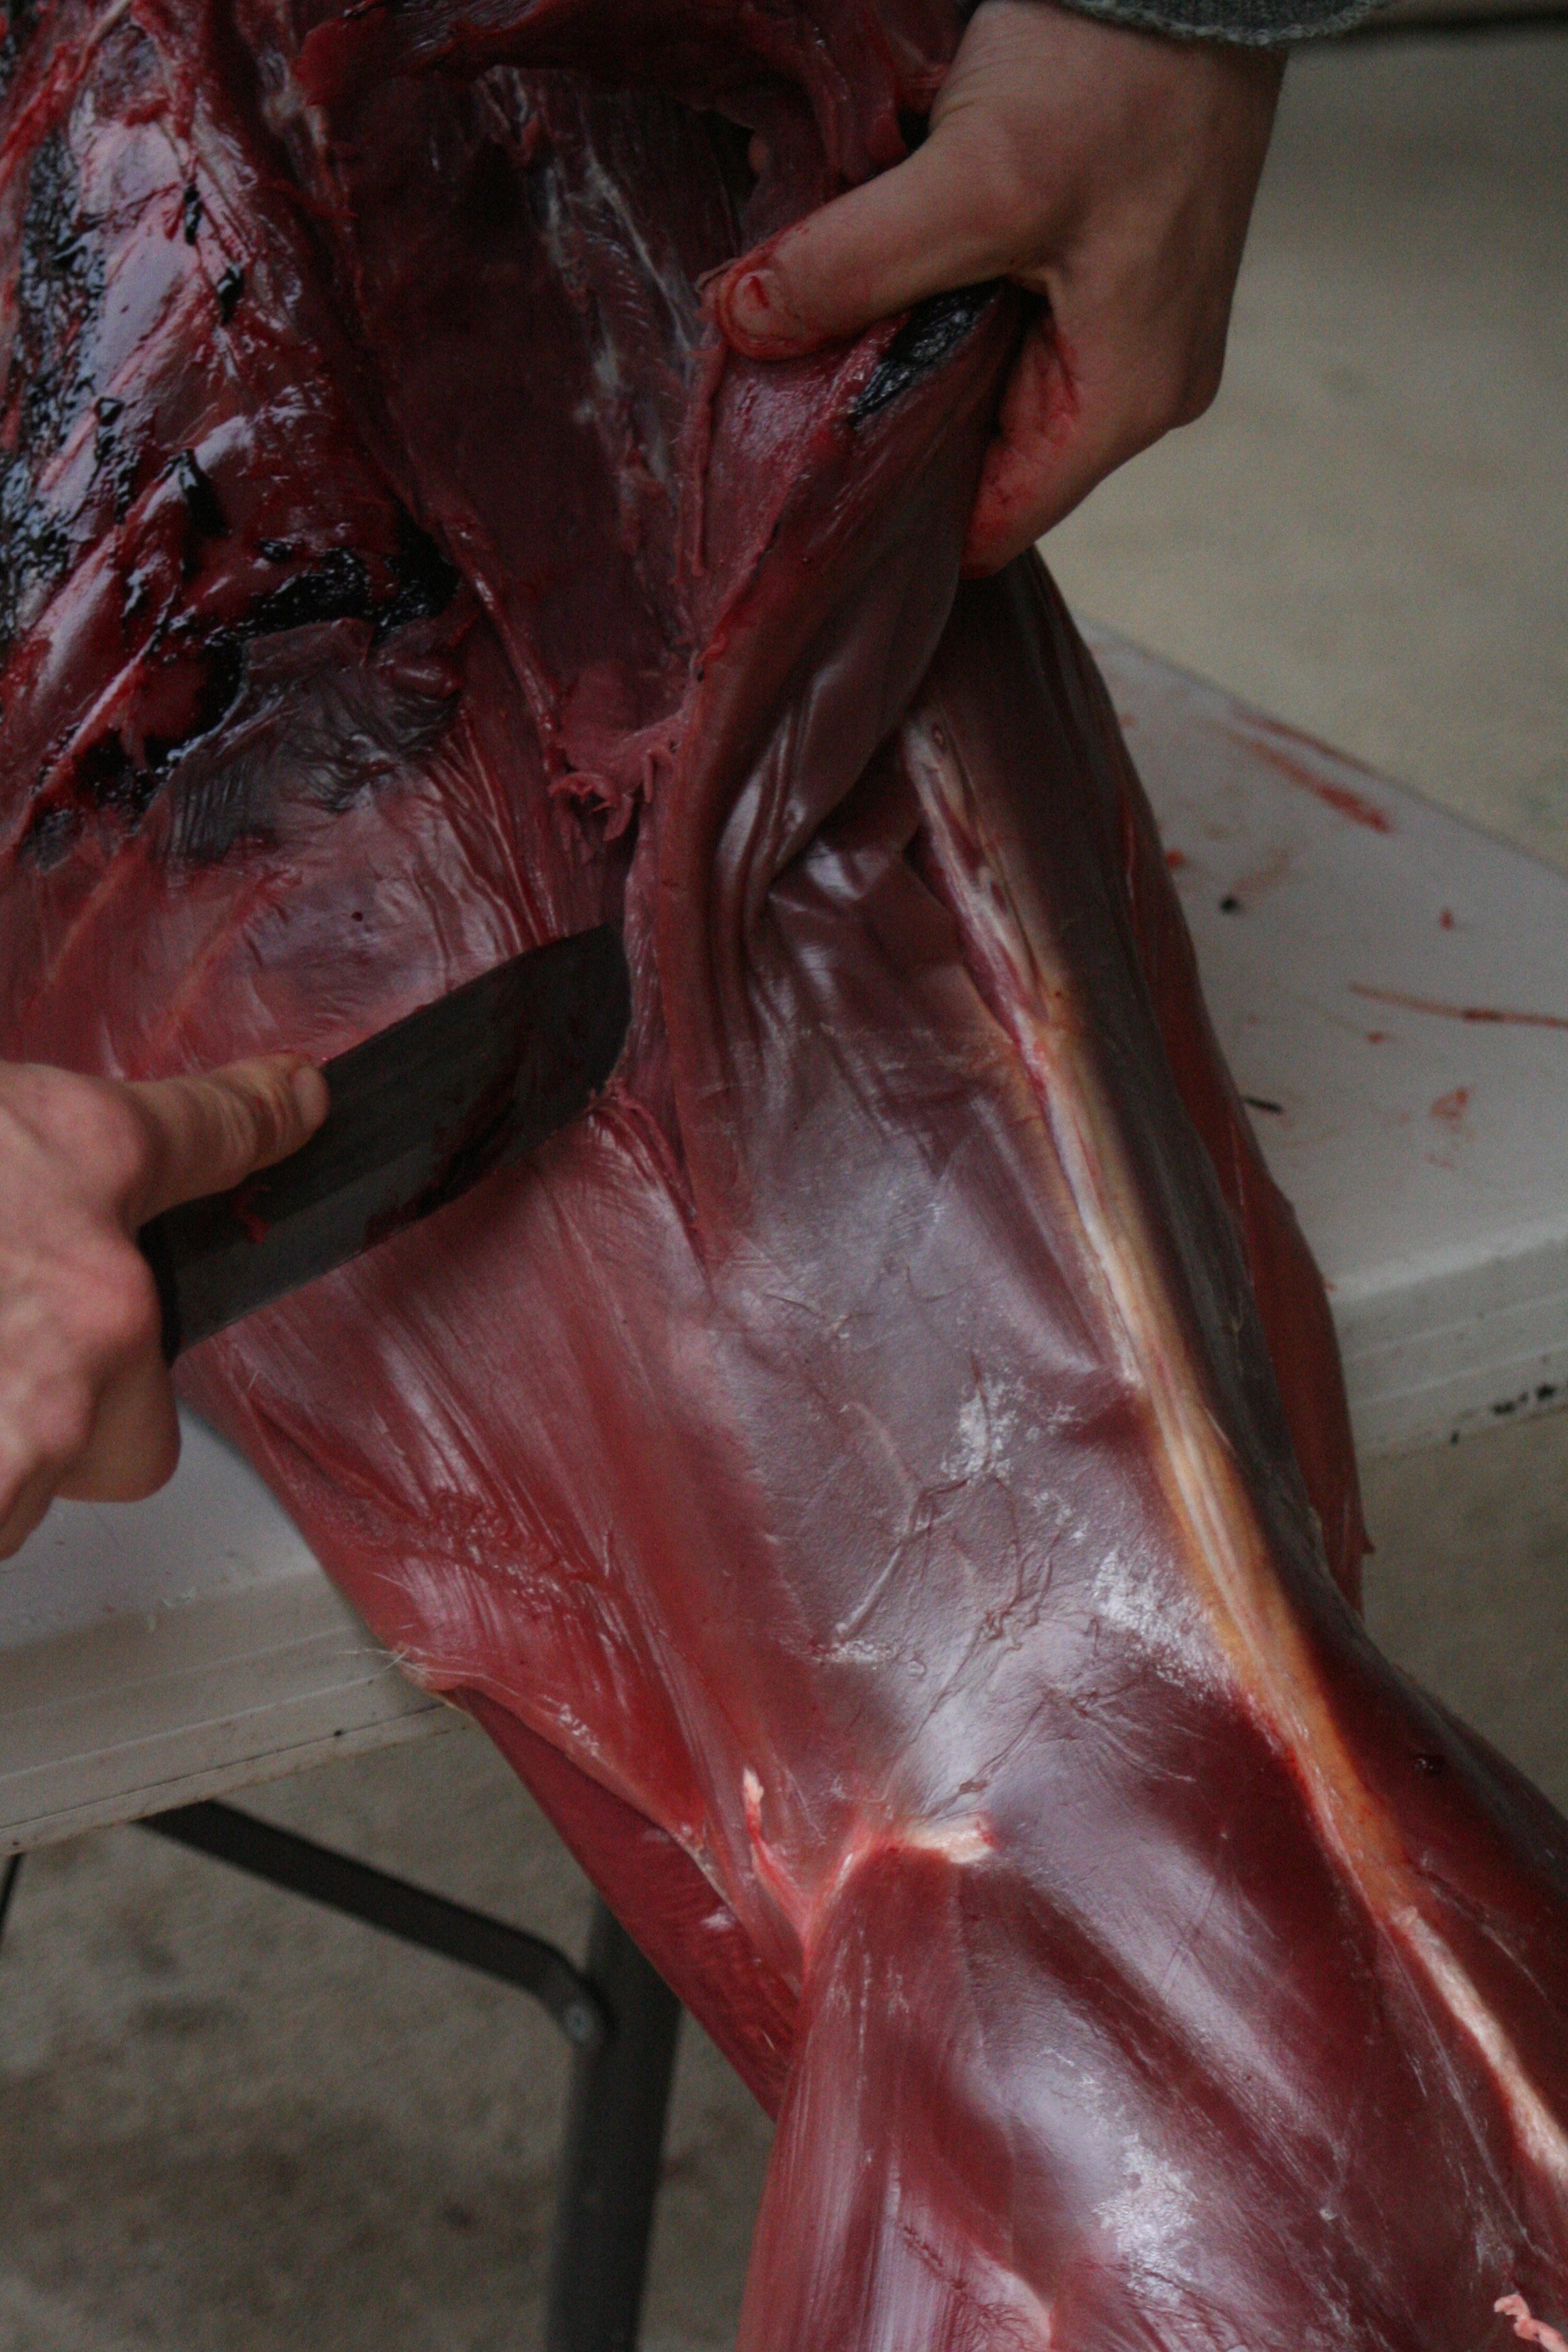
Next, while this looks really funny, it works really well. We have what we call "The Hanger" which is a small log structure big enough to hang a few smaller animals or a cow. It's open to the air, but in the shade of the woods and covered by a tin roof. My stepdad built in, then Marius outfitted it with pulleys, rope and hooks to make getting animals up and down easier. Marius simply takes the rest of the animals down (I would have to carry down in chunks, too heavy for me) and brings it down to the table. He doesn't take the feet off when he hangs it because he doesn't see the point, and it's handy for this point. So the deer is resting by the rib cage on the table and you're looking at it from behind.Right on either side of the spine you can see different a coloured stripe of meat and this is affectionately known as the backstrap! Some may call it a loin as well. (You can see the top left where he shot the deer in the vitals, there is a bit of blood shot. This will get trimmed and fed to dogs. If you see about where that stripe goes into a point, where it thickens, Marius cuts a horizontal line to the spine. This separates the tougher neck meat from the buttery backstrap. Below, look how he cuts along the spine, make smooth long motions to make it as neat as possible. This is a primo cut and we treat it so!
After cutting down the side of the spine to the tailbone, he cuts along the top of the ribcage freeing the backstrap from the carcass.
He then makes final cuts trimming away.
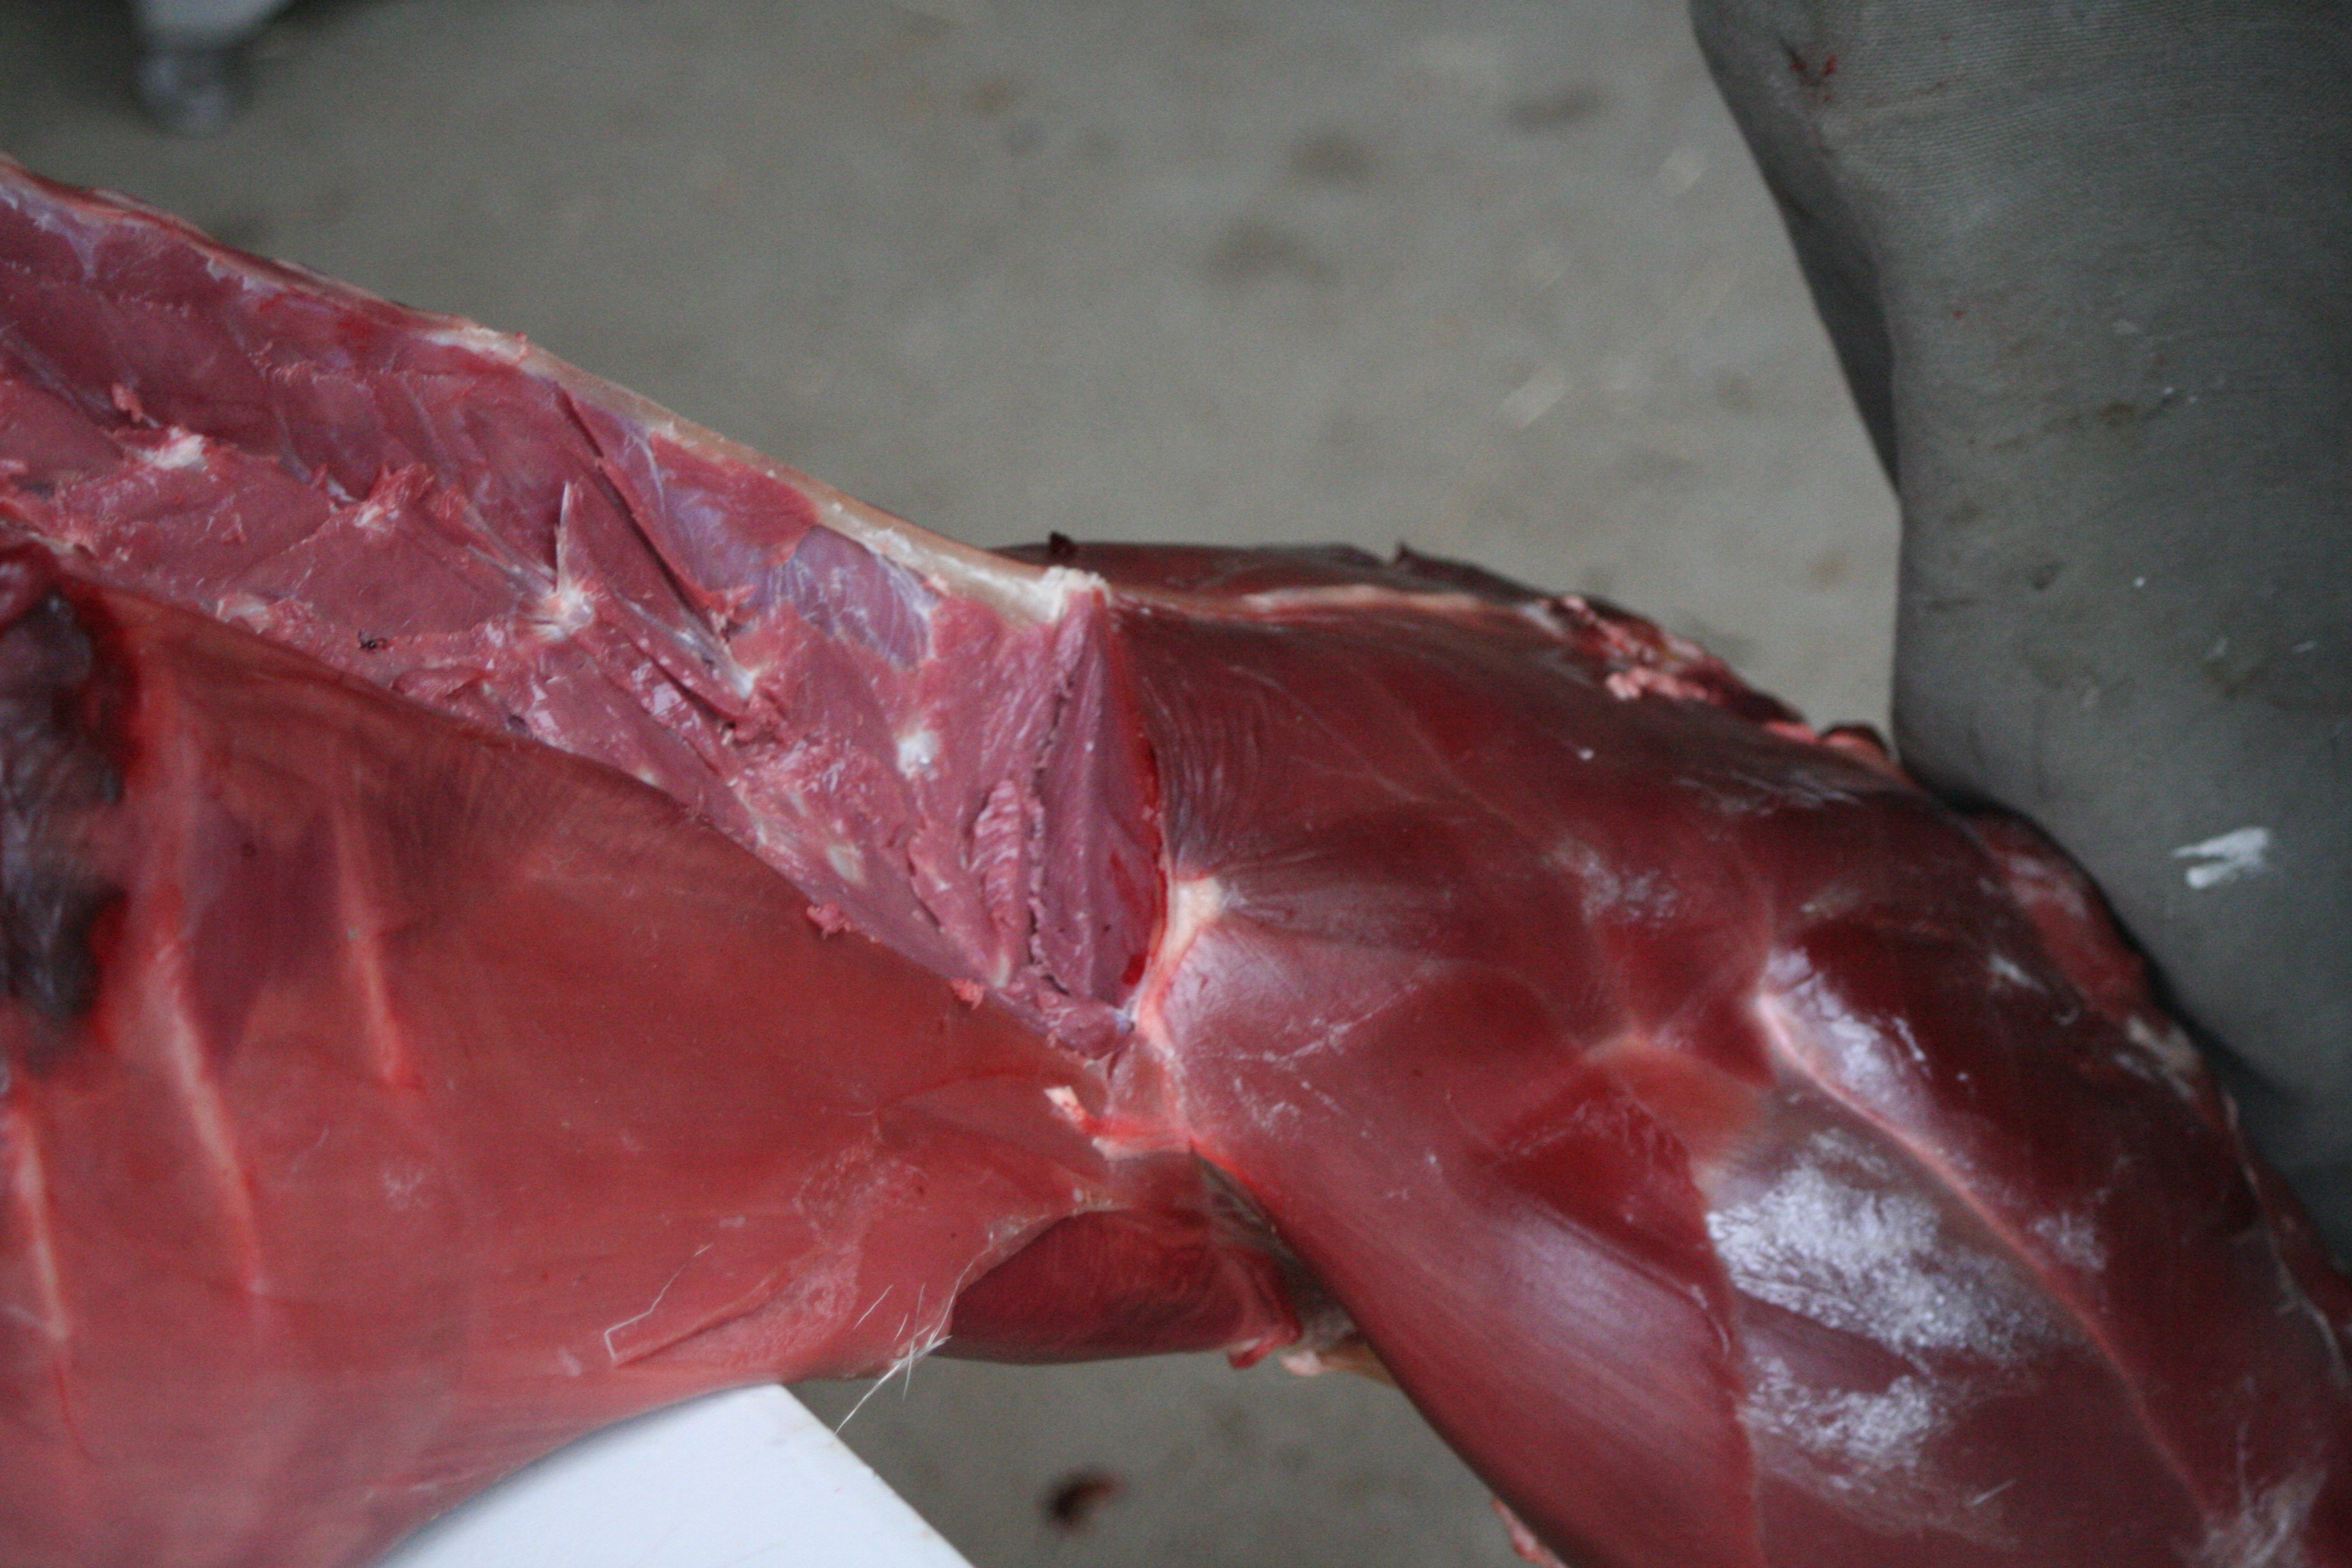
And slices it off at the end! You can now see below on the right a definitive marker for cutting apart the hind legs, which is handy.
What you're left with is one long, gorgeous albeit hard to handle strip of backstrap.
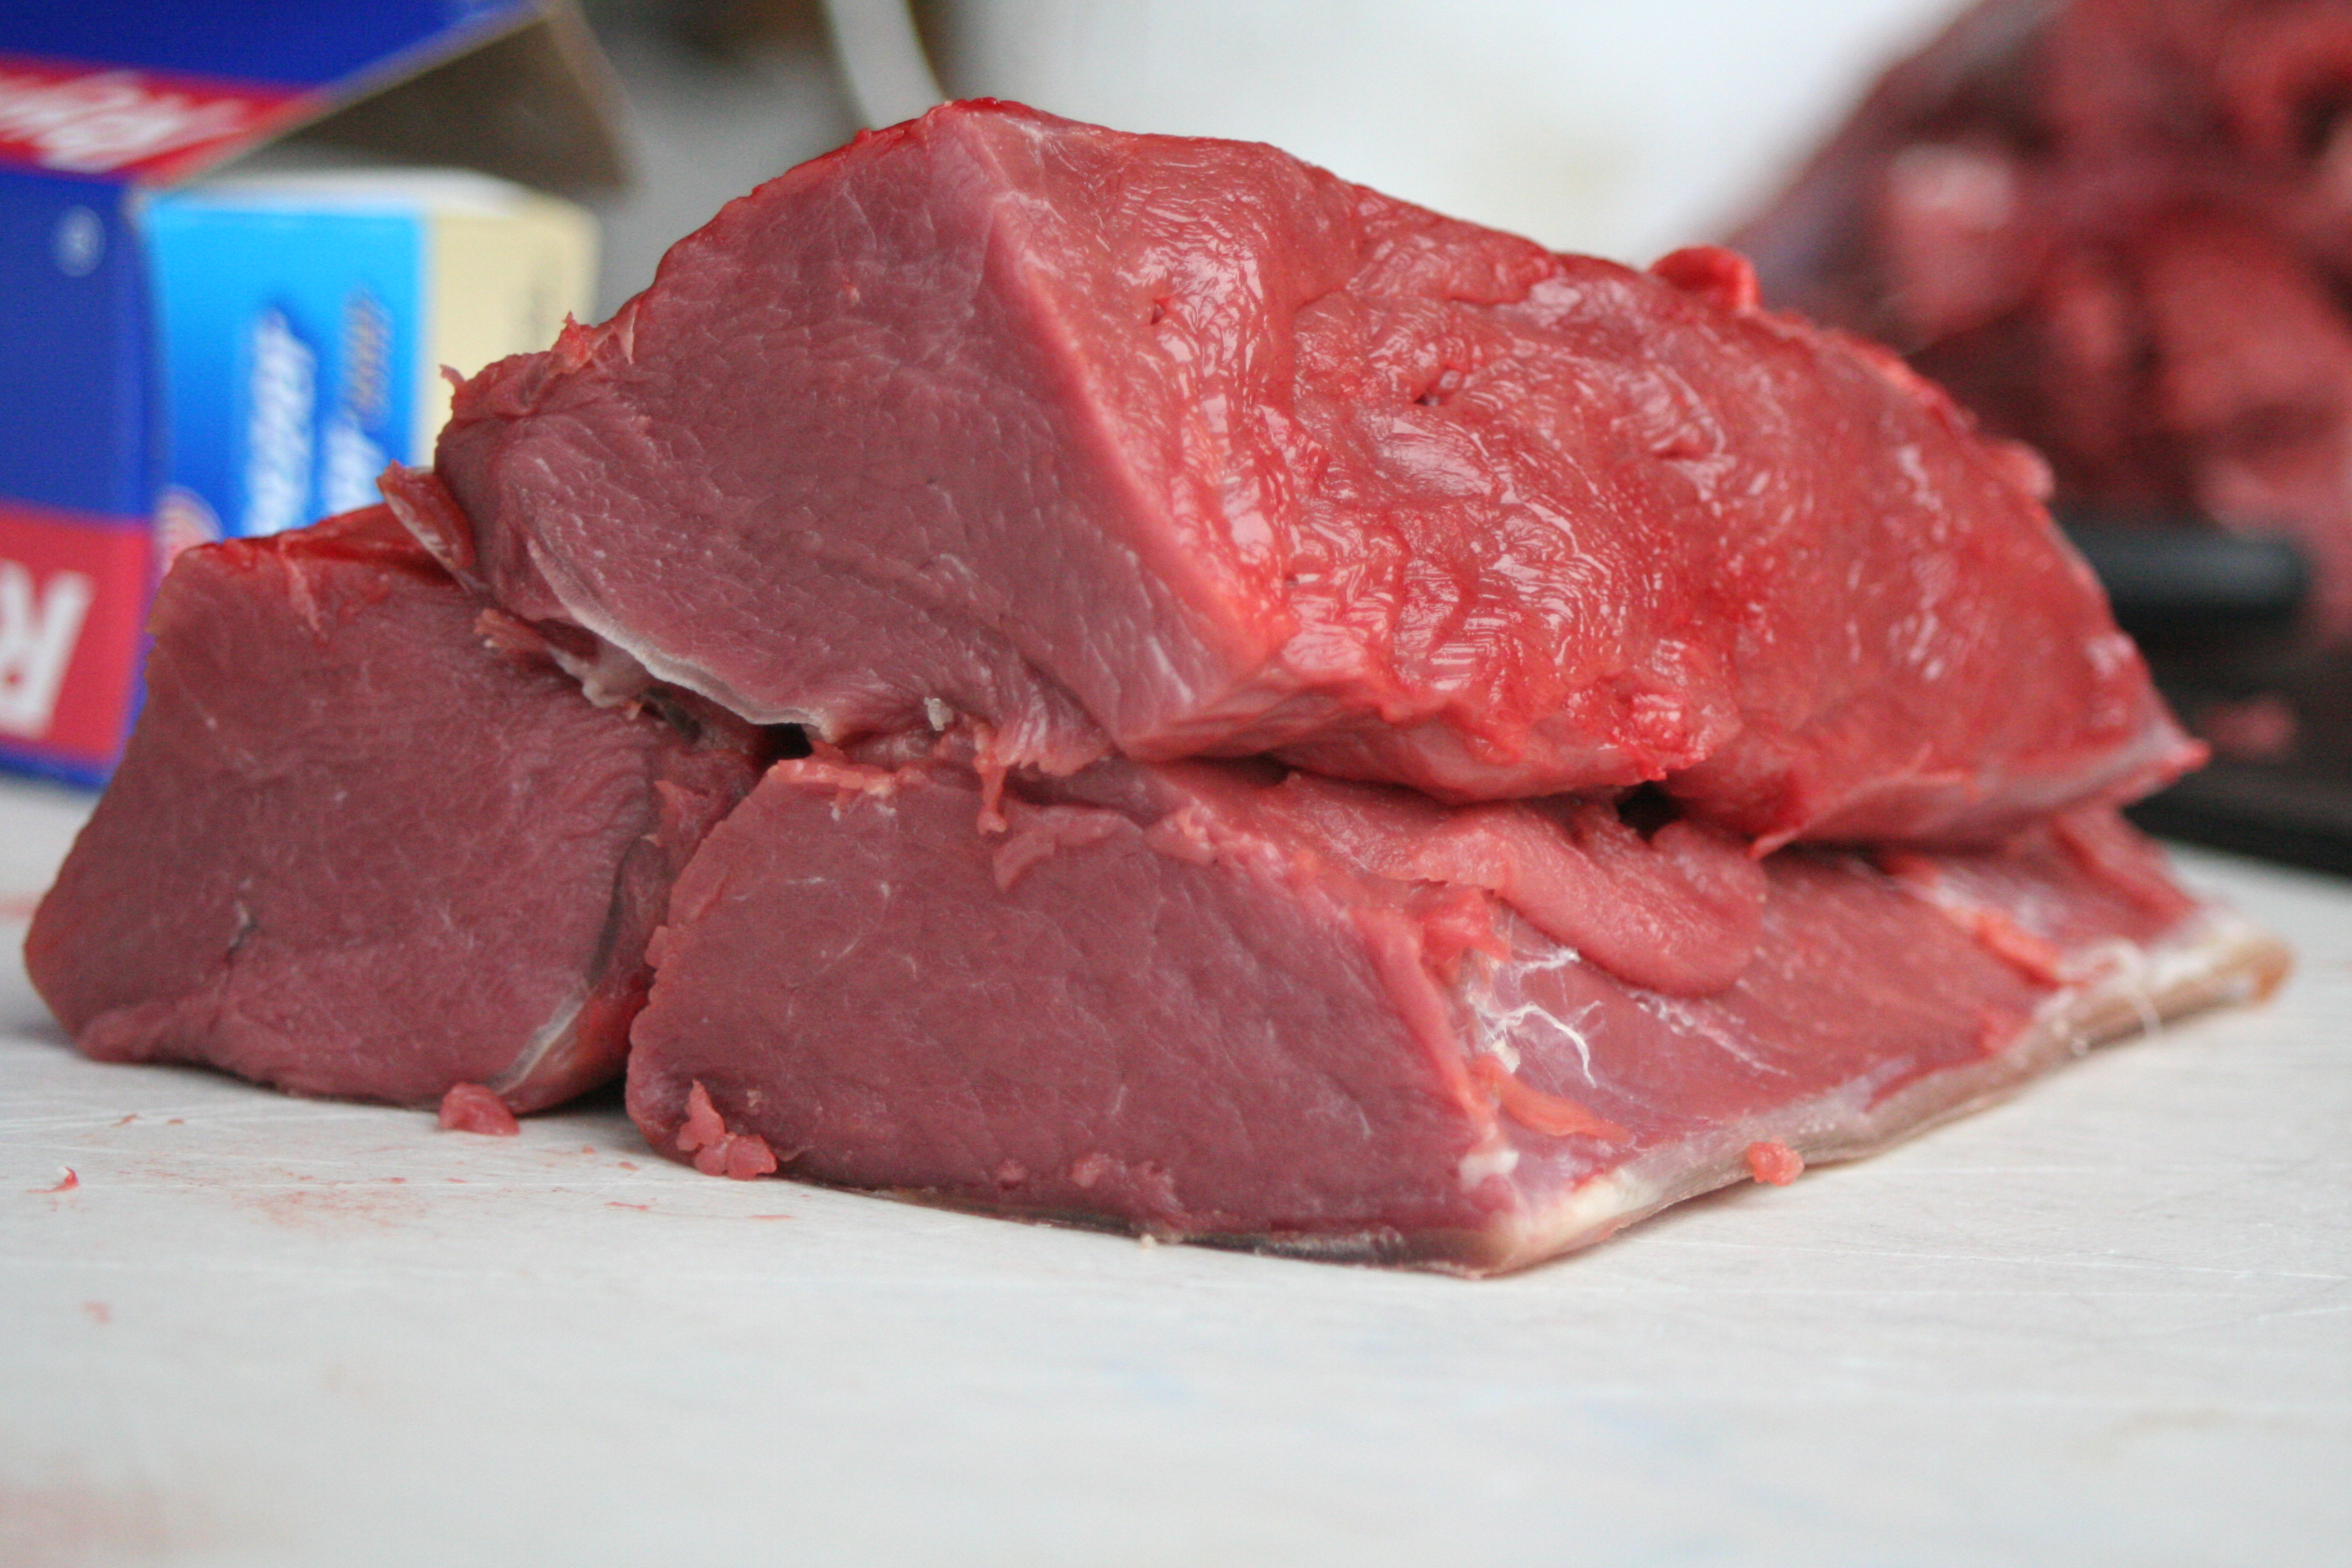
To make this more manageable, I cut it into three even chunks. I do the same with the other backstrap, and wrap two to a package. One of these chunks is a dinner for our family so I usually cook two and make leftover cooked one into some sort of lunch. See the fine grain on this meat? Ridiculous I tell you. Makes me want to go cook up a backstrap right now!
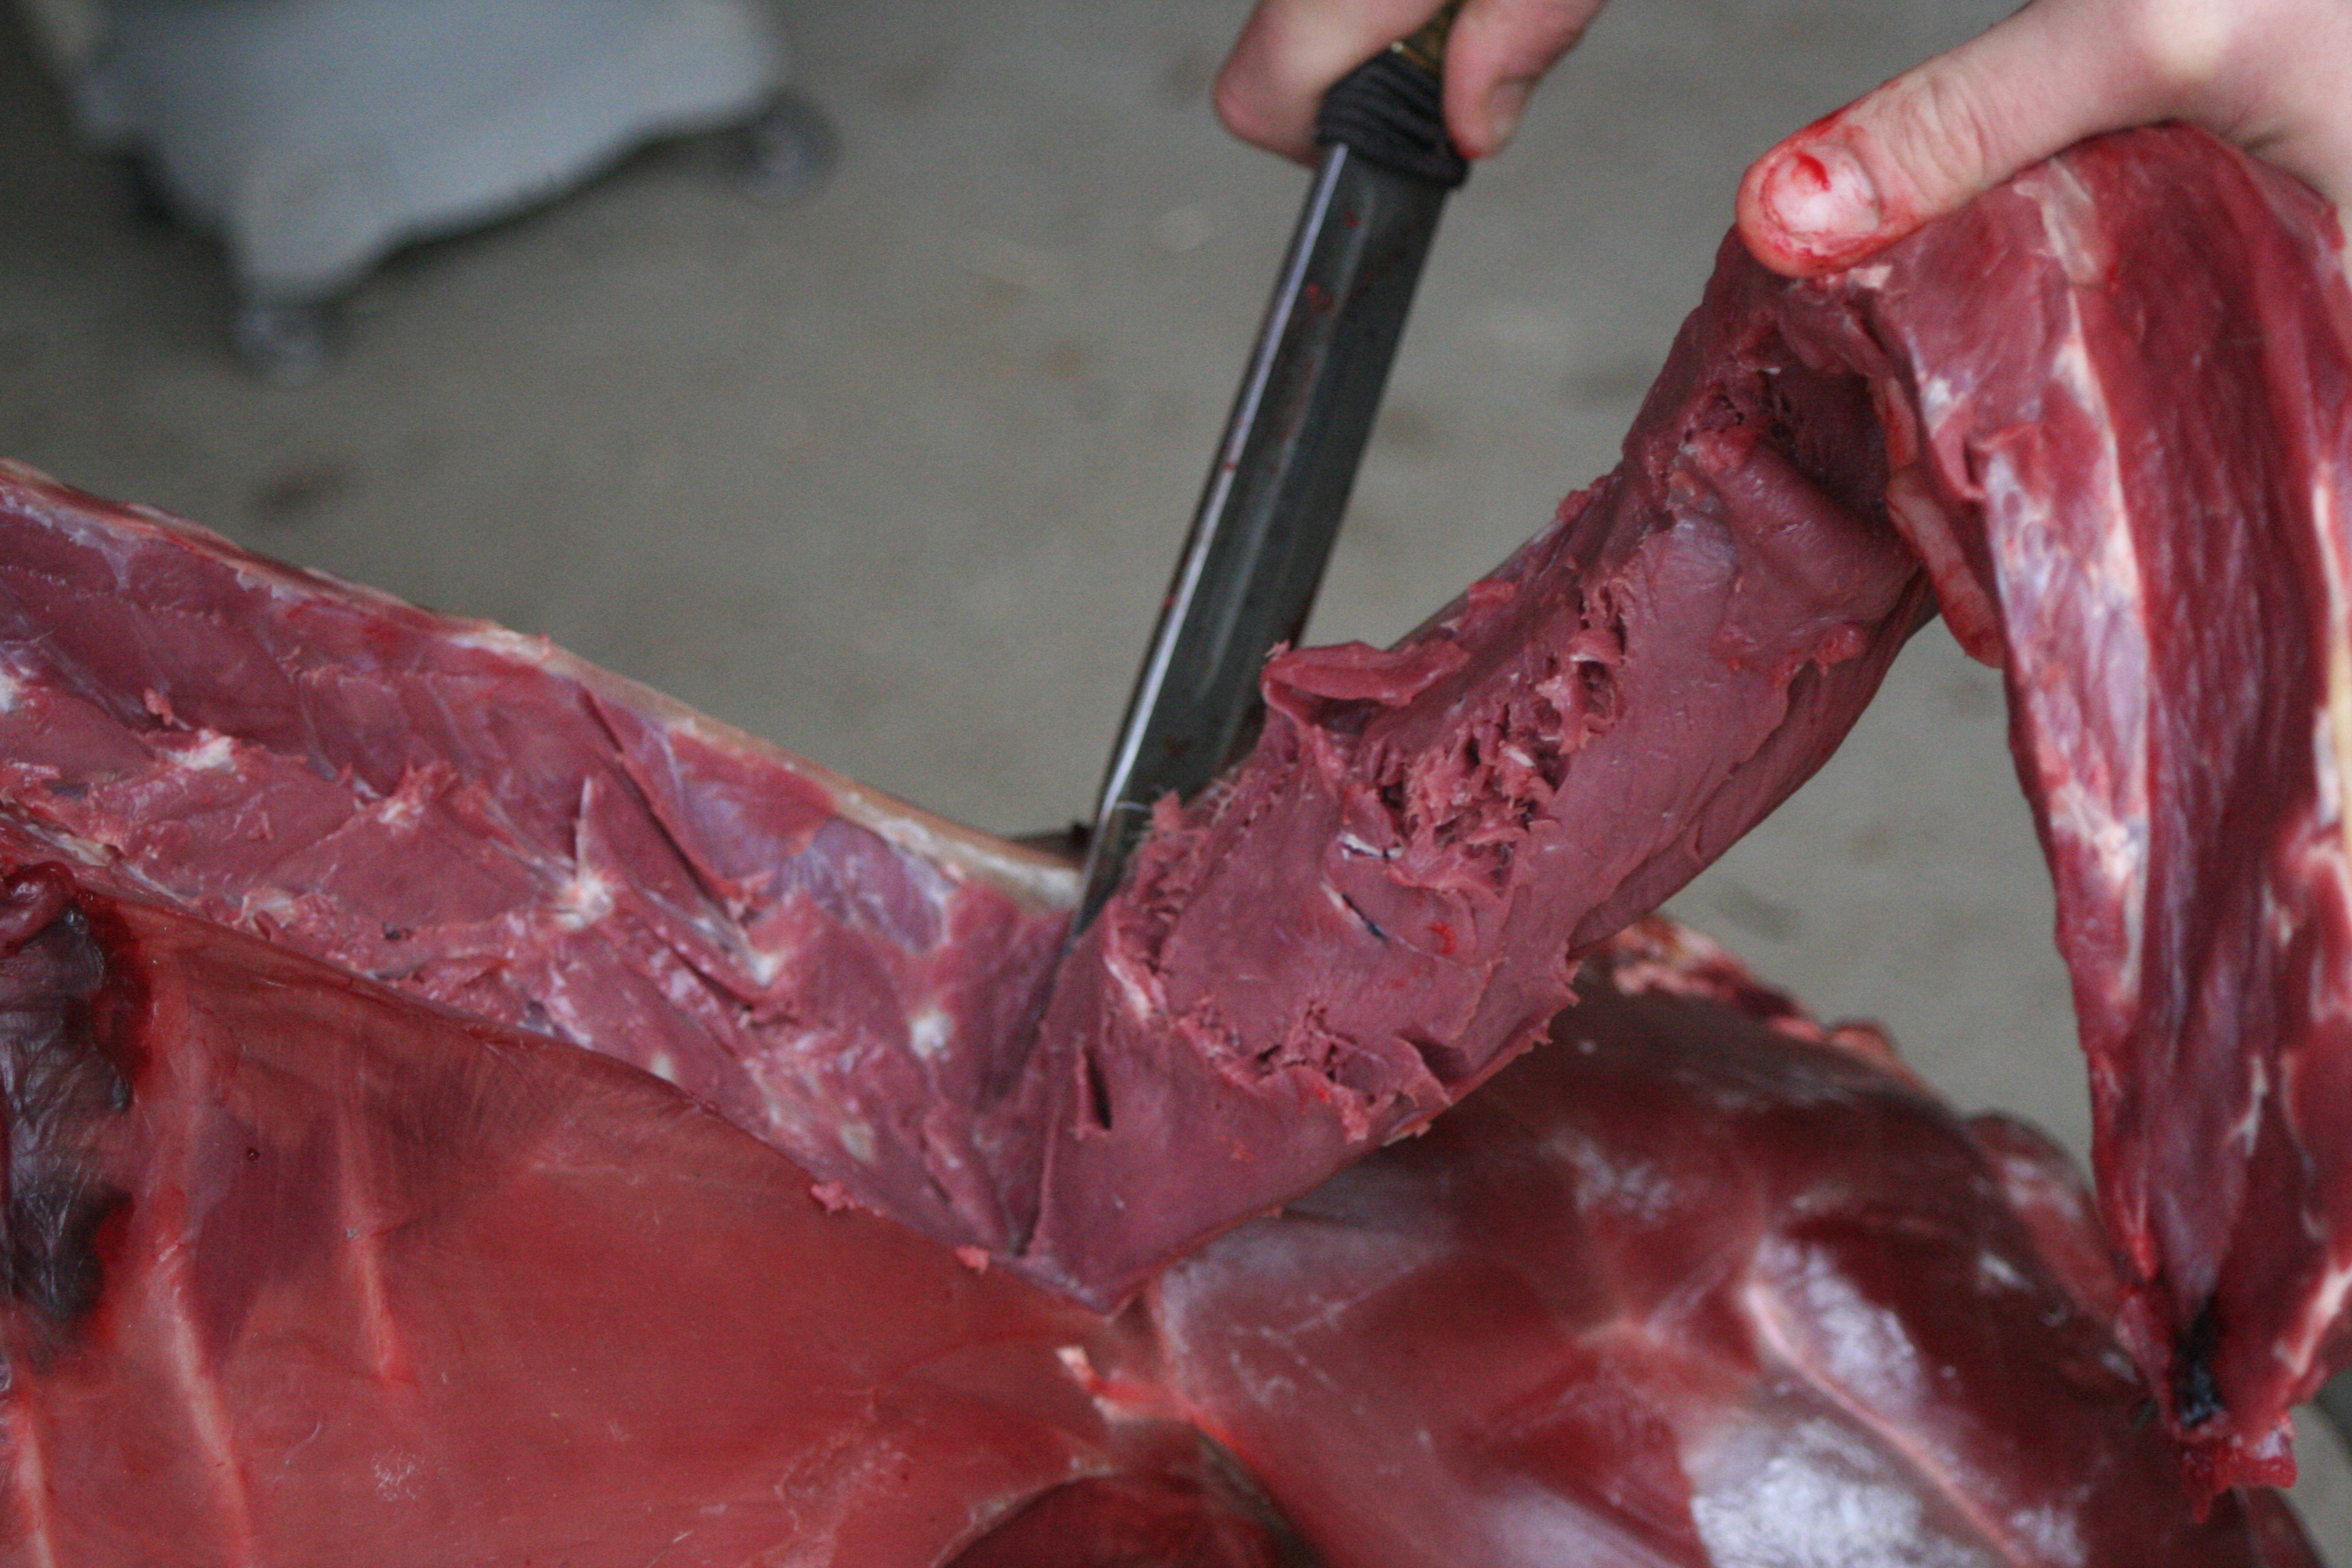
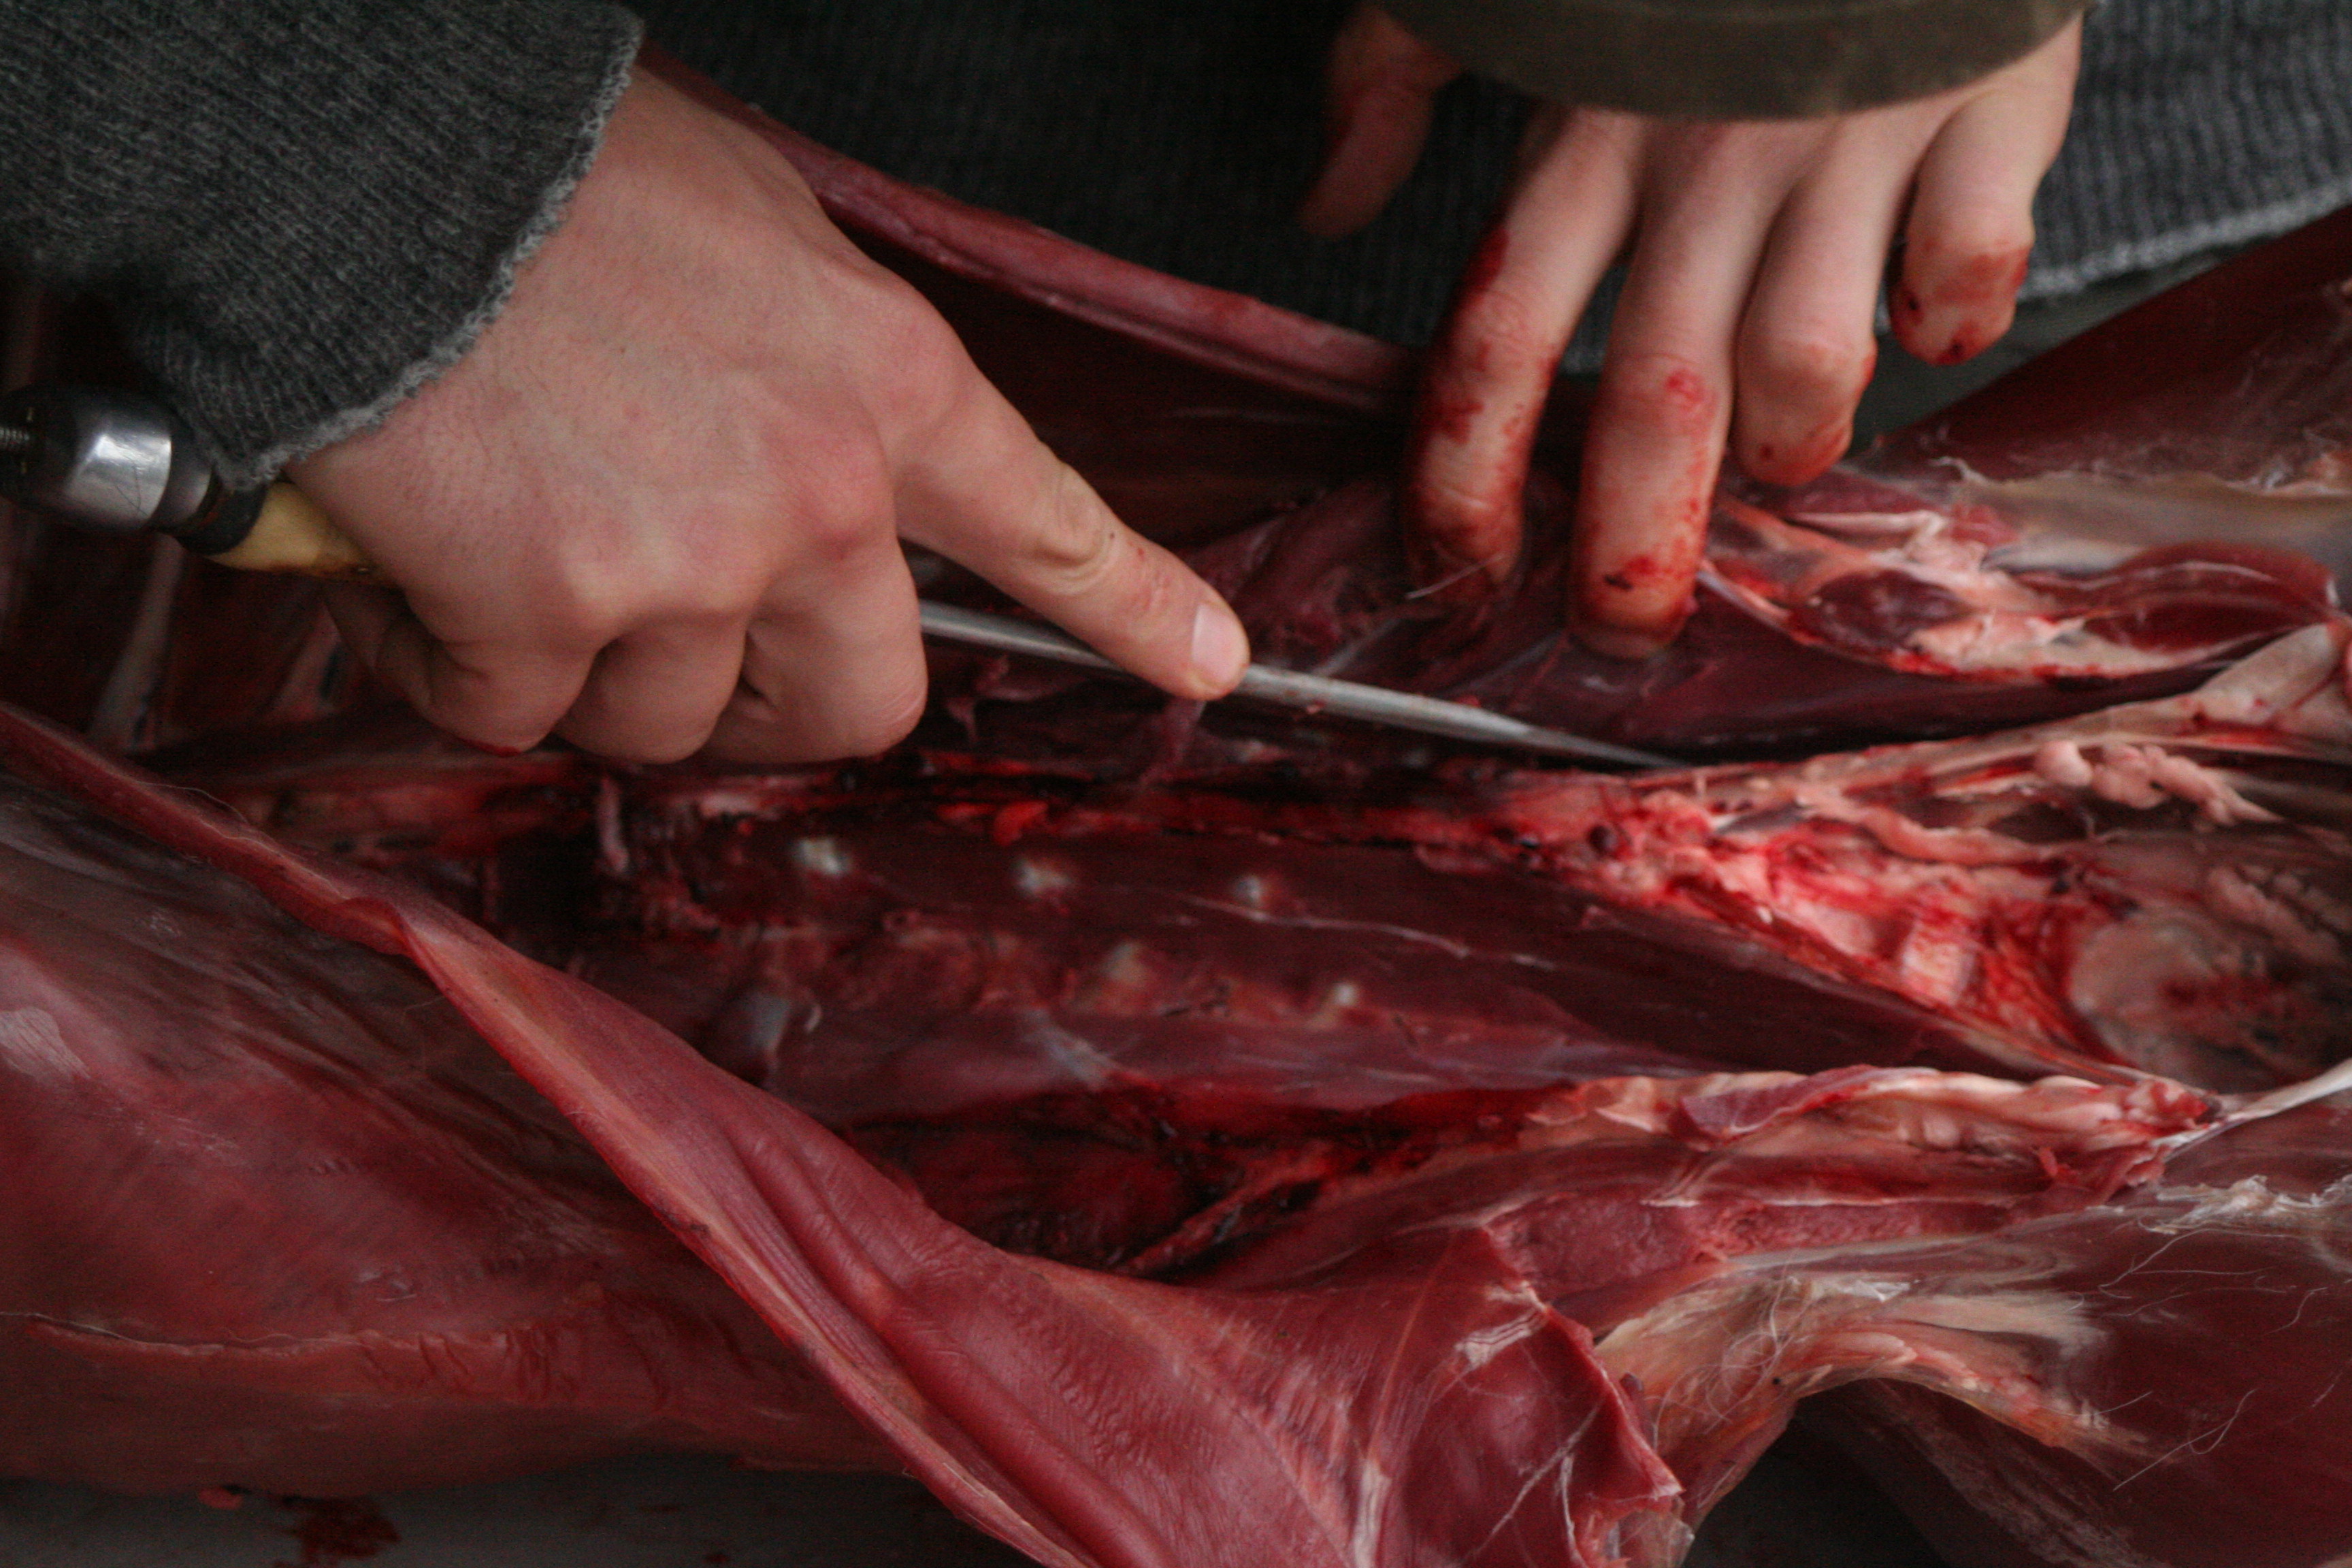
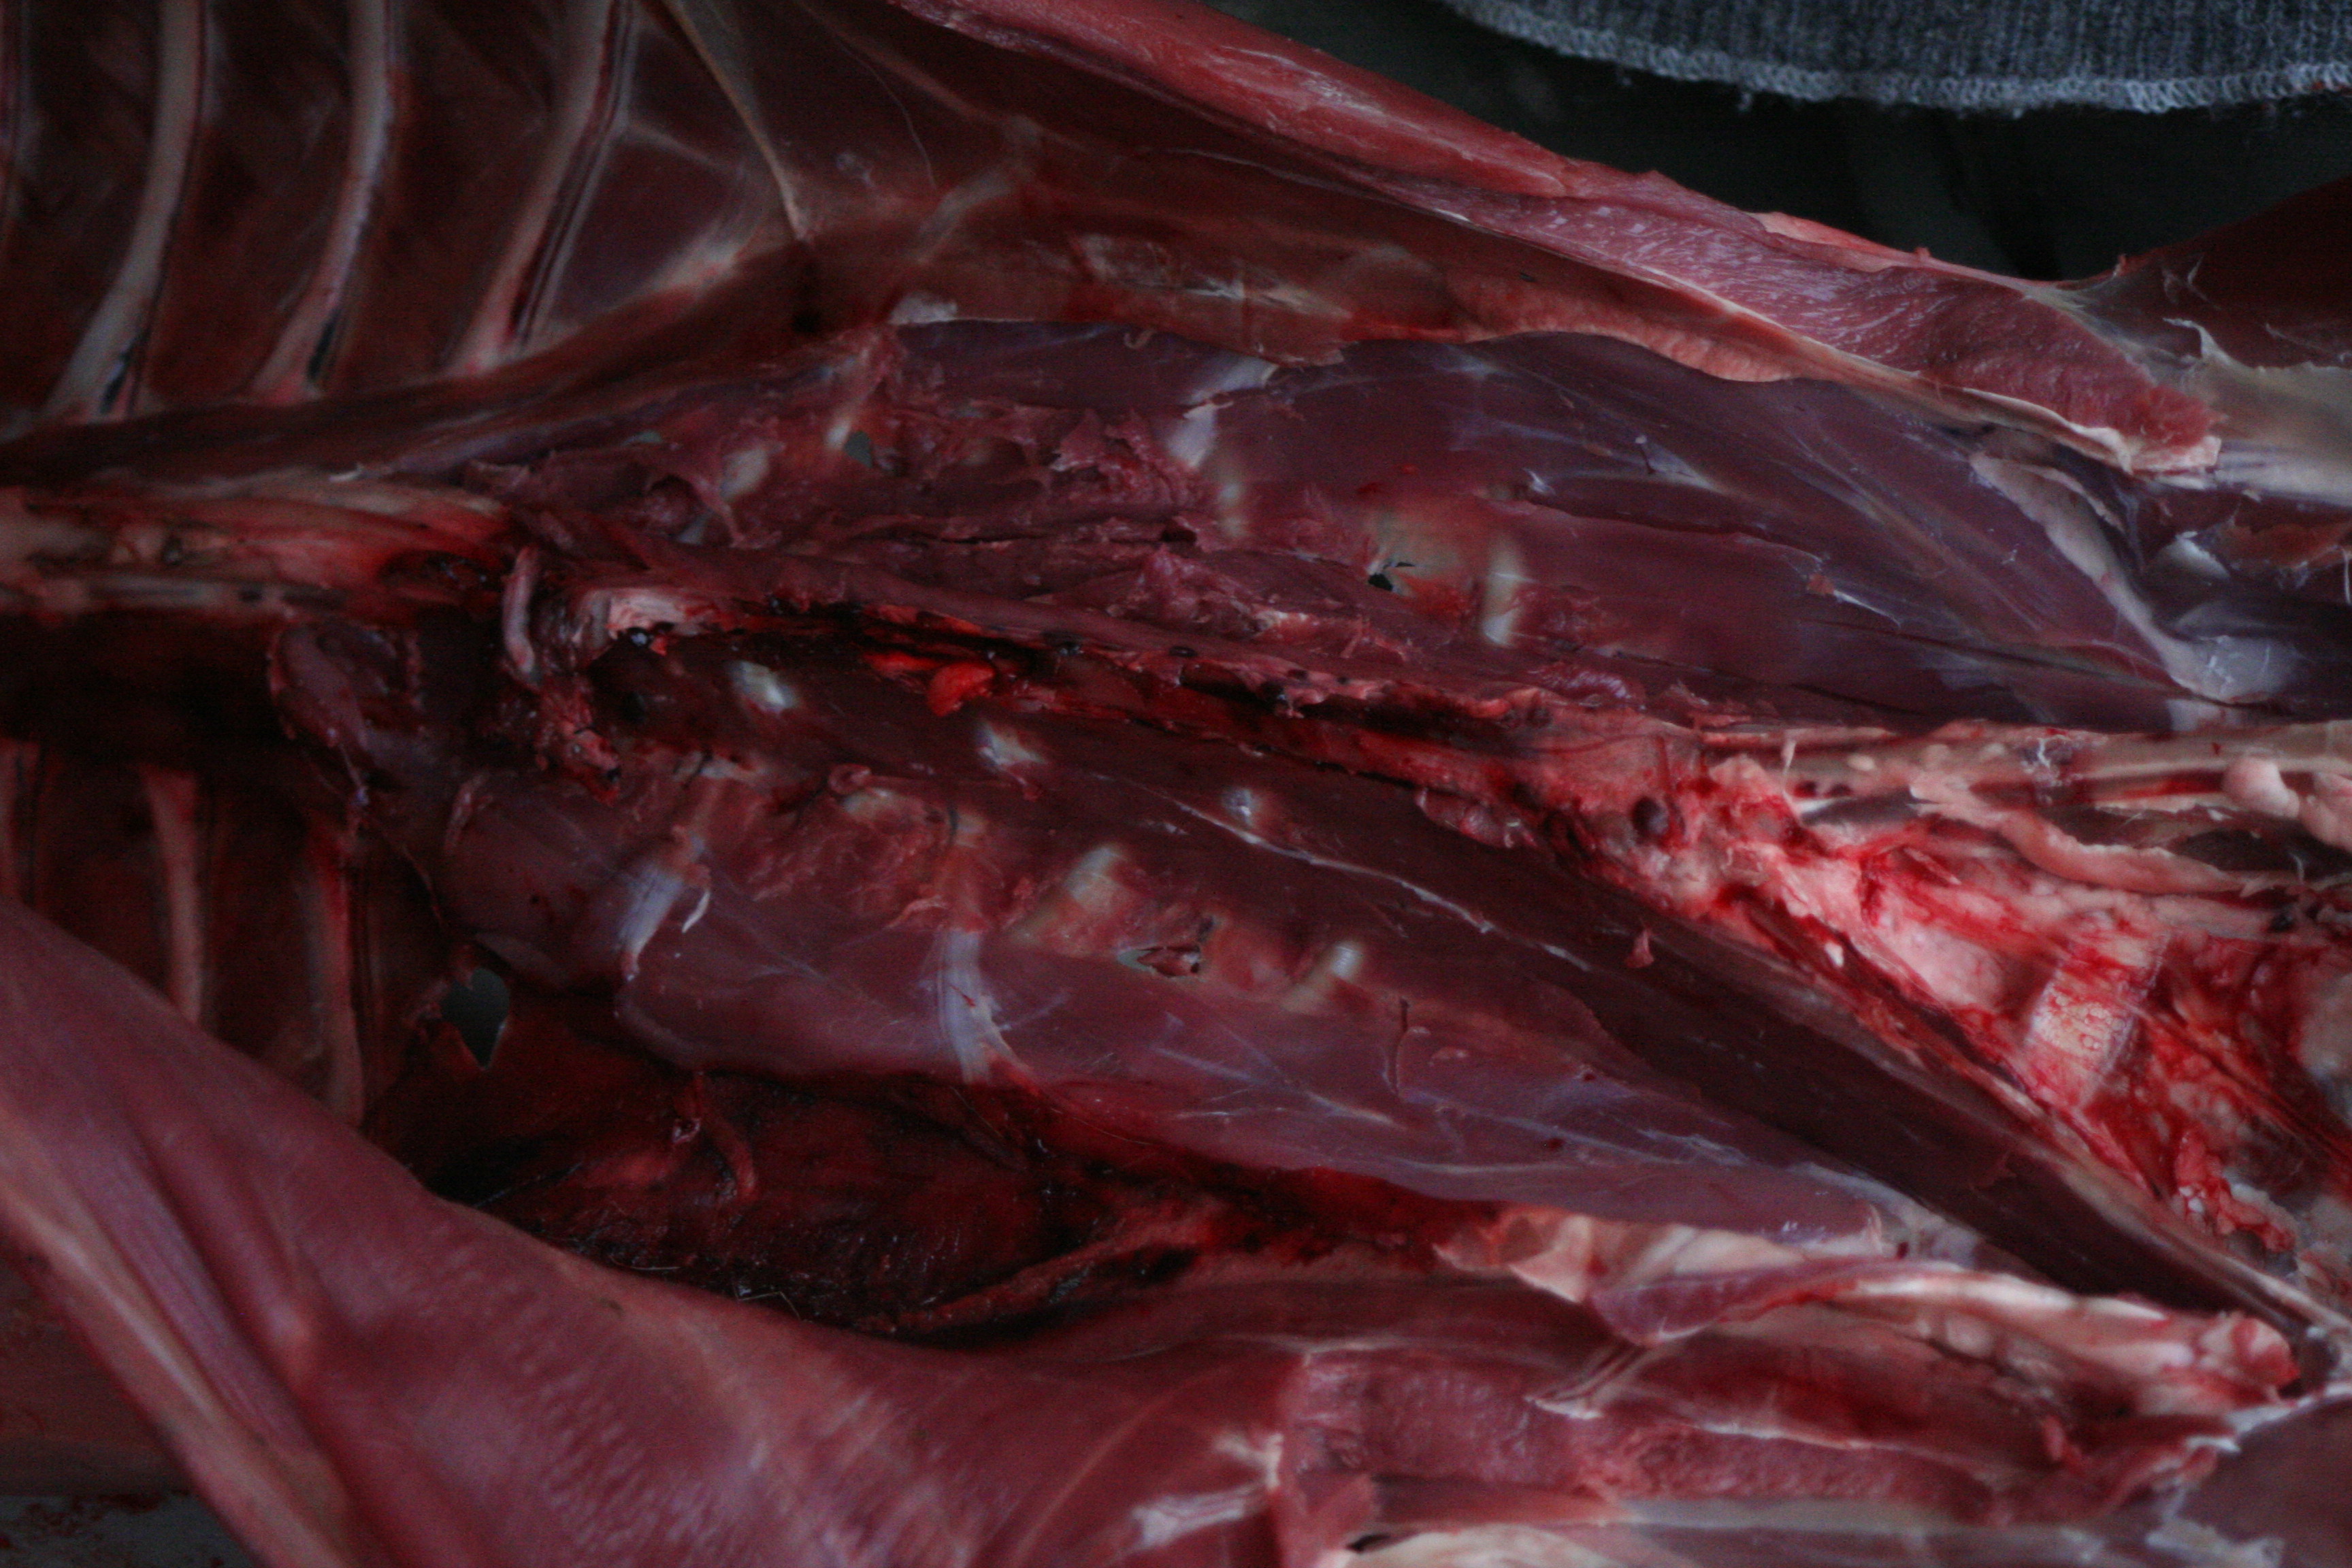
The last part of butchering deer that I'm going to show you before keeping you hanging until next time, is cutting out the tenderloins. It's never pretty to do so, and these tender morsels could be easily overlooked, but we find cutting them out, wrapping and then trimming up before cooking is the best way to not waste any. Same as on the backstraps, but this time on the inside, he cuts along the spine.
Then below, you can see where he has sliced them out. Gently fry or BBQ these up, keep them rare, and cut them with a fork. You won't believe the flavour involved with these.
