

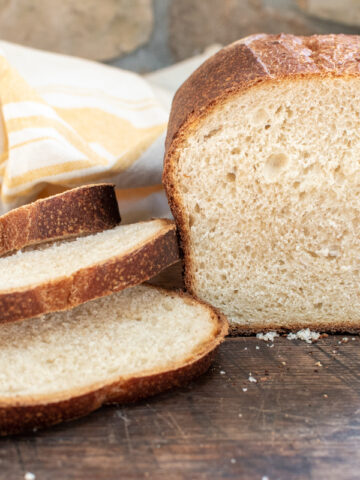
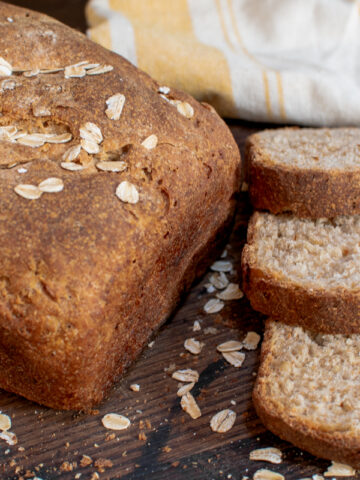
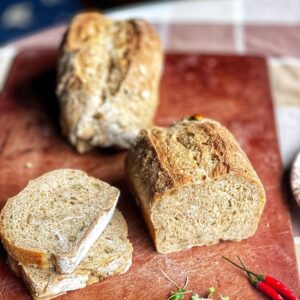
When an airy, classic loaf of sourdough bread just isn't going to cut it for making a good sandwich you need a recipe for Multigrain Sourdough Bread. This one is a hearty, seedy, whole grain twist on my regular sourdough sandwich bread.
There's a bakery where I grew up, that has all sorts of seedy baked goods. To me, nostalgia is a cheese-filled, twisted seedy breadstick. I just can't help myself. Or their bread I believe they call "Hikers' bread" is what I had in mind when I was coming up with this recipe for Multigrain Sourdough Bread.
Yes, there are many, many chewy, big holed loaves of sourdough recipes out there, and they're delicious. But when it comes to packing cold lunches, frankly, I don't feel they fit the bill. I need a sandwich bread to be good for making cold sandwiches for 2-3 days after its baked, which is why I have my plain Sourdough Sandwich Bread recipe, and now you can add this to your repertoire.
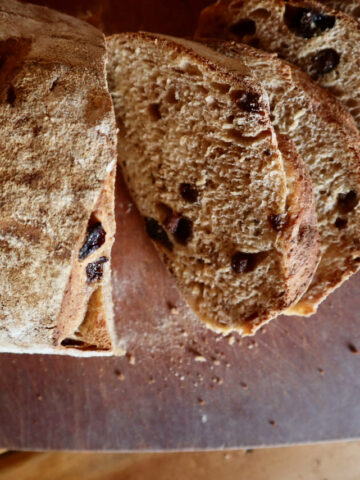
If you are after a classic boule, definitely make that. It's amazing for eating fresh! I also urge you to learn my Master Soft Sourdough recipe because you can turn it into cinnamon rolls, dinner rolls, French bread, and more.
Why You Need This Recipe
- Sometimes you just need a truly hearty bread!
- Unlike softer loaves, this one is still really great two and three days later.
- The flavor is unmatched! Homemade whole grain is a lot easier to eat than dry store bread.
Key Ingredients
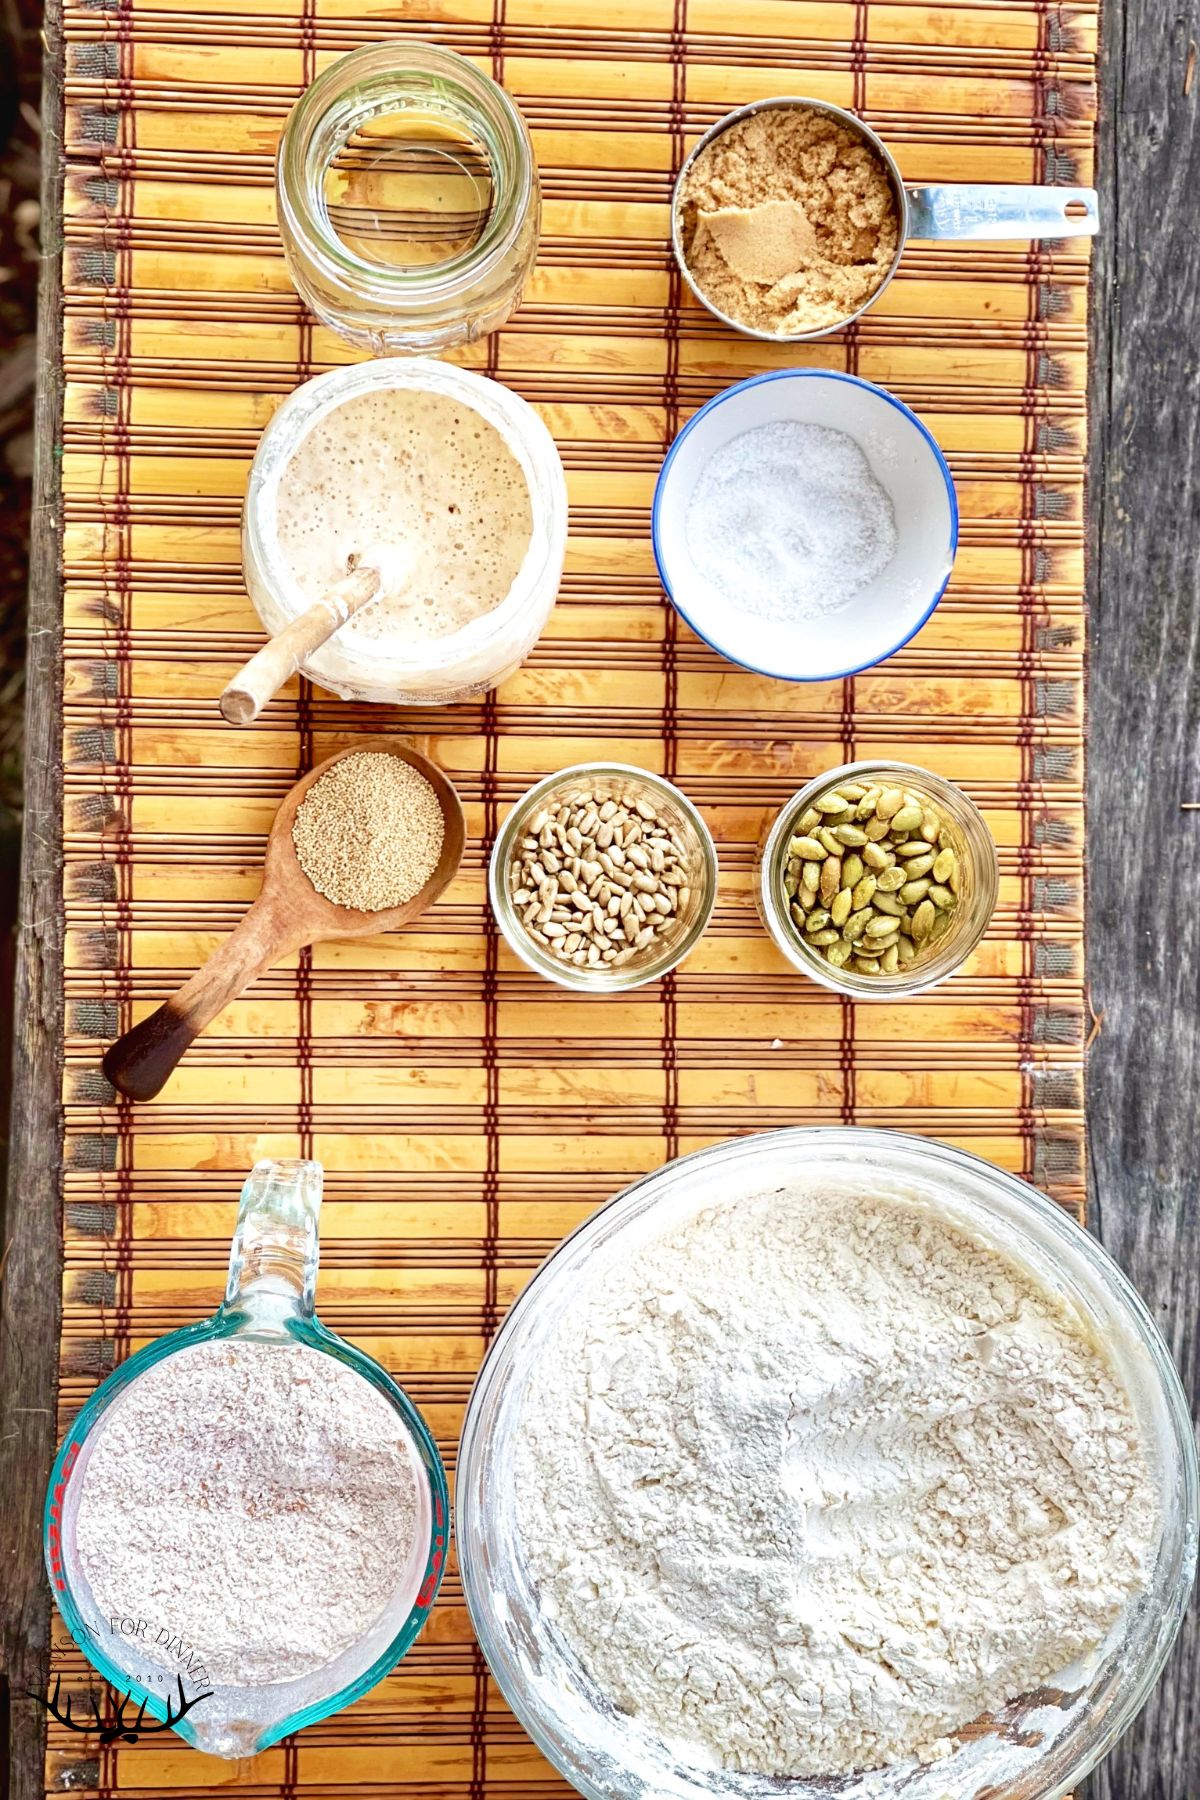
Flour - Grinding at home, just about anything is considered "whole wheat" because you aren't sifting out any parts. But a hard red wheat will give you the most authentic flavor. I also mix white flour in.
Seeds - These give us a great texture in our bread! I know not everyone enjoys them in bread, but I think they add so much interest.
Eggs - The eggs are optional although I obviously recommend them. People add a powdered supplement called lecithin to whole wheat bread to make it better...lucky for you, eggs naturally have lecithin in them and you'll notice a difference in how it holds up for a sandwich and stays softer for more days.
How to Make Wholegrain Seeded Sourdough
***See recipe card below for precise measurements and instructions.***
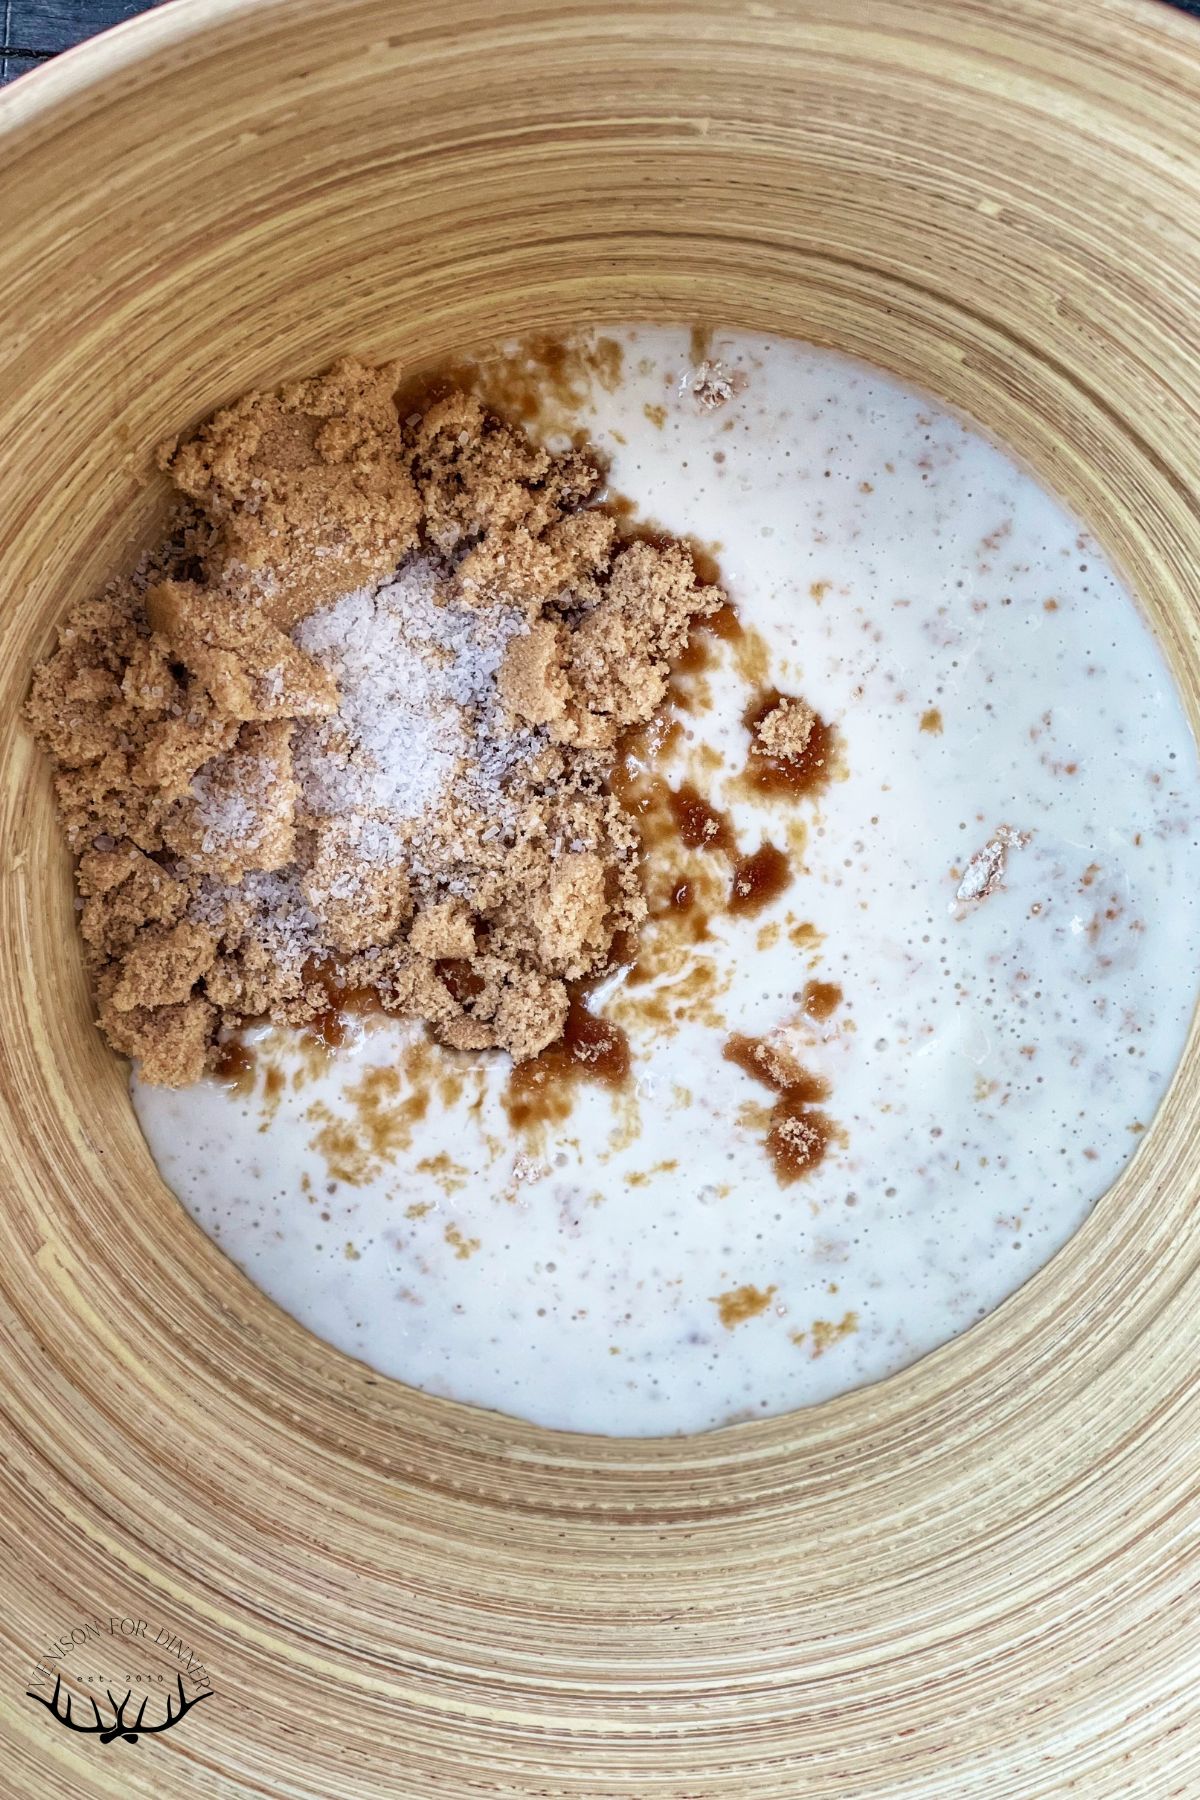
Step 1: Mix eggs, water, sugar, and salt well into the starter.
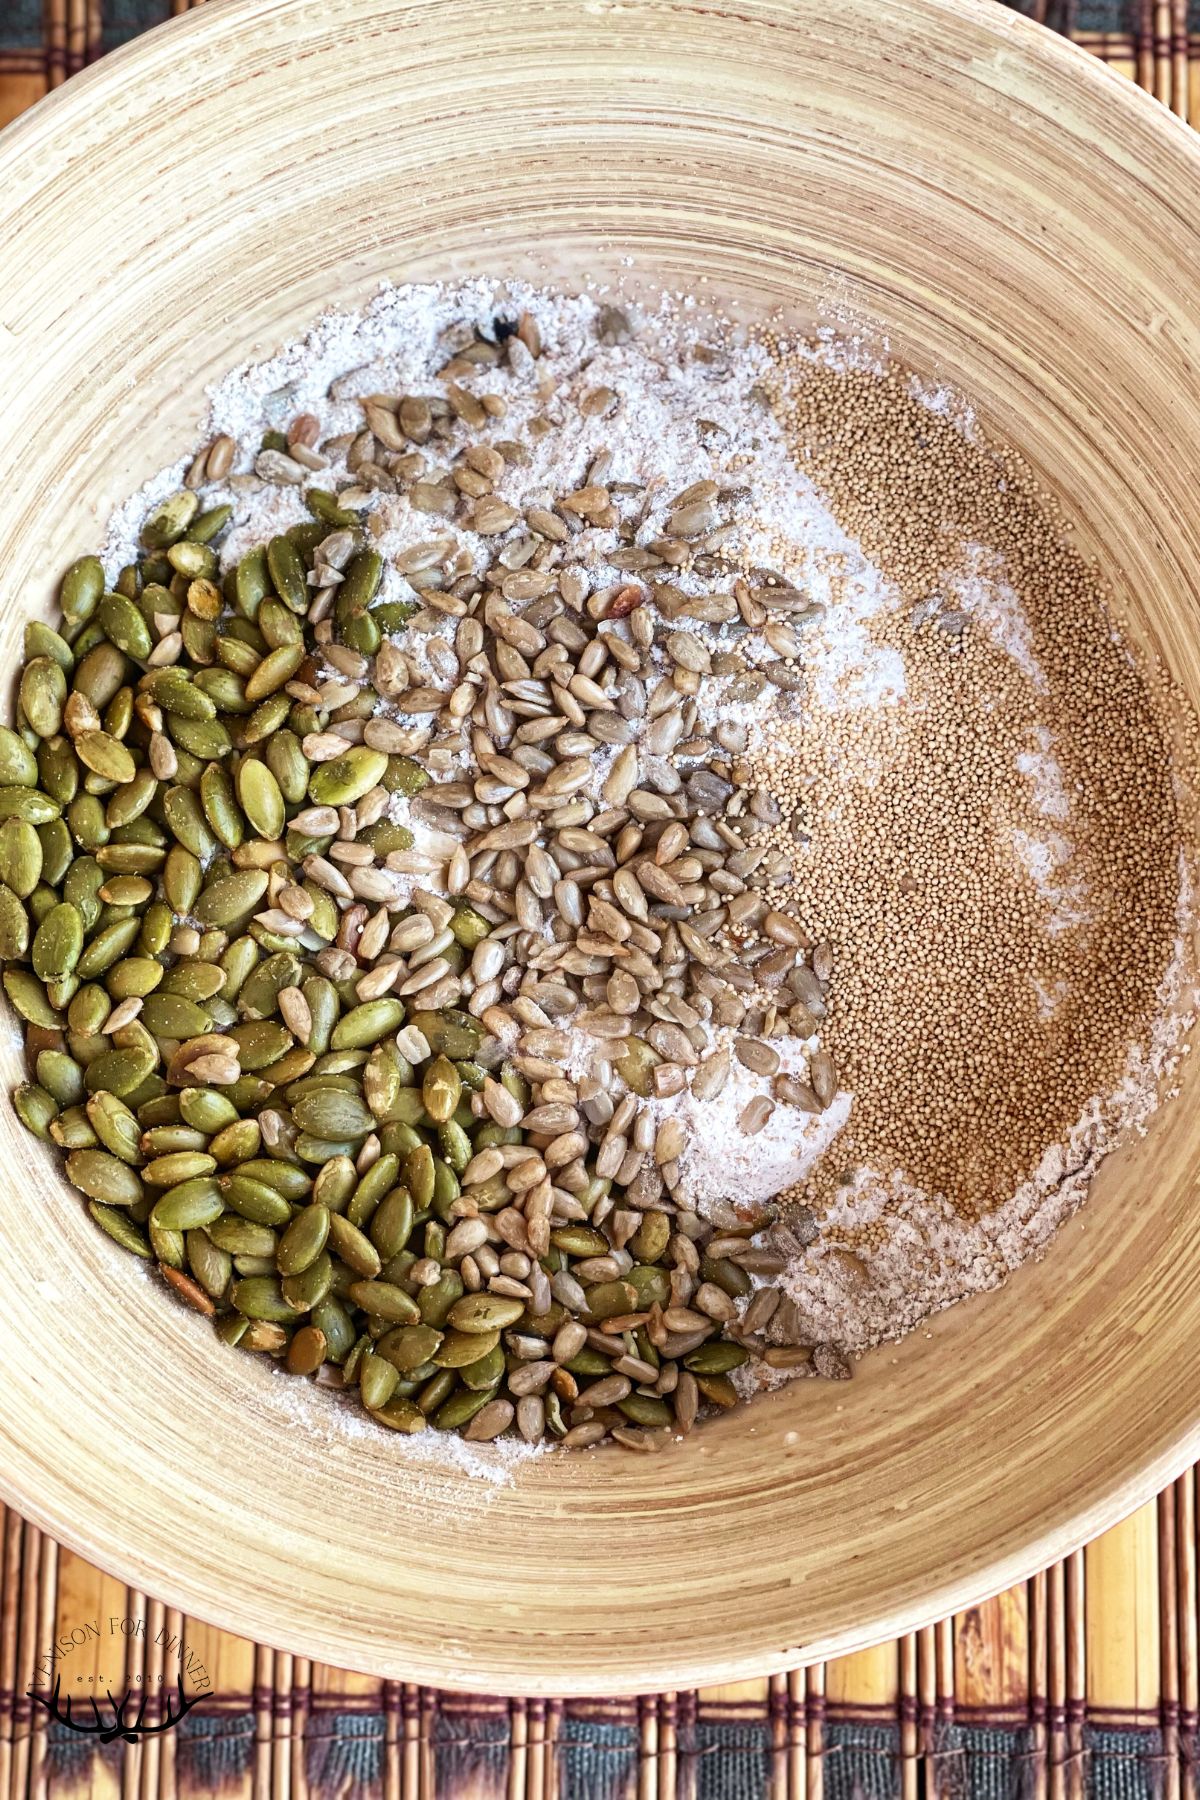
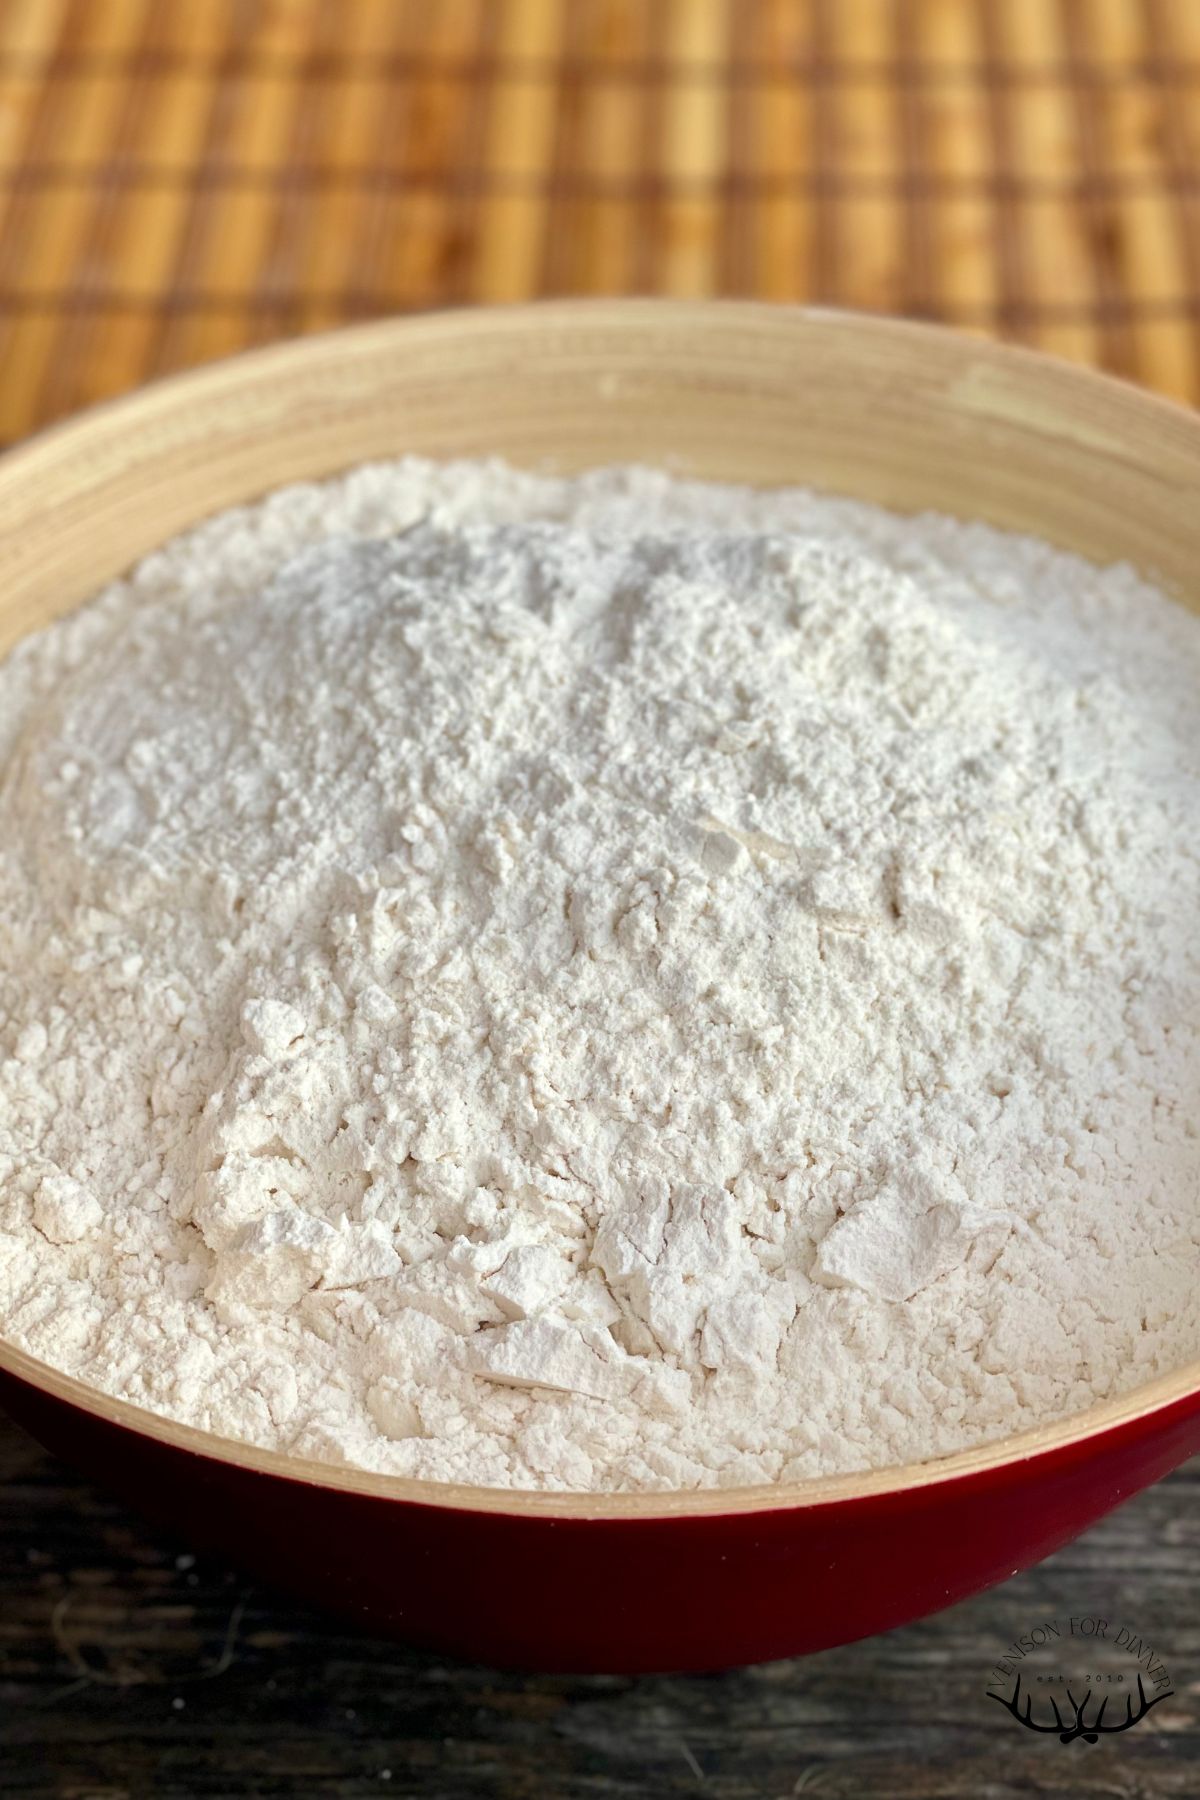
Step 2: Add seeds and flour to your bowl of starter.
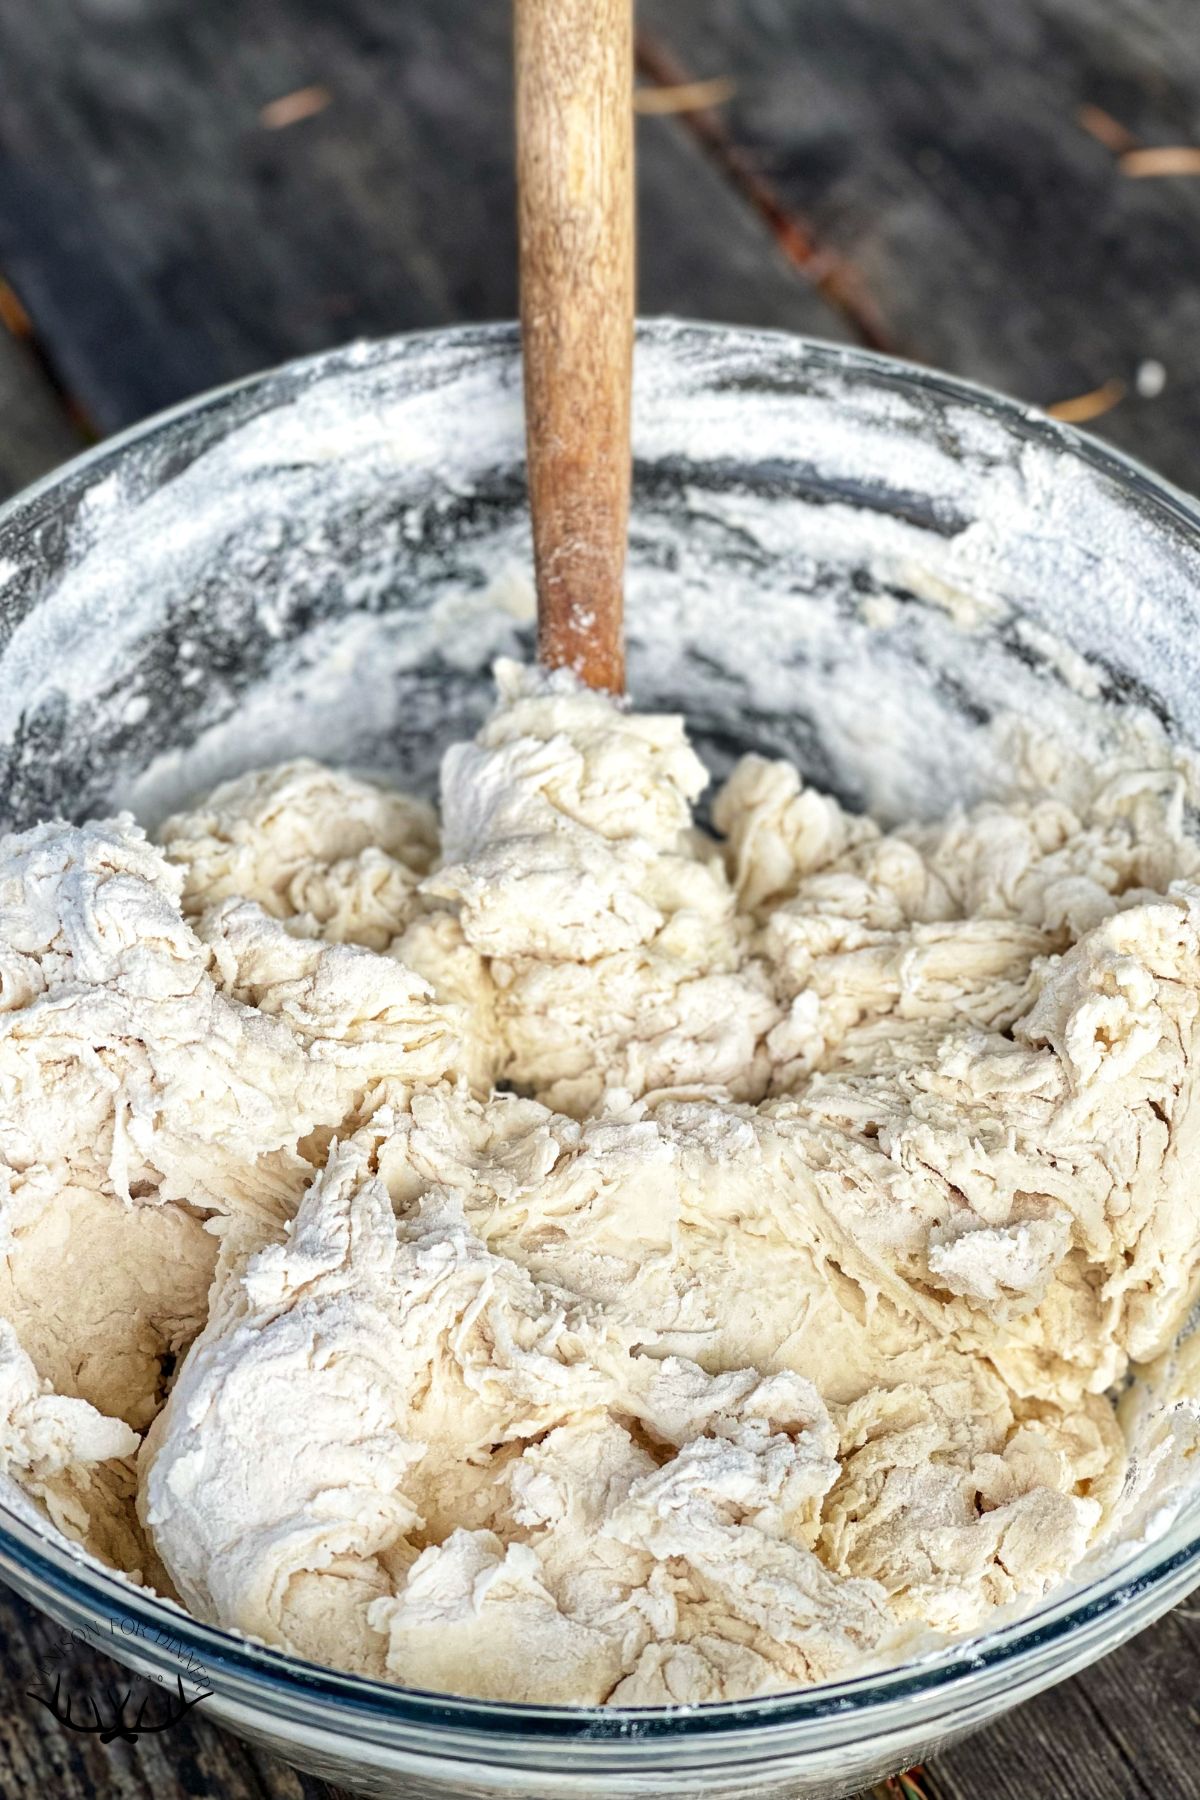
Step 3: Stir it all up so it can rest and hydrate. This is a loose, sticky dough, but all flour should be incorporated.
Step 4: Knead again and let rest for the first rise.

Step 5: Next up, shape into two loaves in your prepared pans and let rise again.
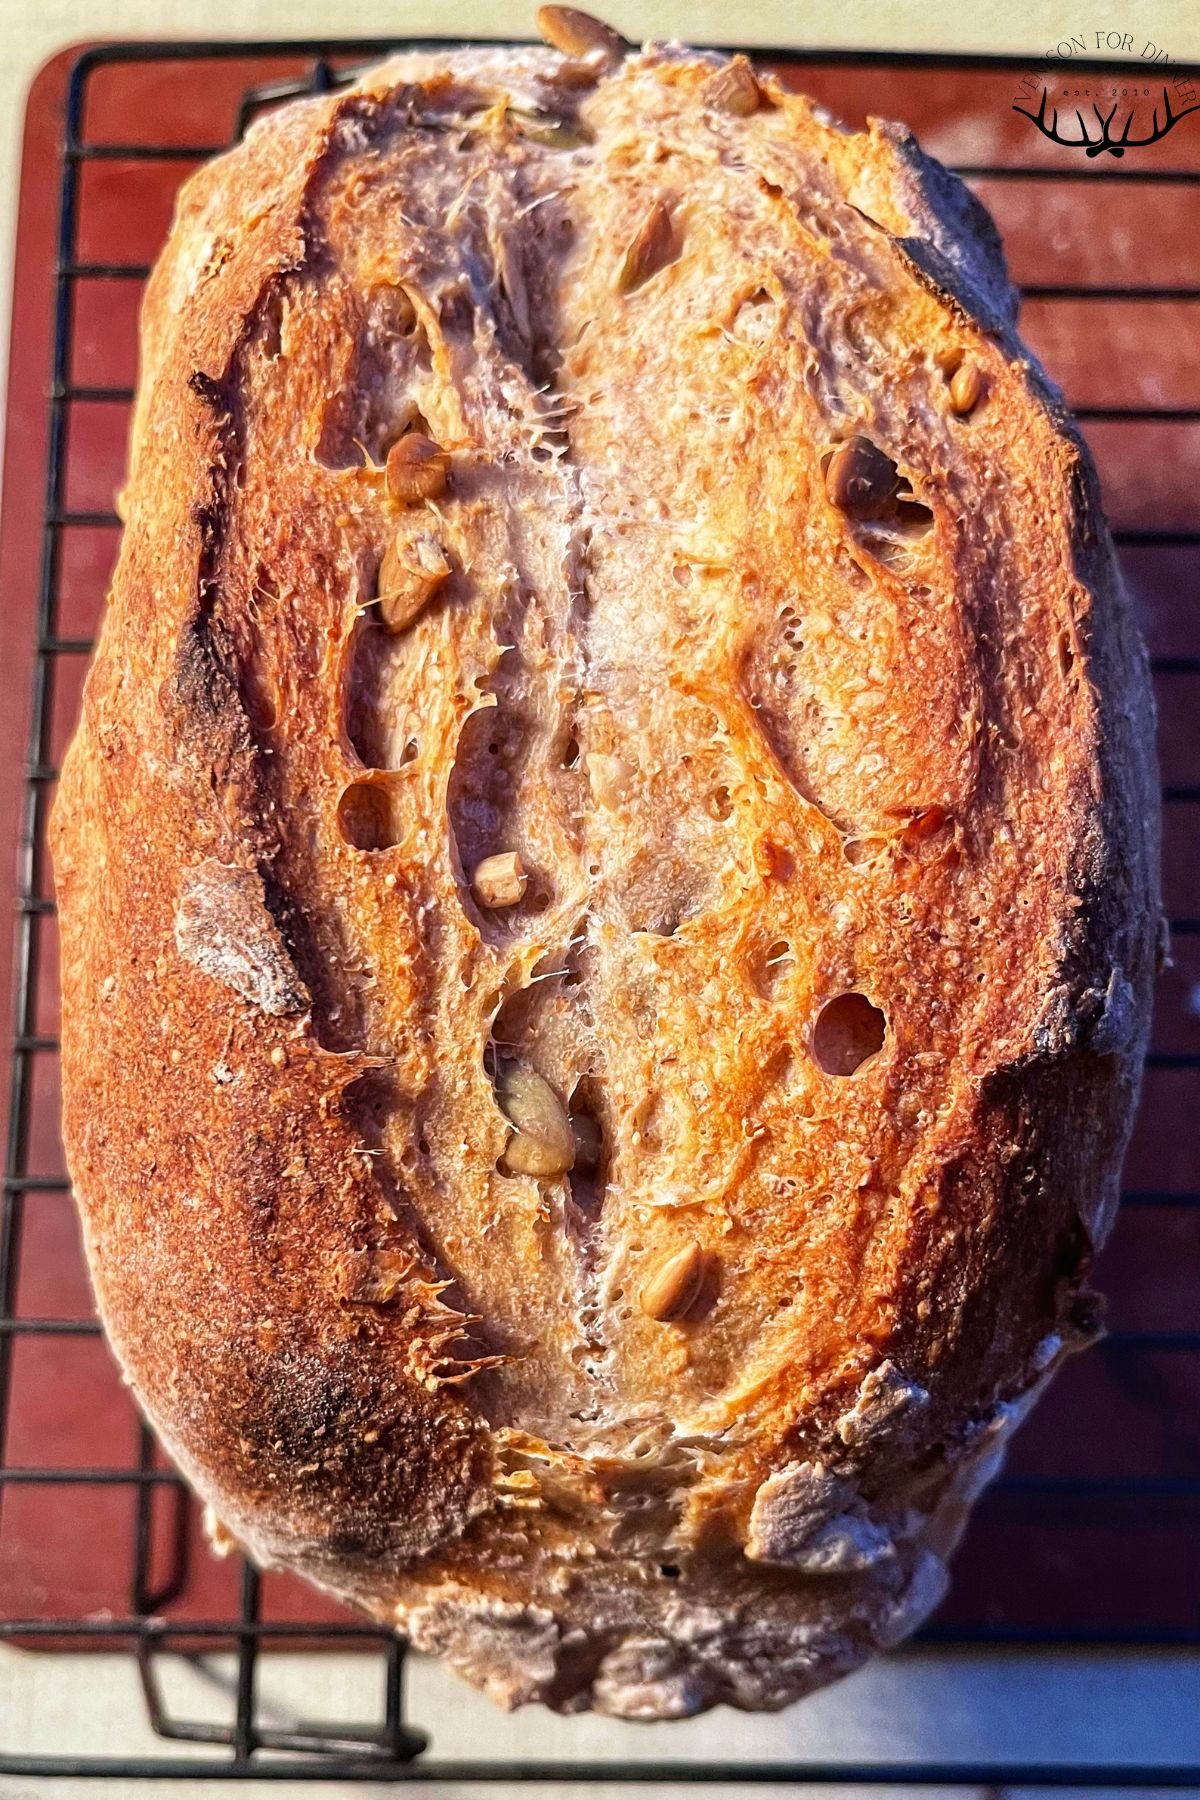
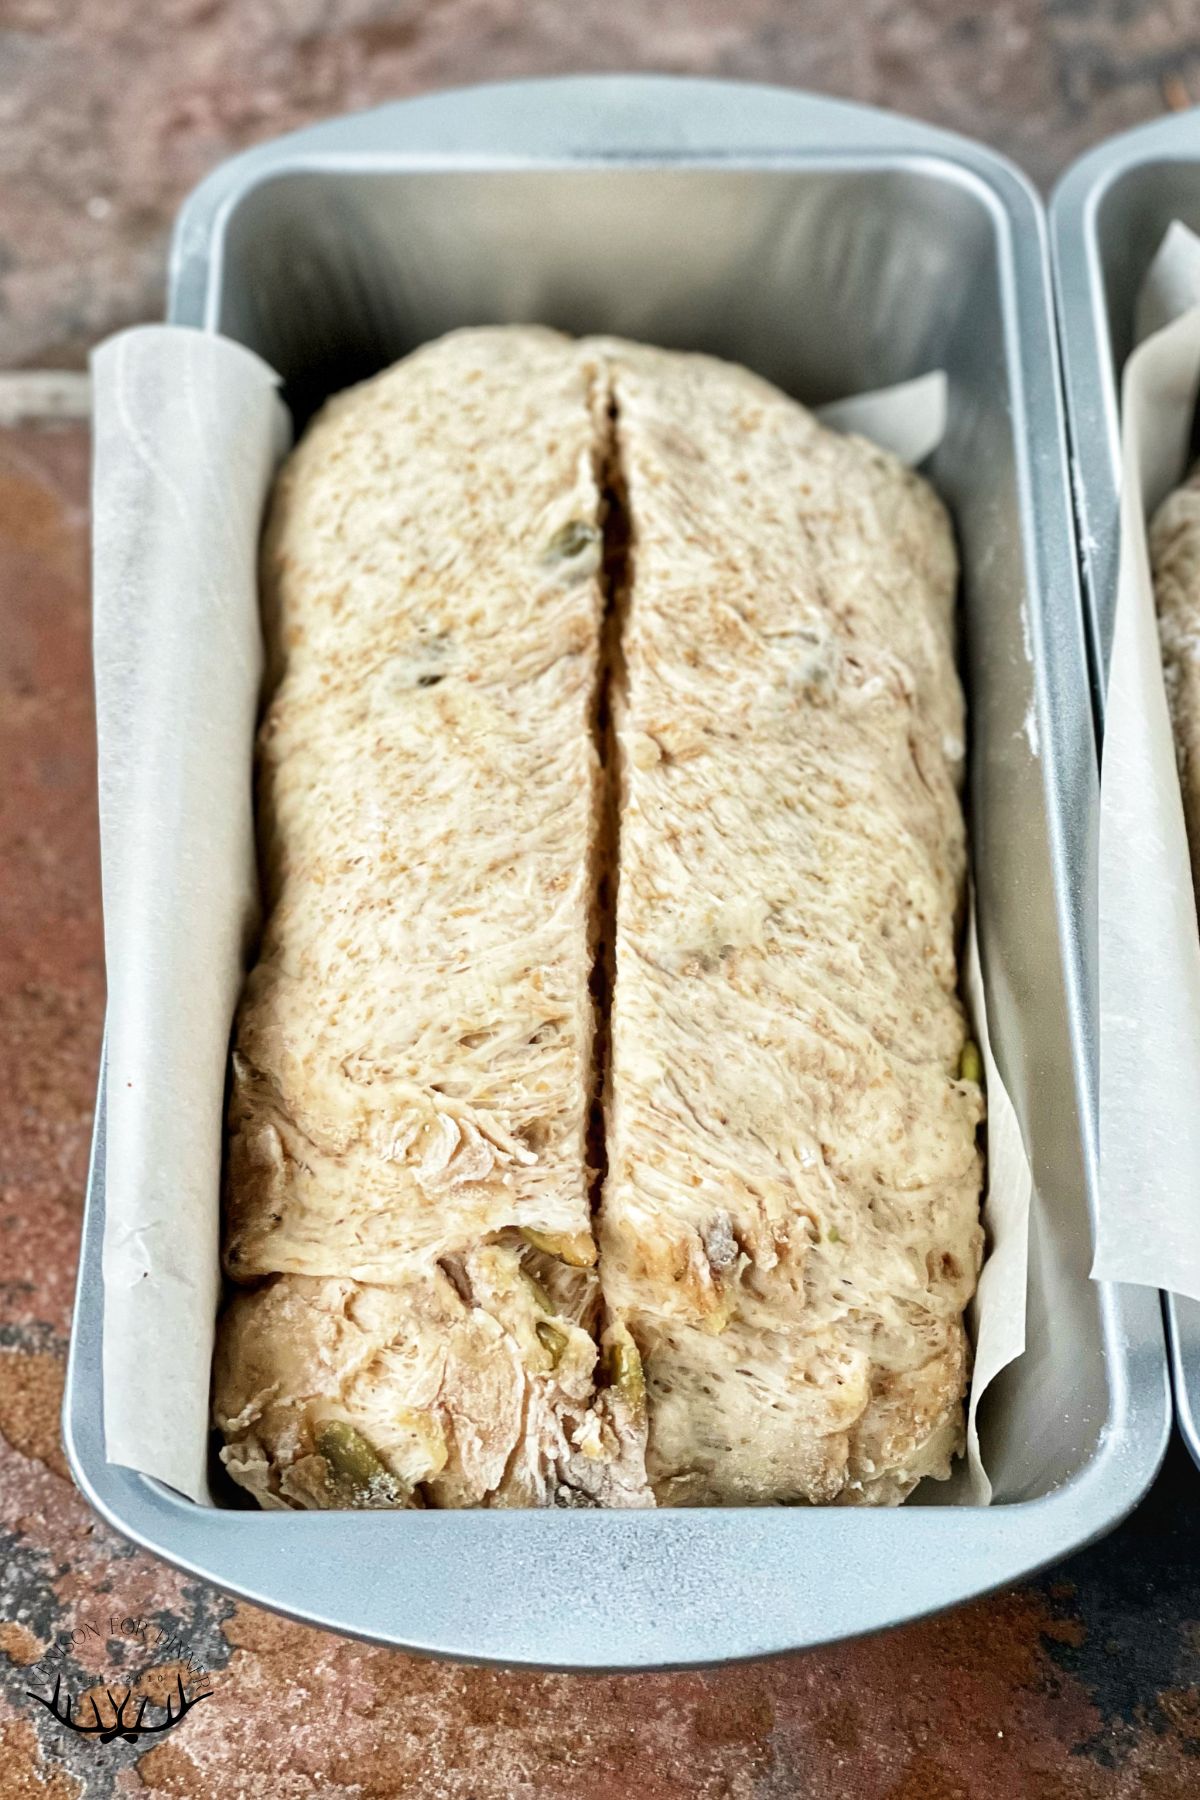
Step 6: Once risen, give the loaves a nice deep slash.
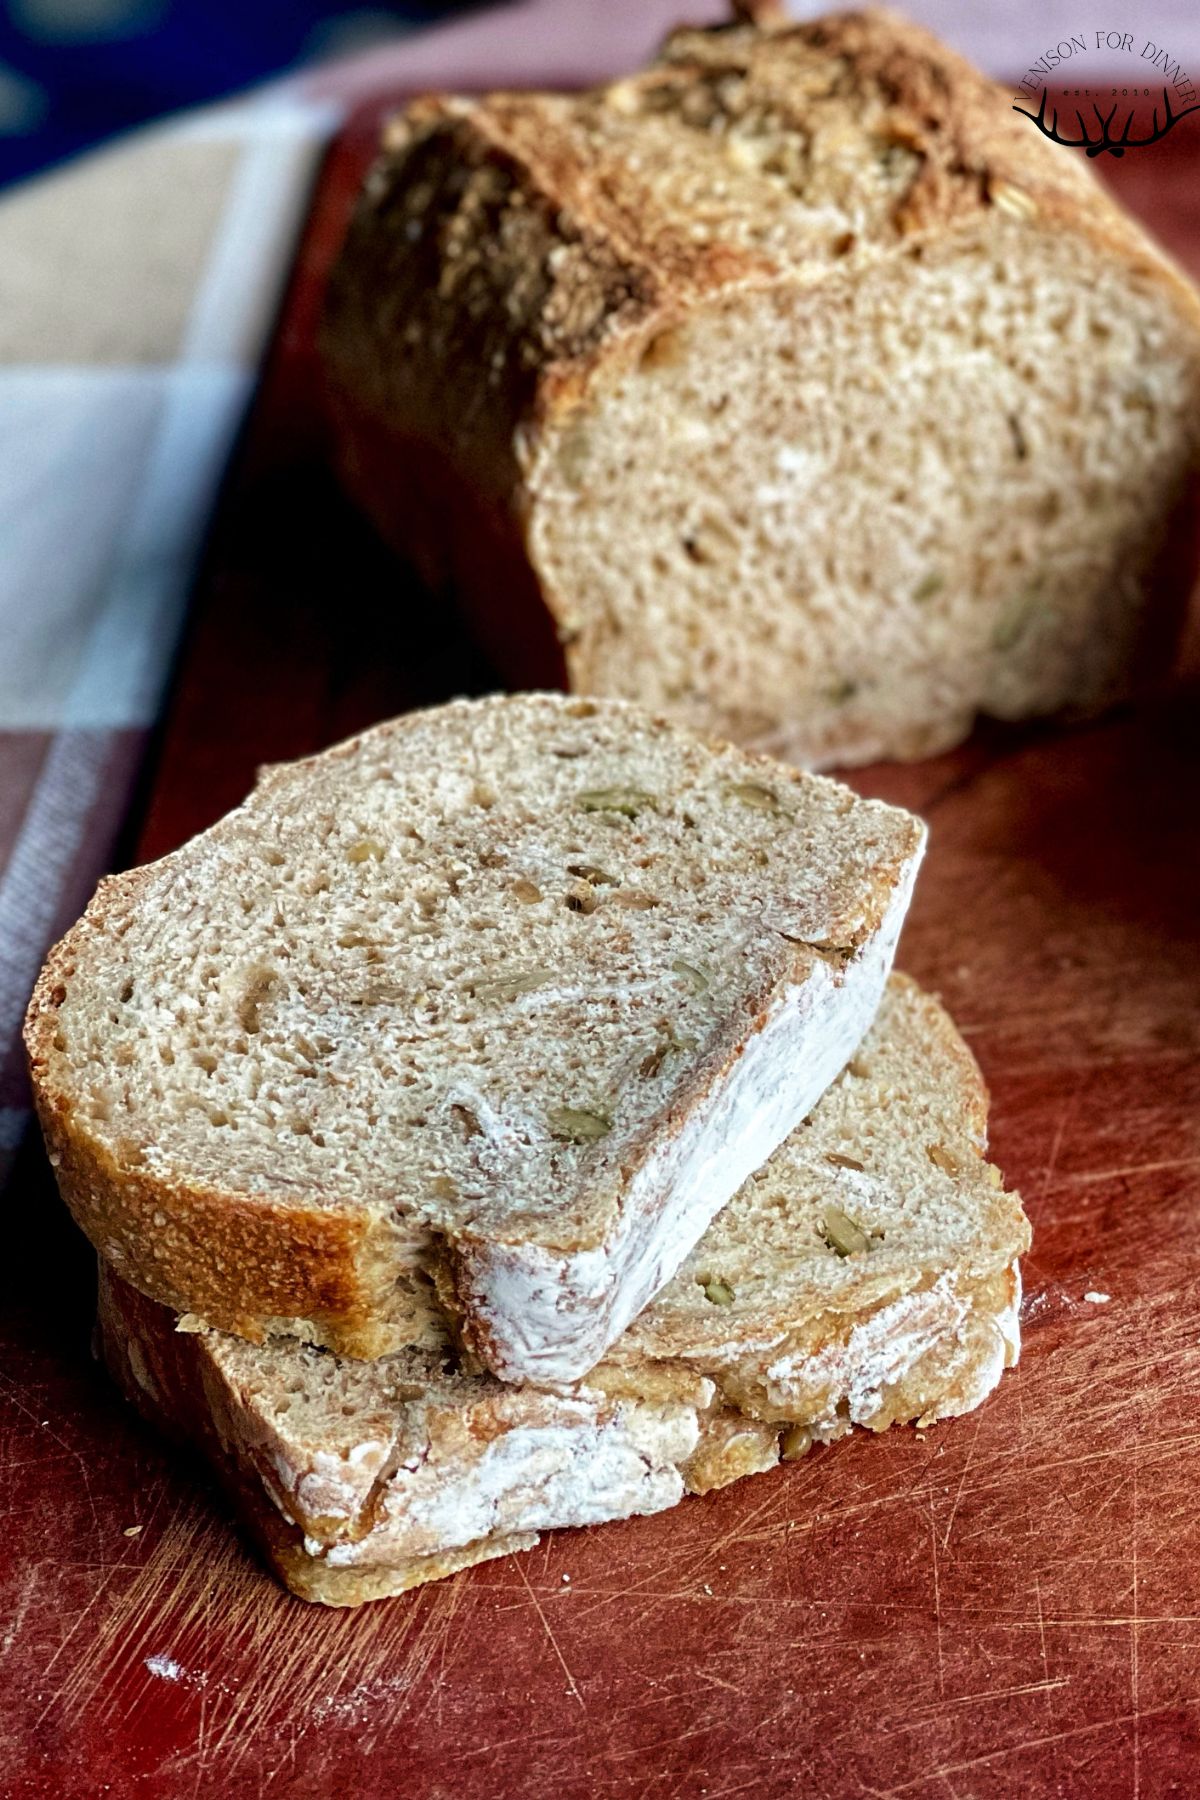
Step 7: Bake and then let cool! It's important not to slice into it immediately.

Tips and Tricks
- Don't forget the slash! This allows the bread to rise up nicely.
- Get a nice mix of seeds as far as size and texture to give your loaf interest.
- I love seeds! They add so much flavor and crunch. Look for raw and unsalted options if you can. I also recommend chopped walnuts! Since they are a softer nut already, they will fit in nicely with the seeds.
- Let cool to room temp before slicing. The crumb is still settling when it comes out of the oven!
FAQs
Many seedy breads call for hydrating the seeds separately, draining the water, then adding to the dough. Quite frankly...I don't need extra steps in my life. I use enough water and plenty of time in the recipe so that the seeds just go right in!
I love grinding my own flour! Yeast bread (sourdough is natural yeast!) requires "hard" varieties in order to work, not soft. Hard red wheat berries will give you the best "whole wheat" flavour and is what I highly recommend using. If you prefer to buy flour, King Arthur Flour and Bob's Red Mill both have organic unbleached whole grain whole wheat flours that should work. The rest of the loaf is "white flour" which can be unbleached all-purpose flour or fresh ground hard white wheat berries.
Regular loaf pans are perfect here. Because the dough is softer, I prefer to use a loaf pan to keep the bread in a sandwich shape. It will still bake up on a flat baking sheet, but may spread more and be a flatter, wider shape.
Photos by Dante from Shire by the Sea
More Sourdough Loaves to Enjoy
Hey friends, don't forget to follow me over on Instagram, cause if you like me here, I post there a LOT! I'm also on YouTube with tutorials and Facebook for all sorts of things.
If you like this recipe, I’d love if you reviewed it so others can find it easier. Sharing this recipe on Facebook or Pinterest is another way you can help us out at no cost to you. Thanks, xo Kate
Multigrain Sourdough Bread
Ingredients
- 1 ½ cups active sourdough starter
- ¼ cup sugar or 2 tablespoons honey
- 1 Tablespoon salt
- 2 cups water If you want a shorter rise, add warm water. Longer rise, add cold water.
- 2 eggs optional
- 2 cups whole wheat flour I use fresh ground hard red wheat
- ⅓ cup small seeds such as poppy, sesame, flax, chia or millet
- ⅔ cup big seeds such as sunflower or pumpkin seeds
- 4 cups white flour
Instructions
Multigrain Sourdough Dough
- Mix starter, sugar, salt, water, and eggs well together in a stand mixer or by hand. (I use a Danish dough whisk by hand.)
- Add whole wheat flour and all seeds, then add white flour. (This dough is going to be a little stickier than my sourdough sandwich bread recipe, because the seeds and whole wheat take time to soak up all the liquid. It should still be a nice formed dough, just not as smooth.)
- Mix it together just enough for there to be no dry flour, then cover and let rest 30 minutes. (This lets the whole wheat soak up the liquid and gives you a taller loaf with a softer inside crumb.)
- Now knead it together 15-20 folds, right there in the bowl. It'll still be a little stickier because the seeds take longer to hydrate, but still a nice workable dough, not sloppy at all.
- Now, choose your path for first rise depending on your schedule and weather. Warmth speeds up sourdough, cold slows it. This is all on counter unless specified.
Winter Rising
- Let the dough sit for 12-18 hours.
- Shape it and allow for a second rise of 2-3 hours. (If your house is really nippy in the morning like mine, I often preheat the oven for 2 minutes, with the bread pans in there, turn it off, then let it rise for an hour or two. This way I'm not waiting all day for them to be ready)
Alternative Winter Rising
- Let the dough sit for 4-6 hours.
- Shape it and put it in fridge for 12-18 hours. (Take it out an hour before baking to come to room temperatures. Our laundry room is fridge-ish temp so we put them back there.)
- Before baking when I use this method, I put bread pans in oven, turn oven on for 2 minutes then turn it off. Let sit in warm oven an hour, take out, then preheat oven for baking. This is my current favourite method.
Summer Rising
- Let it sit for 6-8 hours.
- Shape and rise a second time for 1-2 hours.
Shaping Multigrain Sourdough Bread
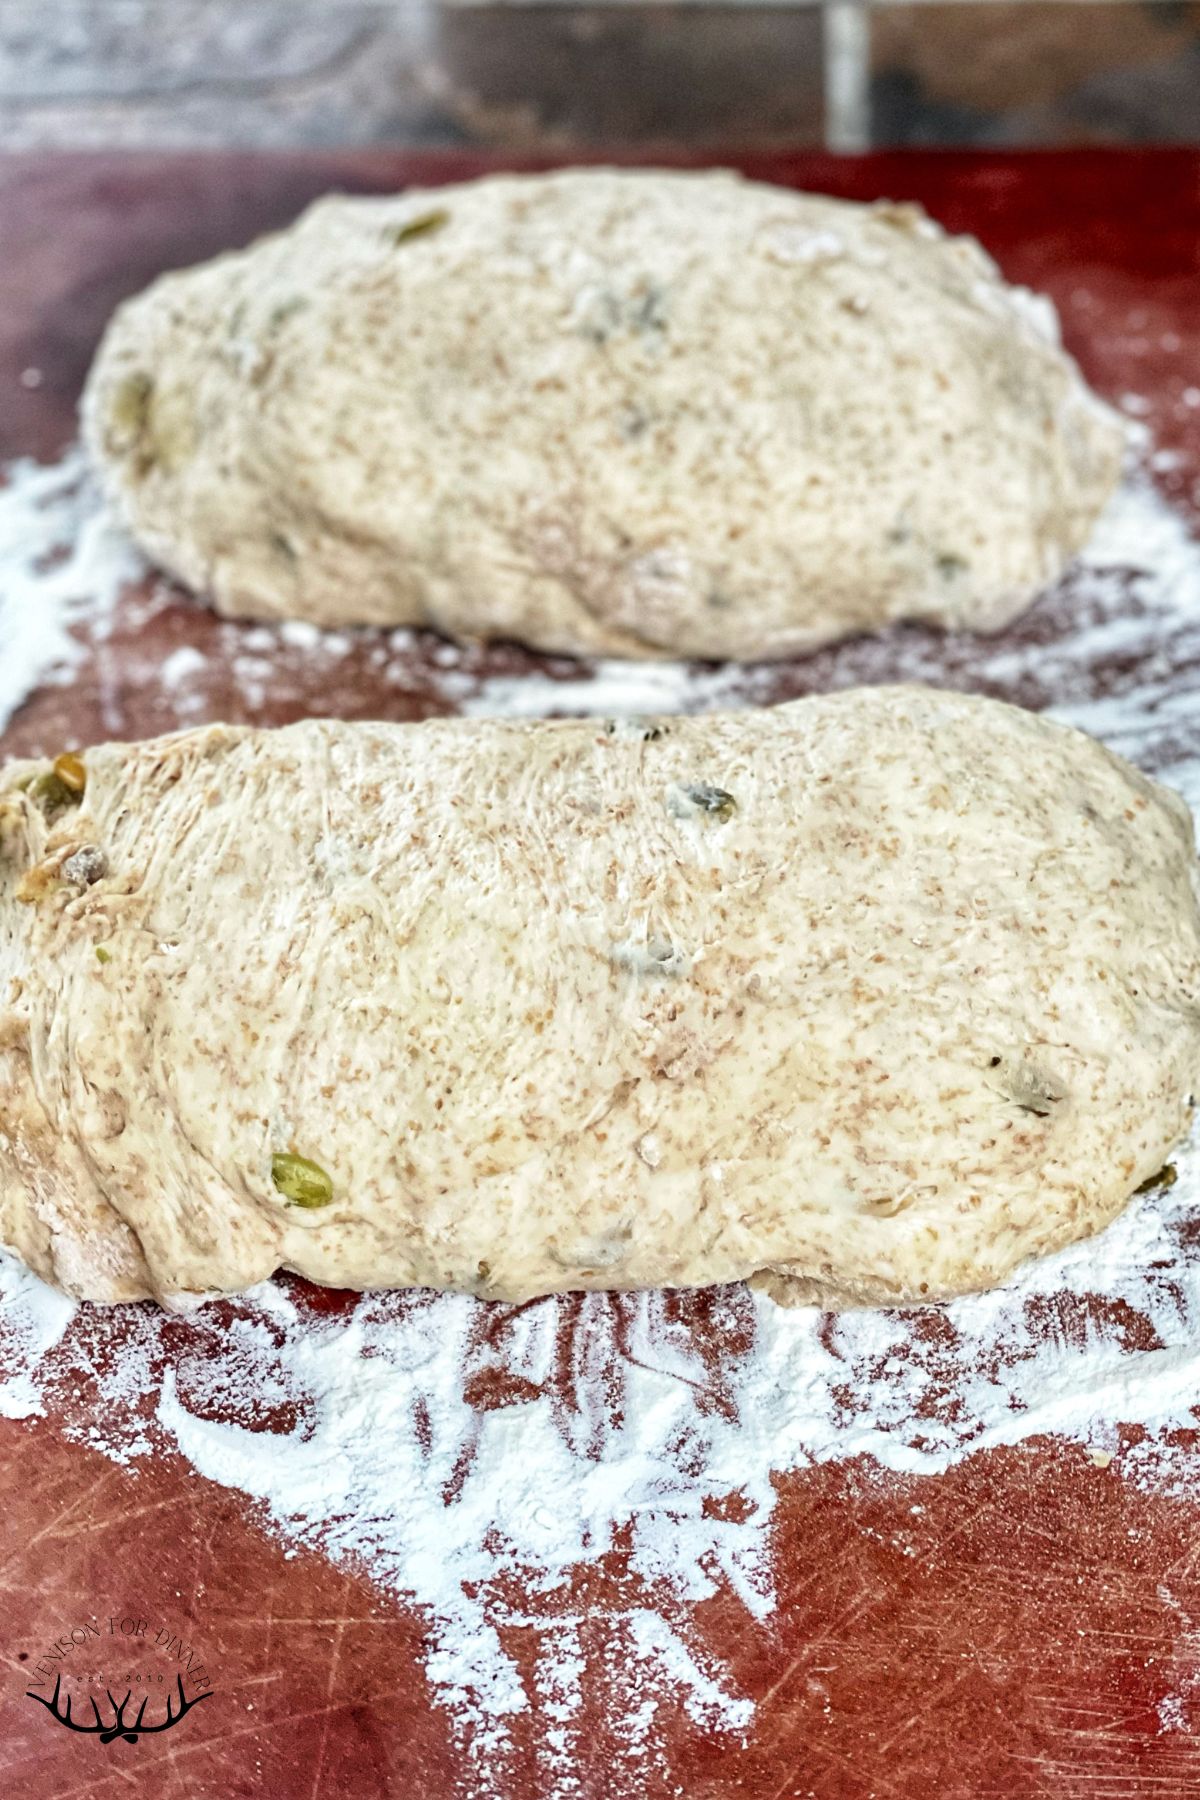
- After your first rise, it's time to shape! Dump your dough onto a floured surface and divide into two.
- Press each piece of dough roughly into a 6x8inch rectangle.
- Fold like a letter with long sides in then flip it seam side down to let rest for about 10 minutes. (This is called a preshape/bench rest and makes your loaves taller!)
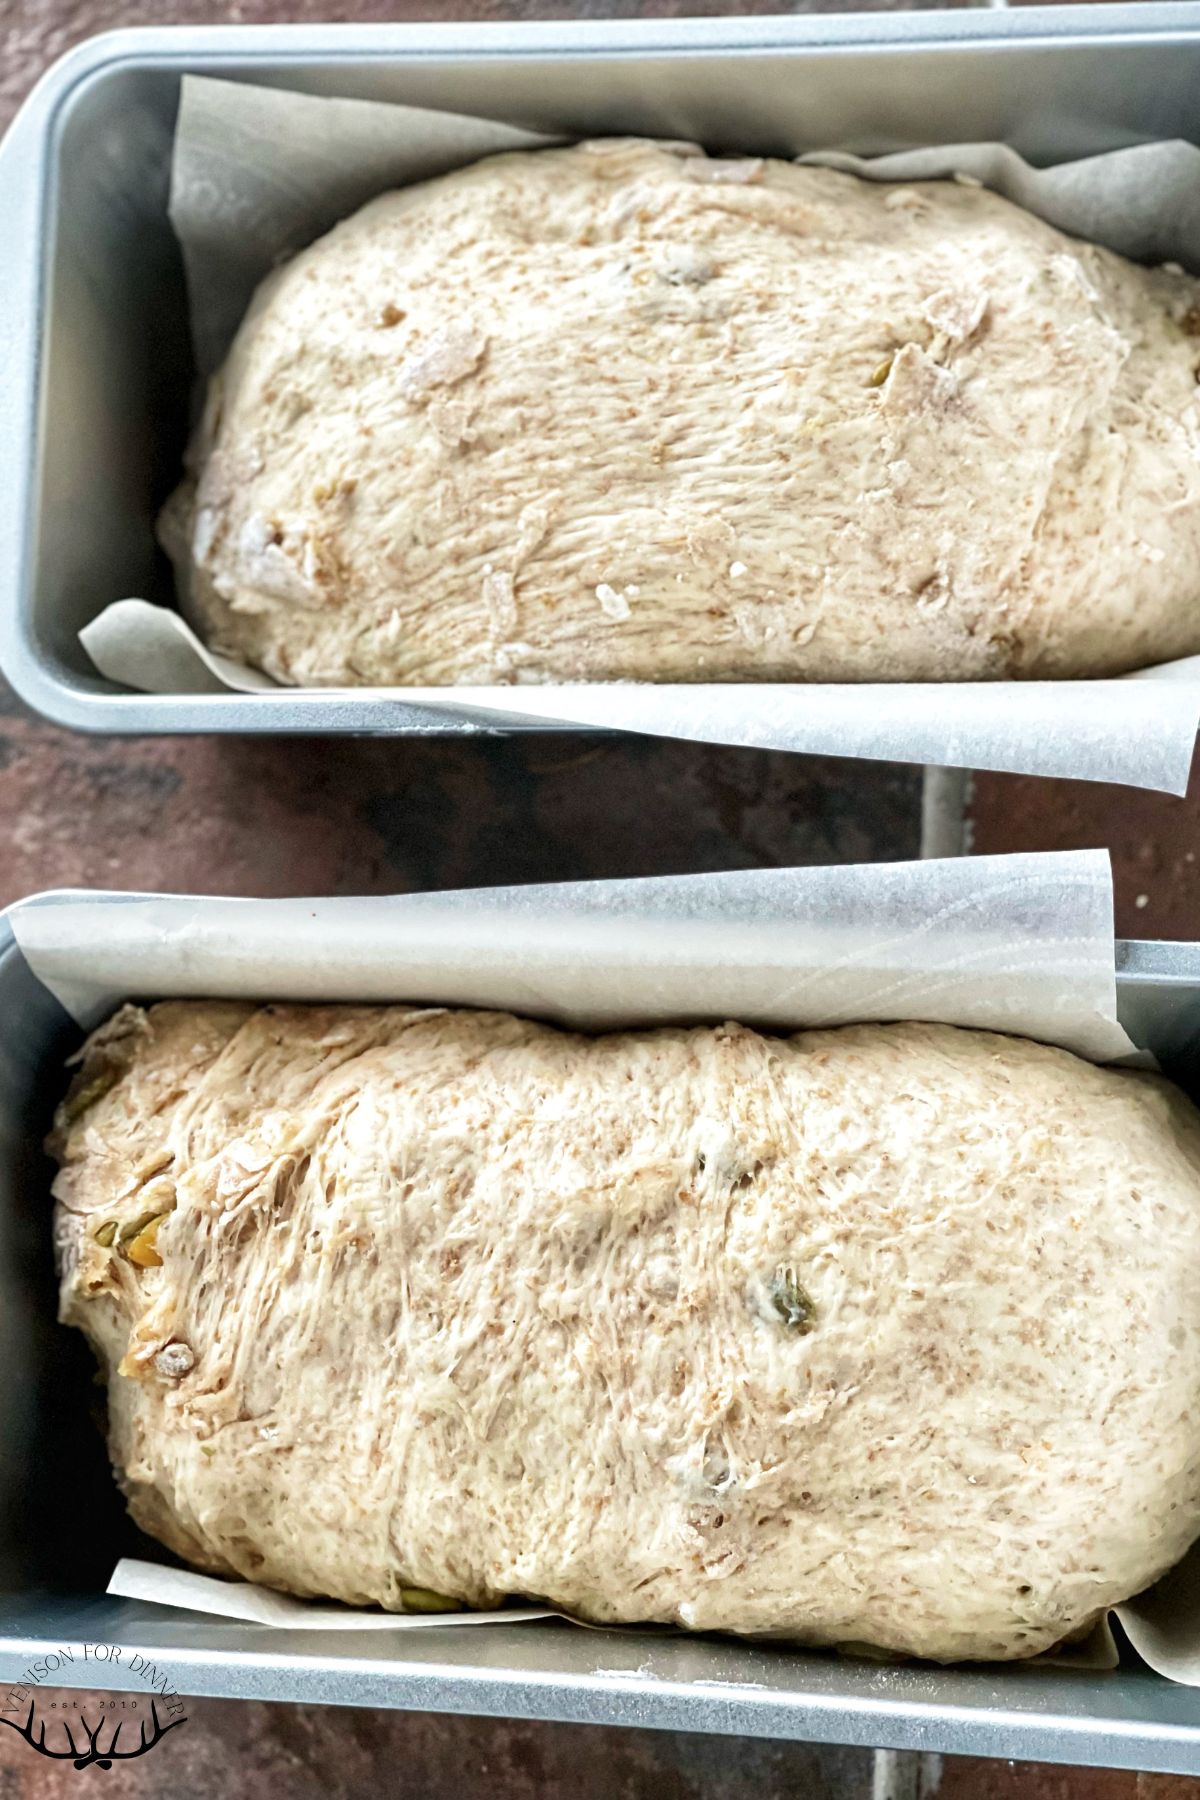
- Prepare your loaf pan by lining with parchment or greasing the pan.
- After the bench rest, flip seam side up, press into a rectangle again but this time roll it up, and tuck sides under to make a tidy loaf, then put into the loaf pan.
- Let rise for second rise depending on which path you choose. It's not going to be doubled, more like 1 ½x, noticeably more puffy for sure though.
Baking Multigrain Sourdough Bread
- Preheat oven to 425°F.
- Using your sharpest knife, slash the loaf by slicing a one inch deep line down the length of the bread. You can get artistic or just leave it at that. This allows the bread to expand and rise in the oven better.
- Put pans into oven and bake for 25 min, turn around and then bake 20 more.
- Remove bread from oven and put on a cooling rack. Remove from pan and let cool until around room temp. It's hard to wait but I promise its worth it! The bread is still finishing up baking as it cools.
Notes
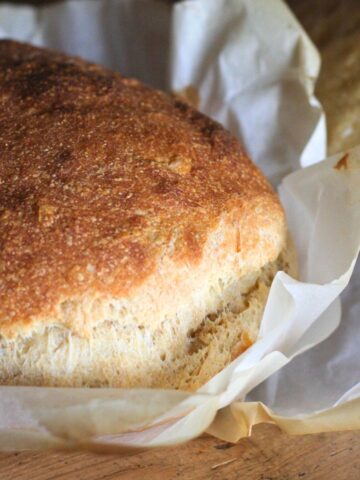
- You can also bake it in a boule, as instructed in my Sourdough Boule recipe! Although if you feel like the dough is a little more soft than it should be, go for the loaf pan, it's more forgiving and prevents your dough from spreading out wide as it rises and bakes.
CarlaT
Was watching your instagram post about the Berkey. Love our Berkey for our water. We also use our grill for cooking in case electric goes out. We do have some cases of water as well as we don't have a full pond to get water for the Berkey.
Jennifer Lucas
This is my family's favorite sourdough sandwich bread recipe! I always include the egg and I am so impressed with the texture and keeping ability even with such a high proportion of whole grain.
Ashley
Such good flavor! My crust was more “burnt” than I like. Recommendations for avoiding that? Lower temp or should I cover with foil?
[email protected]
You could try lowering the temperature. Does you oven run hot?
Carli Morrow
I love the flexibility of the add-ins in this loaf, super yummy.
Kim
This is one of our favorites! So many mix in options- and they’re always delicious!
Annette
My Husbands favorite bread! The flexibility with add ins makes this recipe super fun. This recipe is easy to follow and results are great!
Rebecca
By far my favorite sourdough sandwich bread! And I love that I can throw whatever I have on hand into it.
Naomi
Basic question. Do I need a lid over the top of my pans.. or any kind of steam? Thanks
[email protected]
If you are baking it in the loaf pans you don't need a lid or steam. If you are baking a boule in a dutch oven then you use the lid.
rachel
This was my first bread recipe I tried for sourdough. Easy, straight forward, no muss and delicious!
Linda
Such a good sourdough recipe...good sourdough you can make a sandwich with
Glenda
This is my go to Favourite sourdough bread recipe, so easy to make, it’s so Versatile, always turns out so yummy. Our family’s favourite!! Thanks!
Marta
Hi! Is this fine salt or kosher?
kateschat
fine
Patti
Tried this recipe for the first time. My crew loves "crunchy" bread, aka bread with seeds. I always used to add the seeds with the second set of stretch and folds but this was WAY easier and the bread was wonderful. The only change I made was to start the loaves at 425 for 15 minutes then I dropped the temp to 375 for 30 minutes. Tested the temp of the bread with the quick read thermometer and was perfect (205) and nicely golden.
Hazel Peters
I have this in the oven right now! I used one tablespoon of molasses instead of honey.
[email protected]
Sounds like a lovely substitution.
Erika Burton
Is the starter mentioned in the recipe used with AP flour or from a starter used with freshly ground flour (hard white/red) berries?
Brand-spanking-new to grinding my own flour so I am asking really basic yet very confusing questions.
[email protected]
Normally Kate uses organic all purpose flour in her starter as the main flour. It's very exciting that you are grinding your own grains. It does take a bit to get used to how it works in recipes!
Robyn
Does this make one loaf or two?
[email protected]
This makes two loaves.
Jan
Mine has doubled in 2.5 hours. Do I still need to let it sit for 6 hours or do I move on the shaping?
[email protected]
If it's doubled you don't have to wait any longer.
Patty McKay
I want to make my loaf with 100% freshly ground whole wheat flour, what adjustments to your recipe would you recommend? Thanks Kate!
[email protected]
You could just use 100% fresh ground, but it will turn out denser.
Jann
What size is a regular loaf pan?
[email protected]
Kate's loaf pans are 9" x 5"
Lana
Love this recipe. Great results. I wish the measurements were provided in grams as well. Would’ve saved much time.
[email protected]
Yes, some people use metric and some imperial. Kate is just trying to offer both and eventually all the recipes will be converted but it takes time as you have to test to make sure you've got it right.
Danielle
Thank you so much for this recipe! I’ve tried a lot of different ones and this has definitely become a family favourite and made almost on a weekly basis. I like to top mine with seeds I’ve let soak for a bit but just for the added crunch and texture honestly though doesn’t need it. Can’t wait to try some of your other recipes ??
Danielle
Thank you so much for this recipe! I’ve tried a lot of different ones and this has definitely become a family favourite and made almost on a weekly basis. I like to top mine with seeds I’ve let soak for a bit but just for the added crunch and texture honestly though doesn’t need it. Can’t wait to try some of your other recipes!
[email protected]
Mmmmm I think I need to make this one next.
Betsy
This is now my go-to sandwich bread recipe. I love using fresh ground flour and seeds to keep it super nutritious. The texture is wonderful and you hardly notice the seeds when eating it. Thank you for good directions and great recipes, friend!
Charlotte
Can I use all purpose white Einkorn flour for the white flour in this recipe? I have the brand Jovial…. I have not tried it in sourdough. I’m actually new to sourdough, but I’ve read that you have to change up the moisture content, but I don’t know if that’s true..
[email protected]
I would want to use a recipe that is designed for white einkorn.
Julia
This was the first loaf of bread I made with my starter and I love it!
How would you change the bake time for splitting this into 3 loaves rather than 2?
[email protected]
You are going to have to judge this and, I would suggest, using an instant read thermometer. It's a great recipe. Glad you love it.
Kathy M
Could I use my mixer to knead this dough?
[email protected]
If you have a bread dough hook then yes!