
As someone who is somewhat recipe obsessed- not in terms of following and trying new recipes, but in reading them and gleaning tips and tricks and methods to improve my cooking and baking, when I came across a sourdough sandwich bread recipe the other day with a different method...I knew I needed to play around with it.
My Sourdough Sandwich Bread is a weekly bread for so many families and for that, I am honoured. I am tagged on Instagram on a daily basis in peoples' baking posts and it never ceases to thrill me.
The ingredients in this recipe are basically the same, albeit in slightly different measurements. It's also measured in cups not grams, which many find so much more approachable and easier to get into sourdough baking without the added step of figuring out weighing ingredients too.

What's different is the method: you're going to mix up your starter with specific measurements the night before. Many refer to this as a levain, pre-ferment, sponge...if that feels overwhelming, just think of it as feeding your starter a specific amount, because that's all you're really doing.
Next is the proofing. You've got an overnight variation or a "make it one day" variation. For the make it one day method; it doubles and you punch it down after 2-3 hours and then let it rise another 2-3 before shaping. You may be saying but Kate - never has my dough ever been ready to shape after such a short time! I'm here to tell you, my dough, which is NEVER ready to shape after such a short time...is ready after such a short time. Like, hold my beer and watch this. Even if my house is cold, it still works. If my house is like REALLY cold...I'll turn the oven on for a minute, turn it off, then put the shaped bread to rise in there.
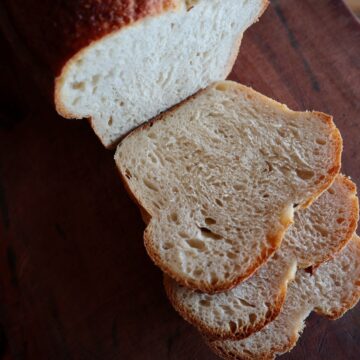
The next drastic change is the temperature. For those who have struggled with dark crusts and dark bread at high temps; breathe a sigh of relief, this bakes at 375F. After it comes out of the oven, I slather the top in butter and leave it in the pan to cool. The bread 'sweats' in the pan a bit and softens the side crusts. It's not as sweaty as it sounds, I promise, it works well.
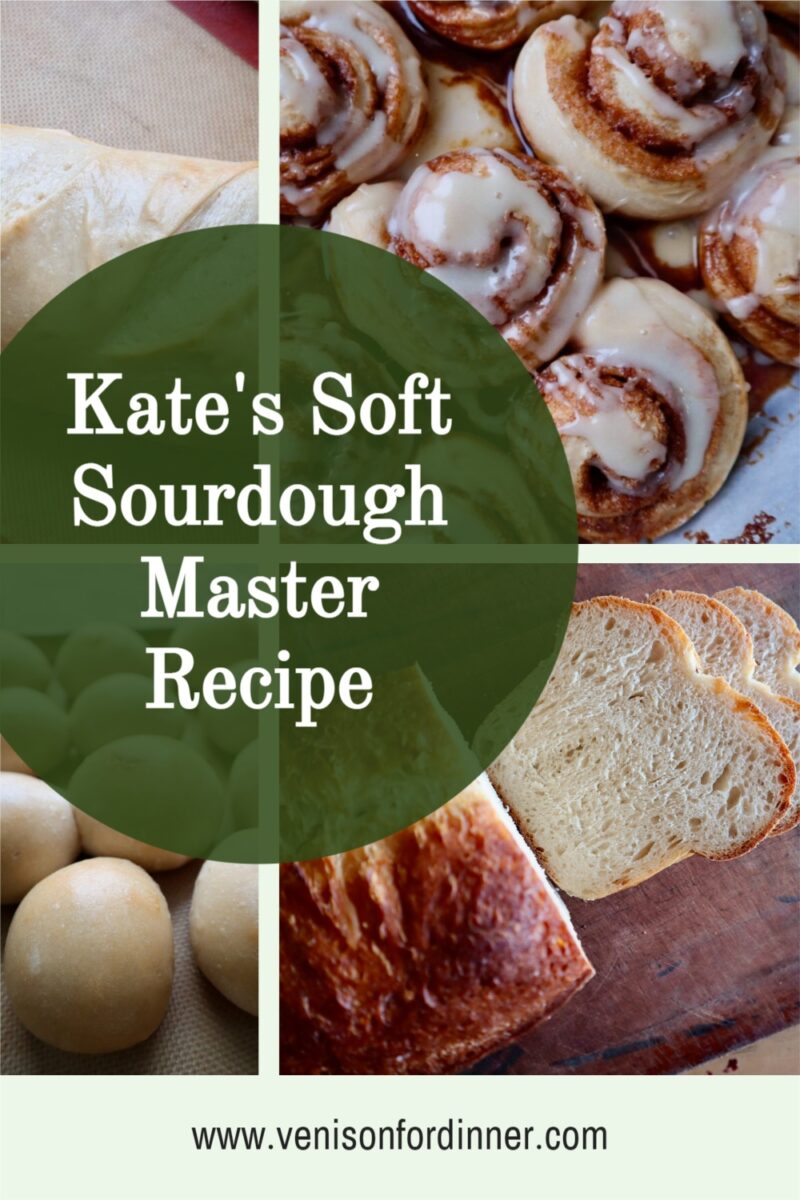
Now the REAL magic in this recipe...is that without needing to be heavily enriched with eggs, oil or sugar...it's soft enough to make cinnamon buns, french bread, and dinner/sandwich buns. Yes friends, one recipe, FOUR ways to bake it. And I'm not done experimenting. I have more up my sleeve.
While I love the original sourdough sandwich bread recipe, it's not super versatile. It's a loaf of bread only. This is the sort of recipe I need. One that I can make over and over and use it all sorts of ways. One that doesn't require loads of butter or eggs to make soft cinnamon buns. A loaf of french bread for soup. A dough I can make a big batch worth and make it a few different ways: some buns to go with dinner, cinnamon buns for a treat, and a loaf of bread for tomorrow.
Your starter to make the preferment needs to be fed somewhat recently, but it can be falling/needing to be fed. It doesnt need to be at optimal bread baking state.
The recipe is written to make one loaf, but if you hold your mouse/tap your finger over the recipe card where it says "servings: 1 loaf," a little slider should pop up where you can adjust it to fit your needs. While I never make just one loaf, it made the most sense for using the dough for other variations to write up the master recipe as one loaf's worth of dough.
OVERNIGHT TWEAKS - In my extensive testing of this recipe, I have found if you are doing an overnight rise, you can skip the autolyze rest before kneading AND skip the first punch down and rise. Just let mix, knead, let it rise, punch down and shape in the morning.
EXCESS EGGS IN YOUR HOME?! You can swap ¼ cup of milk for an egg! Add the egg in step 3. It adds an awesome boost to your dough and when you've got extra eggs, why not?!
Kate's Soft Sourdough Master Recipe
Ingredients
Pre-Ferment
- ½ cup sourdough starter it needs to have doubled, but can be falling and needing to be fed, it does not need to be at 'optimal bread baking state'
- ½ cup warm water
- ⅔ cups all-purpose flour
Dough
- Pre-ferment from above
- 1 tablespoon butter, coconut oil or olive oil
- 1 tablespoon honey sub 1 tablespoon honey for 1 tablespoon maple syrup or 2 tablespoon sugar
- 1 teaspoon salt
- ¾ cup milk (save buttermilk from making butter for this if you have it!) sub non dairy milk or yogurt/cultured buttermilk watered down to to milk consistency.
- 2 ¼-2 ¾ cup all purpose flour
- Butter to brush crust after baking
Instructions
- I recommend reading the blog post before the recipe, there is some different steps here that may feel confusing, but are explained in the post. Happy Baking!
Pre-ferment
- Mix the pre-ferment of sourdough starter, flour, and water up 8-24 hours before you want to bake. The longer beforehand, the more sour your end product will be. If I plan to mix the dough in the morning, I make it before bed. Cover with plastic wrap or a plastic bag and let sit on the counter.
To Make the Dough
- Melt butter, honey, and salt on low in a saucepan. When it's melted and combined, turn off the heat, add your milk, and stir to combine. With a thermometer or your finger, test the temperature of the mixture. By thermometer, it should be no more than 105F. By your finger...you should be able to comfortably hold it in for 10 seconds. If it's not this warm, turn the heat back on to warm it. If I use a heavy bottom pot, there is enough residual heat to heat the milk, if I use something like a thin enamel pot, there isn't.
- Add the warm liquid to your mixer (or bowl you plan to mix the dough in) and add your pre-ferment.
- Stir to combine; it's not going to combine super well until you start adding flour.
- Add your flour, starting on the low end, and mix the dough, adding more flour as needed just until it's combined, but not a cohesive, nice dough.
- Let sit 15-30 minutes, then knead the dough.
- This dough takes more kneading than most- my mixer kneads on low for 10 minutes, so if kneading by hand, you're going to knead about 10-15 minutes.
- If the dough sticks to the bowl or your hands, add a little more flour, but try not to add too much. It's not a stiff dough, it's on the softer side. Try wetting your hands/counter for kneading if it's sticking and you've already added a lot more flour.
Bake in One Day Method
- Cover your dough with plastic wrap or a plastic bag and let rise 2-3 hours until it looks like it's kind of doubled (don't overthink it, as long as it's 1.5'd its original size).
Overnight Method (see notes)
- Cover your dough with plastic wrap or a plastic bag and let sit overnight. It will be gigantic and beautiful in the morning. Skip the second rise with the overnight method. see notes
For Bake in One Day Method: Continue as Below
- Punch your dough down, give it a few kneads. Yes, you are letting it rise twice before shaping. For more on this, read the blog post above the recipe card.
- Cover with plastic wrap or a plastic bag and let sit 2-3 hours until it's doubled. To test if your dough has doubled, dip your finger in flour and poke the dough. If the dough bounces back- it's got more to give and needs to keep rising. If the dough stays indented, it's given all it has to give and you can proceed.
To Shape your Loaf
- If you're using this recipe for French Bread, Cinnamon Buns, or Normal Buns, this is where you switch over to that recipe. To use as sandwich bread, proceed as follows.
- Dump your dough onto a lightly floured counter, press out with your hands to make a rectangle roughly the size of your two hands flat, side by side (roughly 6"x10"). Fold the dough like you were folding a piece of paper to go in an envelope, flip seam side down and let rest 10 minutes.
- This is called a bench rest or par-shape. It helps your dough keep shape in its final shape and your loaf of bread will be taller.
- After ten minutes, flip the dough seam side up, flatten out to the same size. This part is funny to describe but fold your rectangle so it's now a triangle, and then starting at the point of the triangle roll it inwards. When it's all rolled up, tuck any non-conforming parts in to make it a good size to fit in your loaf pan. Pinch the seam together, flip seam side down onto a piece of parchment paper. Pop it into your loaf pan.
- Cover with a tea towel and let rise 2-3 hours, until it's doubled. If your house is like REALLY cold- 60F or lower...I suggest turning your oven on for a minute or two (put a cast iron pan in there to hold some heat!), turn oven off, then put covered loaf pan in the oven to rise.
- When it's doubled and ready to bake, (don't forget to take it out of the oven!) preheat oven to 375F.
- Slash the top of the dough with a sharp knife to allow for expansion.
- Bake for 20 minutes, flip around and bake another 20 minutes.
- After the second round of 20 minutes (40 min total) check the internal temp of your loaves- this is the most reliable way to know your bread is ready. Your bread should be 190-200F, if not put it in for another 5 minutes.
- When your bread is done, take it out of the oven, leave it in the loaf pan to cool, and brush butter on the top. This can be melting and using a brush or just rubbing a stick of butter over the top. This step is technically optional but it REALLY makes a nice soft crust that stays soft.
- Now the easy part...enjoy your bread! I prefer to slice it all right away. Anything you wont eat within 2-3 days pop in freezer in a bag once its cooled.
Notes
- OVERNIGHT TWEAKS - In my extensive testing of this recipe, I have found if you are doing an overnight rise, you can skip the autolyze rest before kneading AND skip the first punch down and rise. Just let mix, knead, let it rise, punch down and shape in the morning.
- EXCESS EGGS IN YOUR HOME?! You can swap ¼ cup of milk for an egg! Add the egg in step 3. It adds an awesome boost to your dough and when you've got extra eggs, why not?!
Sherrie Tichinel
If I have already prefermented sourdough, then how much in measurement do I add to thus recipe?
[email protected]
Kate tells me to judge the amount of preferment by looking at recipe. I wish I had written it down how much I used as it's happened a couple of times for me!
Talitha Dam
My hubby was asking for a softer crusted sourdough than the usual boule. This was soft and delicious. Subbed some flour with fresh milled hard wheat and still turned out great!
Savannah
I always get a fantastic loaf with this recipe! I love that it has overnight or single day instructions and tips!
Dorcas
Yhis recipe has very clear steps and has so many good ways to use it besides just bread!
Blaire
This is a staple in our house because boules can have harder crusts for the kids to chew through. I still find myself using other recipes for buns and cinnamon buns, but maybe I need to experiment more with this one! I’ve been making this bread almost weekly for years.
Mary
I use this recipe every week
Tara Clawson
Love this bread recipe! It turn out perfect every time. It's the only sourdough recipe I use now! Thank you Kate!
Alicia O'Connell
This was one of my first sourdough recipes. It was so easy to follow the instructions, and tasted amazing.
Bonnie
I find my ferment times are a bit shorter but it’s Literally a perfect dough for everything!! We love it!
Rachel
I love this bread recipe! It makes the softest, tastiest sandwich bread.
Wendy
I've used this dough with variations for so many things. When I have eggs I use eggs, when I have extra milk I use that. I've even made it with no milk or eggs. This dough works for cinnamon buns and pizzas, doughnuts and buns.
Katheryn
Love this recipe. The only thing I do differently is I use yogurt whey instead of milk .
Louise
Best sandwich bread ever!
NJ
What type/size of loaf bread pan should be used for this recipe? Cast iron and covered or a regular bread pan?
[email protected]
Kate bakes these in 9" loaf pan, but I bake mine in a dutch oven.
Jordan
Such an easy and reliable recipe. This is my go to sourdough sandwich loaf recipe. I love the variations Kate provides for the different seasons.
Kathleen M
Thank you, thank you! I’ve finally found the perfectly delicious, and soft sourdough bread recipe!!! I’d just about given up trying sourdough bread recipes…they just all turned out the same - not useable as a sandwich bread. I read through your recipe several times to be sure I understood it and then followed it exactly. I no longer need to search for a great sandwich bread because I finally found it. Thank you!!
Pam
WOW! So easy to make sourdough now, this recipe is absolutely perfect! Thanks Kate
Penny
This is my go to recipe via Ruth Anne Simmerman. Love, love, love your sourdough ! It’s sooooo soft. Thank you for creating it ?????
[email protected]
I love this recipe of Kate's too!
Dori
Love this recipe so much, and had been using the original one with tweaks for years!! I just have one question, I've been using KA bread flour all this time, but looking for a cheaper option....can you really just use any unbleached all purpose flour? I'm scared to try something different! Thanks!
[email protected]
Yes you can use any all purpose unbleached flour. Fresher is better though.
countrycouple
Kate, I have been making sourdough bread for over 20 years. But I have to tell you this recipe puts all the others I have tried to shame. I used a mix of fresh ground whole wheat and some Azure whole wheat bread flour.
This is the easiest and tastiest recipe ever. I have made it in one day and also made it fermenting the dough overnight and they were both fantastic.
Thank you for sharing.
I can't wait to get started in making my own cheese (from your recipes) with our fresh Jersey milk. It's never too late to start. We got our cow last year and I was 65 years old. Getting a milk cow has been a long time dream.
[email protected]
Wow you are truly inspiring! So good to hear how well the bread did with the fresh ground whole wheat! Thank you for sharing.
Kathy
I made my first sourdough bread using this recipe and it turned out perfect. It was beautiful and tasted great. However, I made another loaf today and not sure what I did wrong, but it didn't rise once it got in the pan. I'm wondering if my house was too hot since I have a wood burner and it was like 88 degrees in here. I followed the same recipe as last time so can't figure out what I might have done wrong. Was disappointed (in myself) but making another loaf tomorrow so hoping it turns out again. Oh and I made your cinnamon rolls and they were to die for. So yummy.
[email protected]
If your first bulk fermentaton is too warm it can take knock the stuffing out of the dough. I hope your next loaf worked out for you.
Kim Lofquist
Quick question, sorry if its been asked/answered before, Kate have you tried this with fresh milled flour yet?
Nancy
If you do the overnight rise do you let it sit out on the counter or put it in the refrigerator?
[email protected]
If it's not too warm in your house you can let it sit on the counter overnight. IF you dough rises to much in this first ferment it can hamper the rise when baking.
Karen Brancheau
I absolutely love this sourdough sandwich bread recipe. It stays soft for days as well. The texture is perfect. My hubby even likes this one. And he's hard to please.
Anita Adams
I’m curious if the warm temp of the butter mixture doesn’t kill the active starter and thereby reduce gut health benefits?
[email protected]
No it doesn't kill the active starter as you are just warming the mixture.
CarolTM
Hello, is this recipe available in grams vs cups? I tried to convert myself and made my preferment last night and it did not rise. I am not the best at conversions obviously!
[email protected]
Sorry it's only in imperial measurement...which Kate knows is a pain for some but for many it's what they use.
Bobbie M.
Just made this today, and it is everything you said it would be. Each step was explained well, and everything happened just as you said. It made a beautiful soft loaf of sourdough bread! It tastes wonderful , even the picky hubby said it was good, and the “ you can make this again”. I can ‘t wait to try the overnight rise method , I did the same day bake today. Thank you for sharing and giving perfect instructions.
Sharon
I am looking for a gluten free option because my daughter has Celiac. Do you think this would work with KA Measure for measure gluten free flour and a gluten free starter? I know gf breads are different than regular breads.
[email protected]
This might be a tricky one to convert and it would be trial and error on your part. I've not attempted it gluten free. Would love to know how it works out for you.
Pam
This is my go to recipe for sandwich bread now & forever, I have it printed out & on kitchen counter! I make 6 loaves at a time, 2 double batches in 1 pound loaves as its just me & hubby now, but I give ALOT of it away to my kids & friends so I bake almost every week! I have 2 double batches in fridge right now before I go to bed & I'll let them warm if not double, then I'll shape. I'm going to try milling my own flour soon and try that. Thanks Kate best bread ever!
[email protected]
I love this comment!! It's such a great recipe.