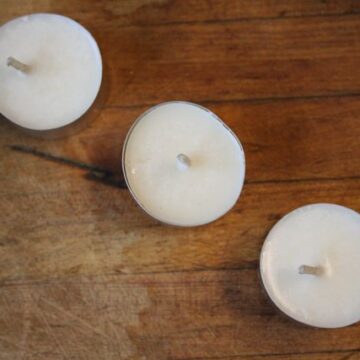
Learn how to make Deer Tallow Candles! If you can get your hands on some deer tallow, the waxiness of the fat makes the perfect homemade candles! If you can't get deer tallow though, beef tallow will work just as well for these DIY tea light candles.
When it comes to making use of the whole animal, we’re getting better. We’re trying to tan hides (it really isn’t going very well, it's been a few years of trying too…) and we’ve now got a dog who can eat the liver, heart, etc as they’re not our most favourite cuts of meat. When we butchered our milk cow a couple few years ago, one of my requests to Marius was that we keep as much fat as possible for me to render. He honestly didn’t want to, thought it was a pain and whyyyy bother.
Luckily I have persuasive qualities that convinced him and when Marius, Stepdad Doug, Brother-in-Law Jered, and I butchered the cow (while I was 37 weeks pregnant with Hamish…) I won and we kept the fat. Lucky for me, while my Mom didn’t want to be involved in the process of butchering the cow (she, like us, was very attached to the cow and pleaded having to go to work), she rendered the tallow for me which was a very nice gift.
Since then I want to render every fat I can get my hands on. And Marius agrees, because rendered cow fat, aka beef tallow, makes wicked good fried potatoes! (As well as a great butt balm!)
Then this crazy thing happened and we shot a deer that was FAT. Like, really fat. So I kept the fat, because this was the first time it had ever happened and I wanted to render it. I figured it’d probably be too waxy to eat, but would make excellent candles. I rendered it using the same method as lard. The only difference I suggest after having done it myself, is to pour the rendered deer tallow into wide mouth pints as it will make the candle making down the road much easier.
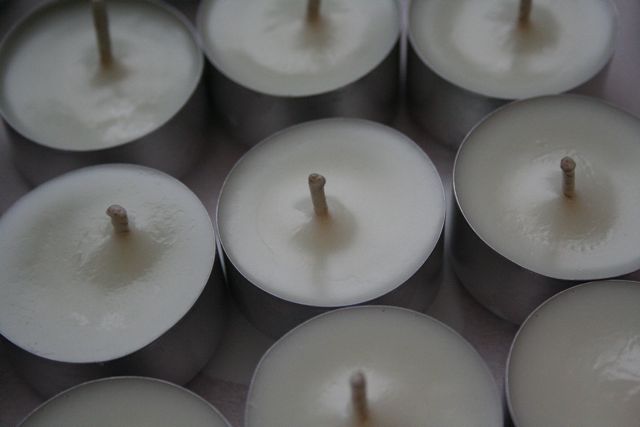
Onto the Deer Tallow Candle making! Start by heating up your tallow, which could take a good hour, so get started well ahead of time. Get your candle making supplies ready to go. A quart of tallow will make approximately 45-50 tea lights! I also bought random tea cups and containers at the thrift store and made other lovely votives. I bought the tea light cups, wicks for said cups, and wicked for votives at Voyageur Soap and Candles. I just browsed through online to find wicks that were appropriate for my use. I may try the clear plastic tea light cups next time…if I ever run out of candles…
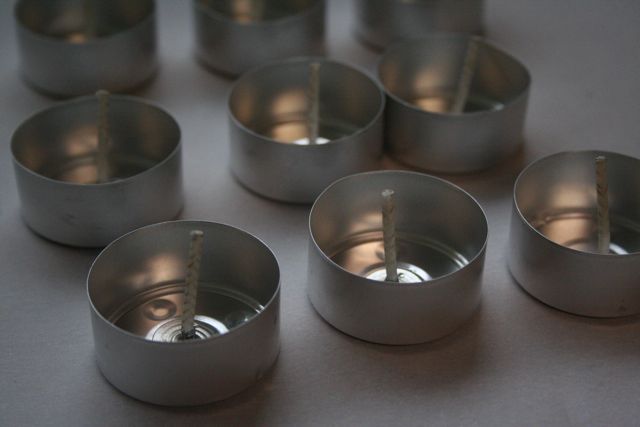
I lay it all out on parchment paper, on a chopping block, so I can move if neccesary as well as it protecting the chopping block. Straighen out your wicks, and put them in the middle of the tealight cup or other container.
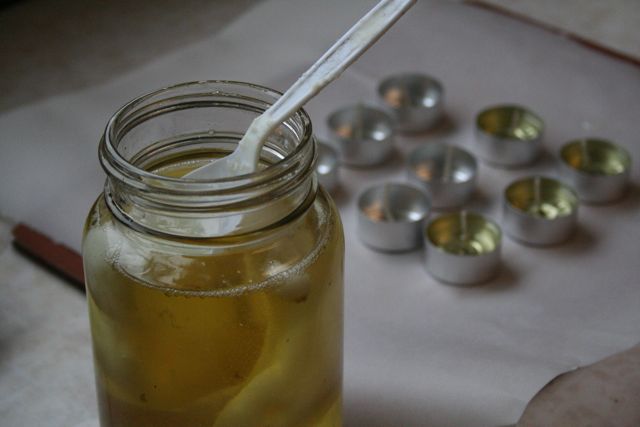
When your tallow is warm, I used a spoon I didn’t care about to scoop it into each cup. If I was using a smaller jar, I would have been able to pour, but it was way too awkward with a quart jar. Fill them up until they are flush with the top of the cup. If you’re doing lots of them, after you’ve filled 20, go back and adjust all the wicks, because they’ll be super wonky.
And that's it! Just let them cool down until fully hardened, then they’re ready to use. I find the burning time is about 4-6 hours, which is equal to a beeswax tealight. I’ve also cut the tallow with beeswax and they burn nicely, but I don’t really notice a difference.
As far as scented candles go…I added essential oils to them and I didn’t smell it. I don’t light candles for the smell, I light them for the ambience and light. My sister said she has dropped essential oils on top of the candle before lighting them and that works nicely…so maybe I’ll try that out and let you know how it goes!
Also, lard wouldn’t work because it’s too soft, but I believe beef tallow would make good candles, they’d just be a bit softer and burn faster.
Deer Tallow Candles
Equipment
- tea light candles
- wicks
Ingredients
- 1 quart tallow deer or beef
- saucepan
- jar
- cutting board
- parchment paper
- 50 tealight candle cups
- wicks
Instructions
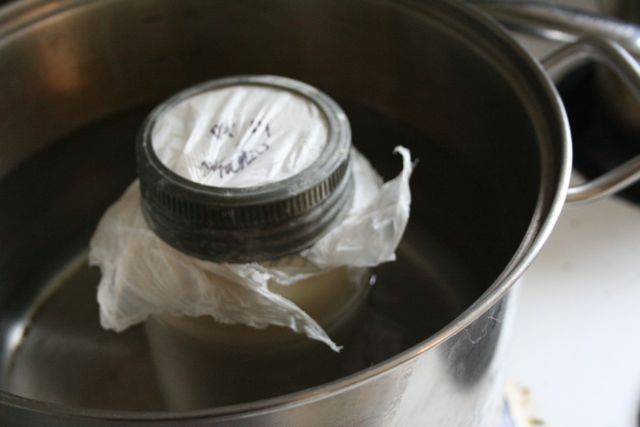
- Put jar of tallow in a pot filled with water to go up the sides of the jar, about 2 inches below the top of the jar.
- Turn pot of medium, put the lid on and let heat up until it’s fully melted. It could take an hour or so.
- Get your candle supplies ready by covering a solid cutting board with parchment paper.
- Lay out your tealight cups or other containers, straighten wicks and put them in the cups.
- When the tallow is fully melted, use a spoon to fill up the tea light cups. If you’re able to pour from the jar, that will make things go faster as well.
- Straighten the wicks again, then leave to fully cool, minimum 2 hours, before lighting.
Now light your candles and enjoy!





Chris
Can you use larger candle holders? Wondering if it would work as well.
kateschat
For sure! Just look up at a chart online (somewhere such as wicks and wax website) for what size wick is best for what size
kaeleigh
We followed this recipe this weekend to make candles from our deer. So easy to follow and great results!
Kellie Rogers
I'm really looking forward to trying this. Now I'm super invested in deer season! Lol
Alex Haederer
What does the candle smell like when burning? Is it a strong smell or something lighter/no smell at all? Can I add essential oils to the tallow before having it set in the holders? Would love to make these but definitely want to be able to add scents like lavender & sandalwood.
[email protected]
You can definitely add scent to these candles. They don't have a strong smell at all....but everyone is different. Add the essential oil after the fat is melted and you are just about to pour them into the mold.