
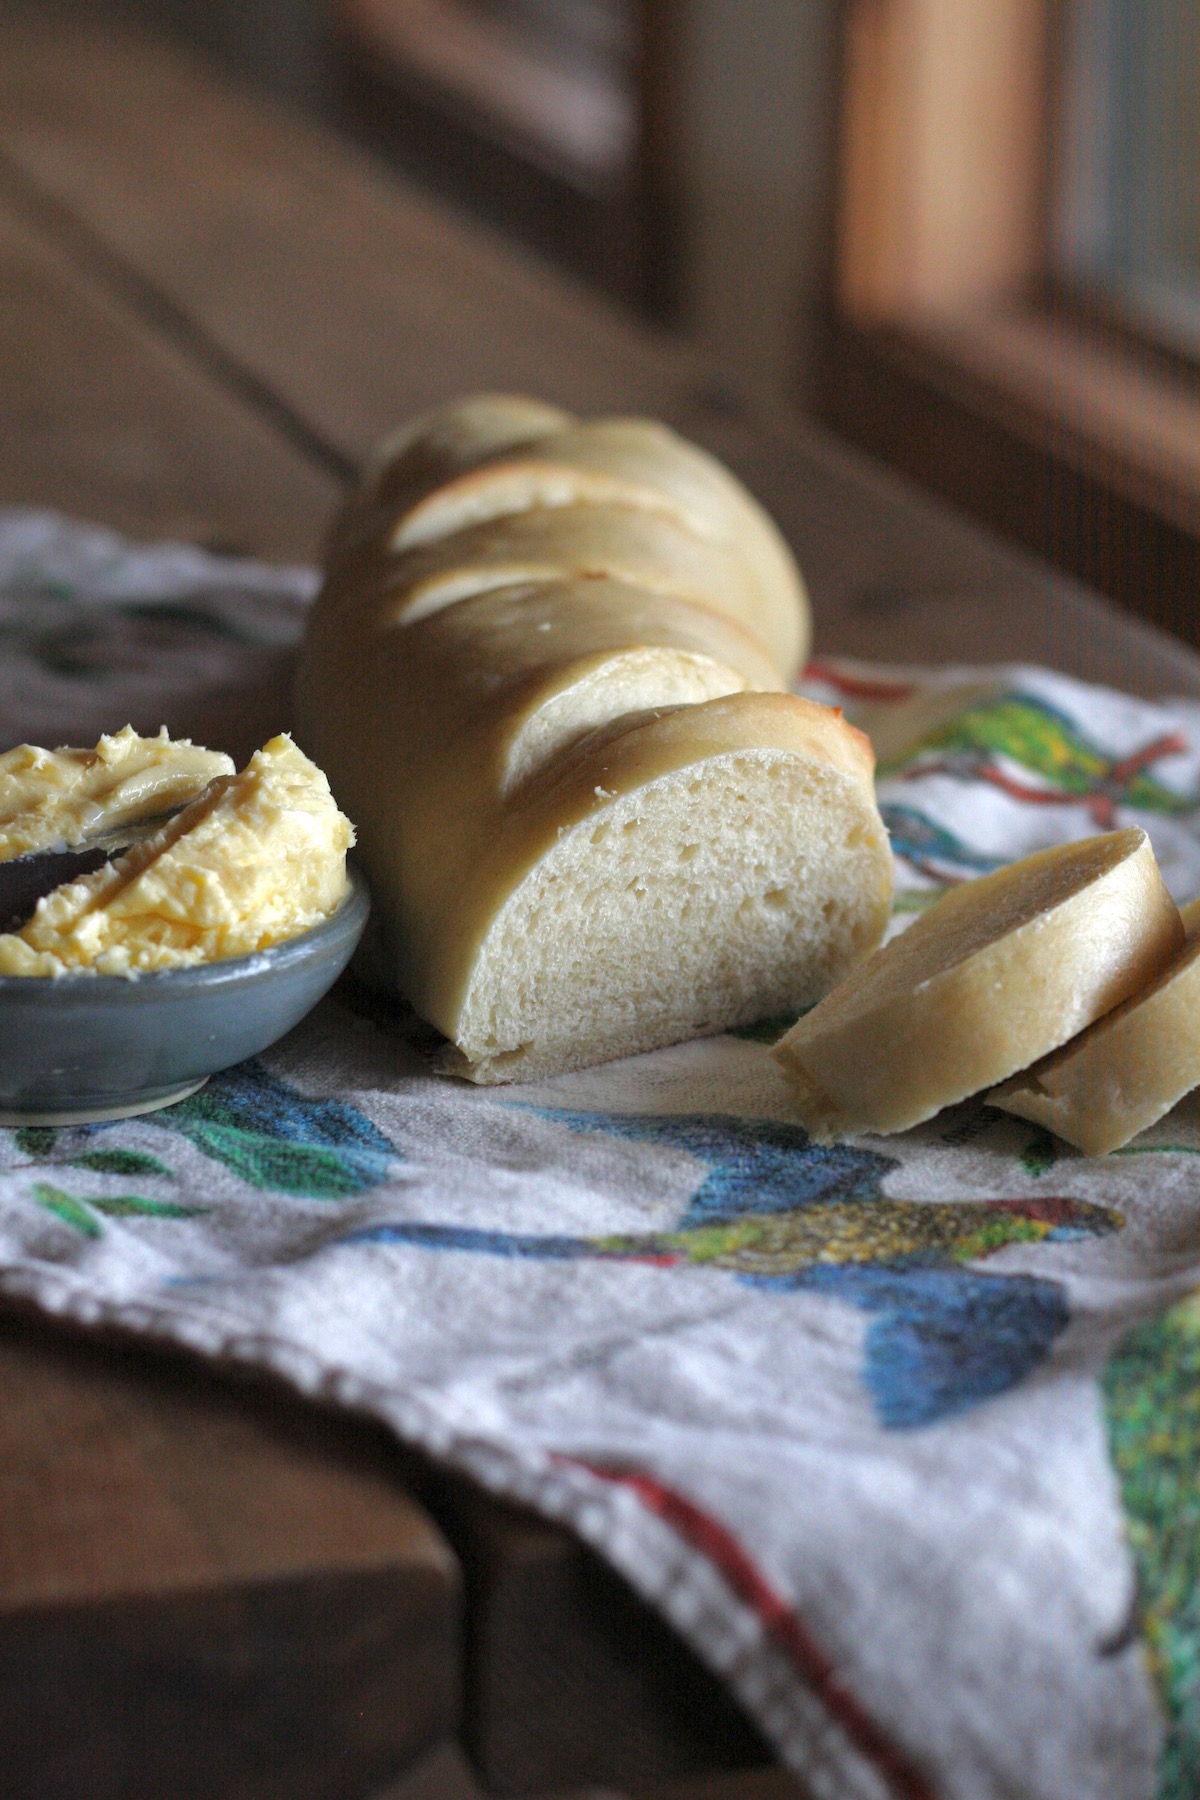
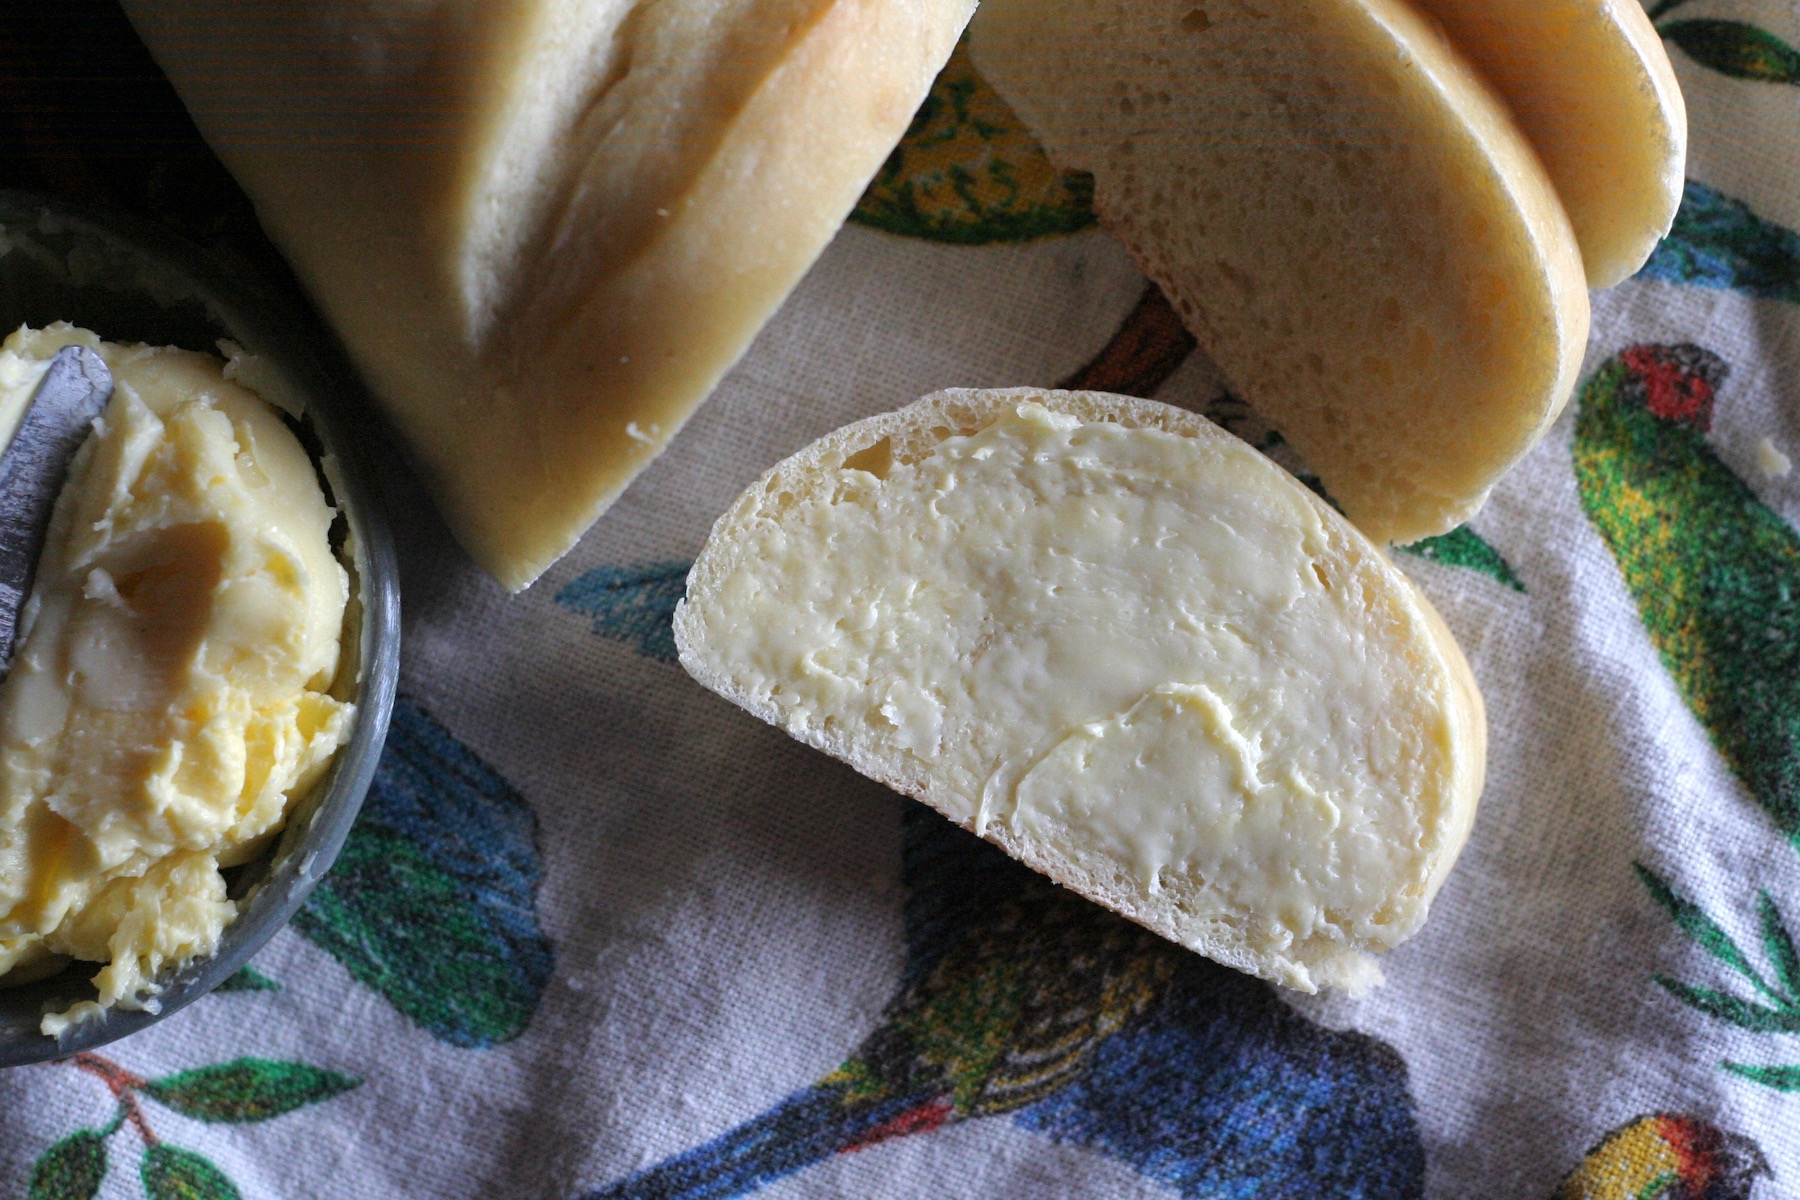
If your family isn't keen on crusty, chewy sourdough, then you're in luck. This French bread uses sourdough starter but is soft and light.
Sourdough can feel overwhelming, even with step-by-step guides. But I've created one recipe to rule them all - and then turn into any sort of finished bread product you want! I really wanted to make sourdough seem easy to any baker, whether you are brand new to sourdough or have your family's hundred year old starter.
Why You Need This Recipe
- This is a soft crust loaf. I know not everyone is a fan of dark, super chewy sourdough. I've got a secret to keep your loaf soft.
- No need to have a scale. While some bakers swear by weighing all of their ingredients, some home cooks simply want to measure by cups so that's what we do here.
- Once you master this French bread loaf you can make anything! Cinnamon rolls, dinner rolls, the sky's the limit.
Key Ingredients
Sourdough starter - This is a perfect recipe for when you think, "Shoot, did I feed the starter yet?" because we are looking for a happy starter but it's ok if it needs feeding, as long as it isn't neglected.
Flour - Grind yer own, buy from the store, it doesn't matter. I do use an all-purpose here, not whole wheat. That adds to the soft texture.
Buttermilk - Not cultured buttermilk, but what's left over from making butter.
Honey - This is my sweetener of choice, especially when we have our own or local, but you can also use maple syrup or sugar.
What's a Pre-Ferment?
Sometimes called a levain, this is what "gets things going." No need to panic that it's a recipe telling you exactly what to feed your starter for the best sourdough loaf.
How to Make a Soft Sourdough Loaf
Step 1
Make the preferment and let it rest at least 8 hours or up to 24.
Step 2
Melt the butter and start making the dough. Combine the preferment and start adding your flour little by little.
Step 3
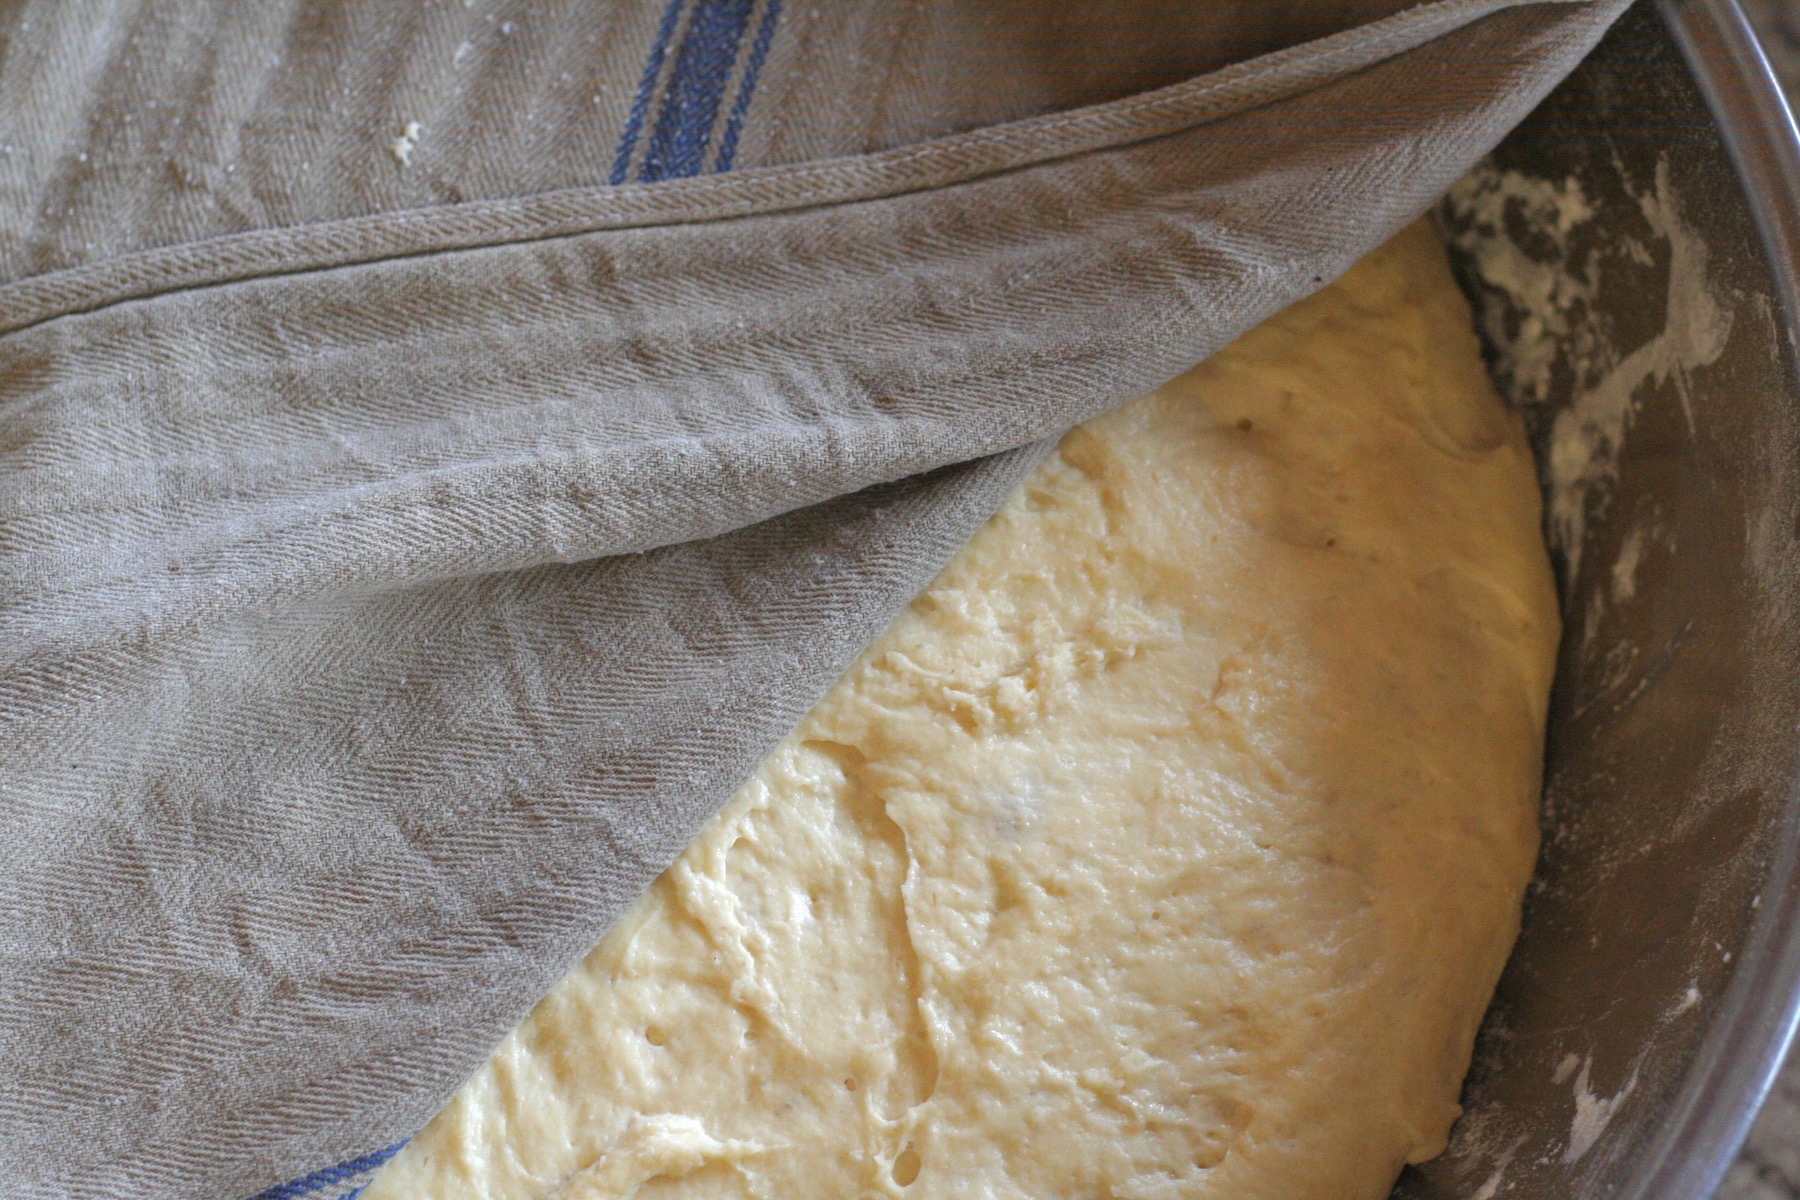
Let rest some before starting the kneading process. Then let it rise for several hours. Remember that it takes longer if your house is cold.
Step 4
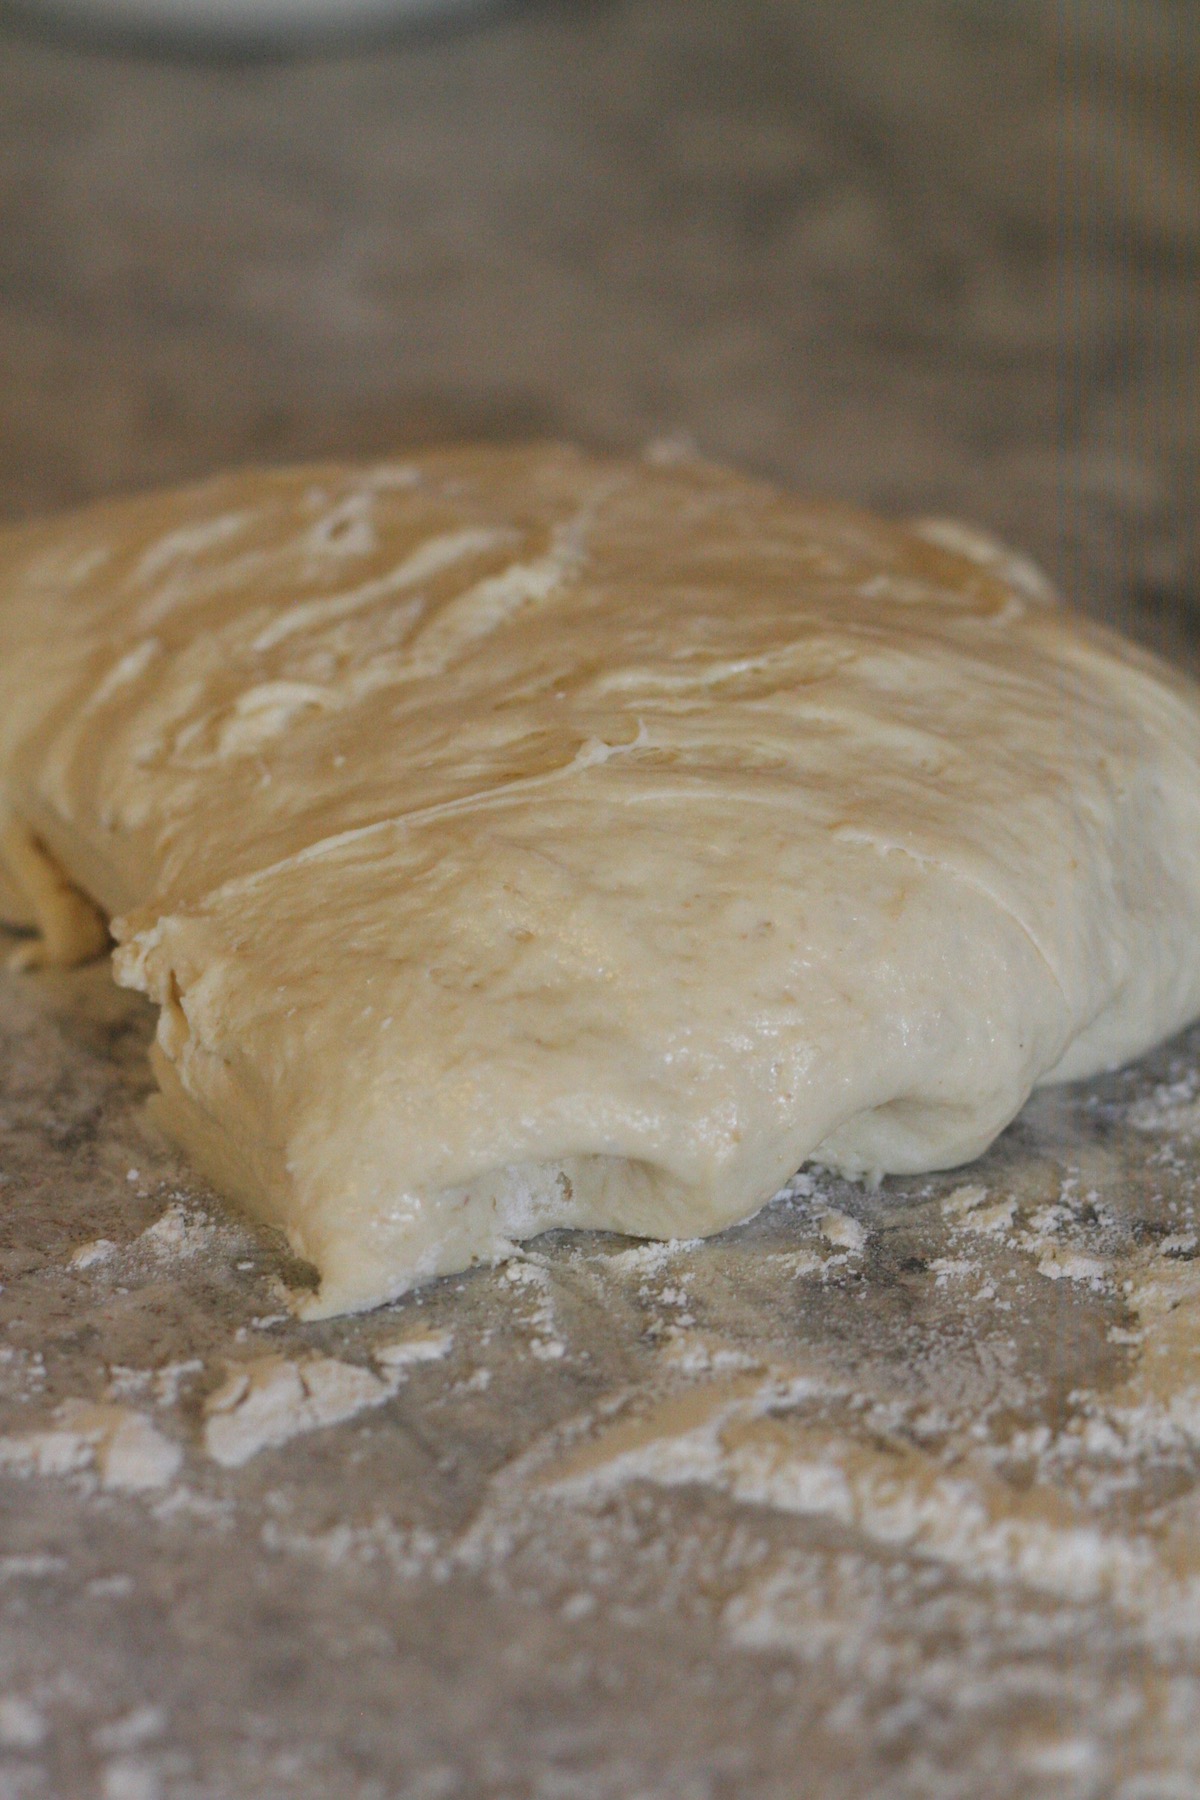
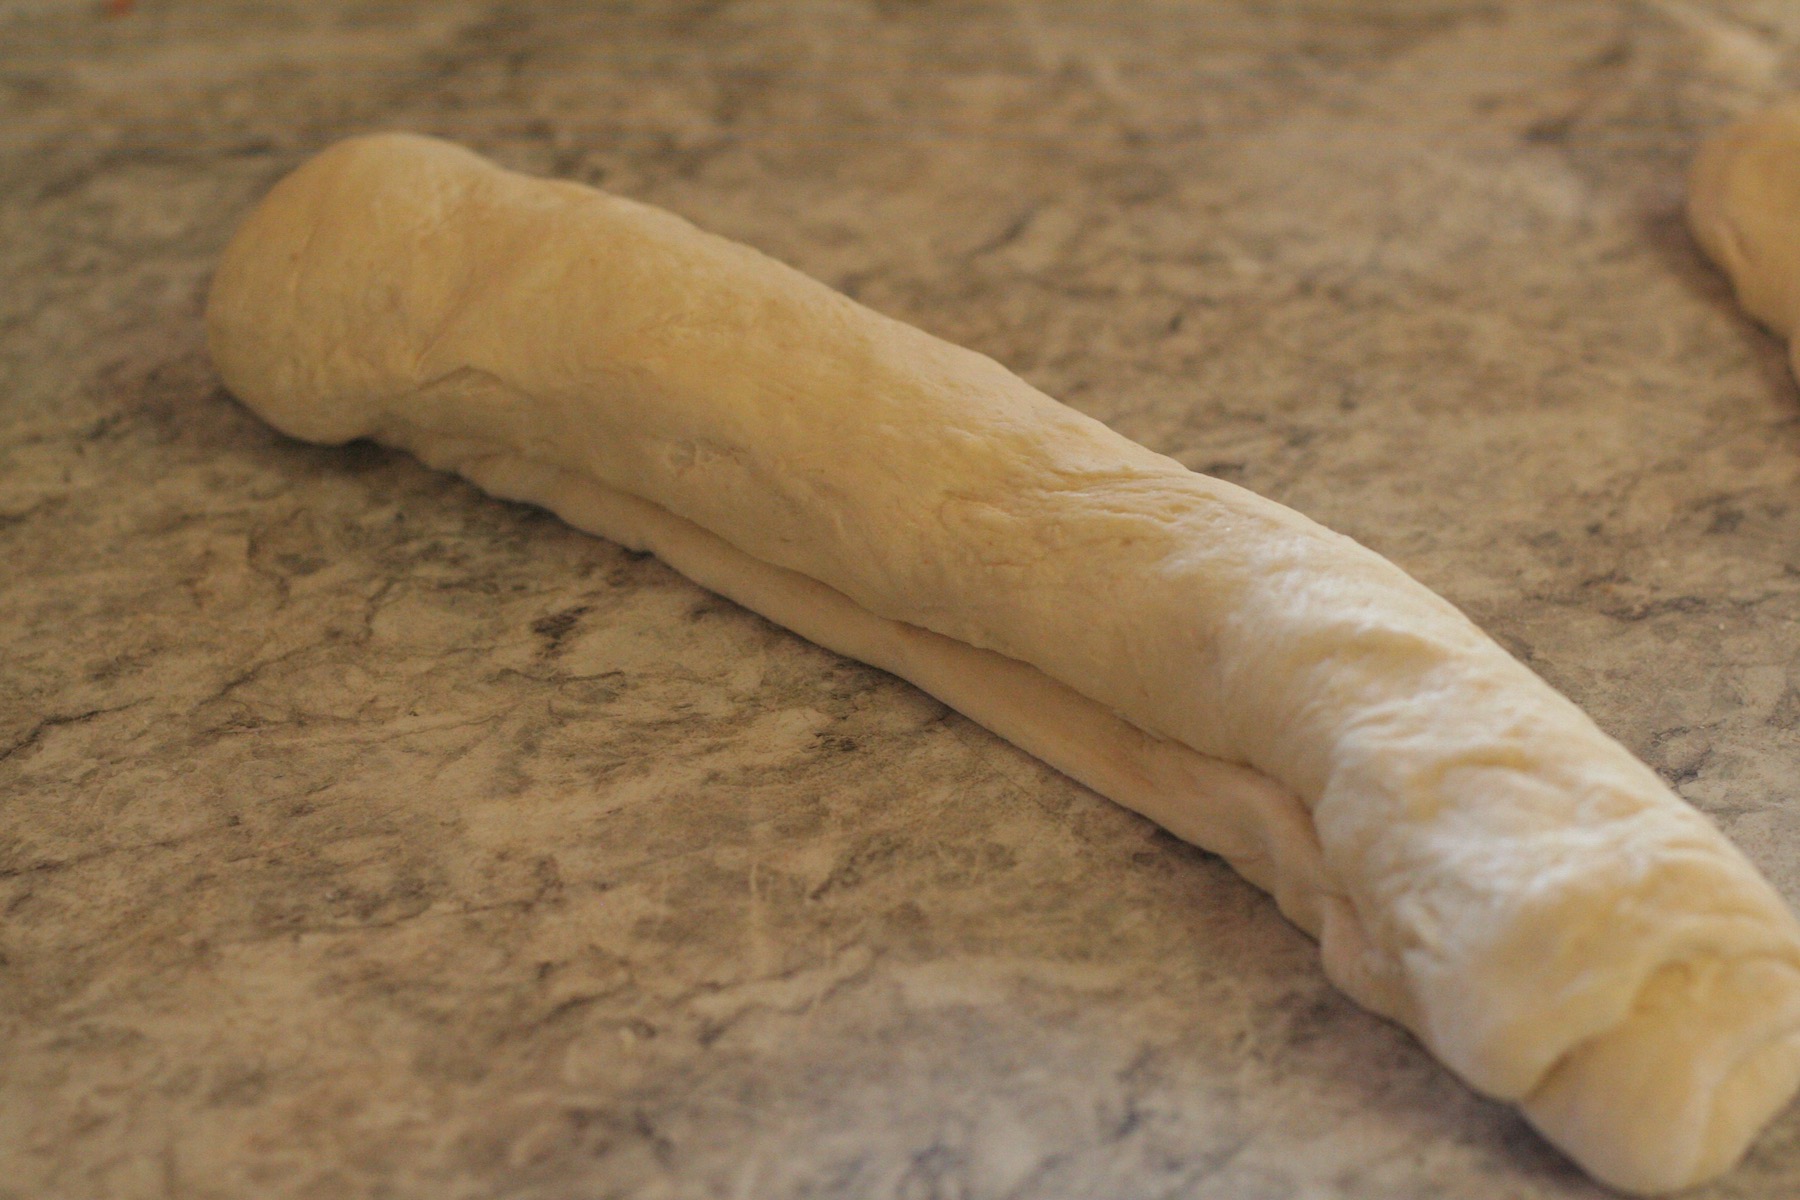
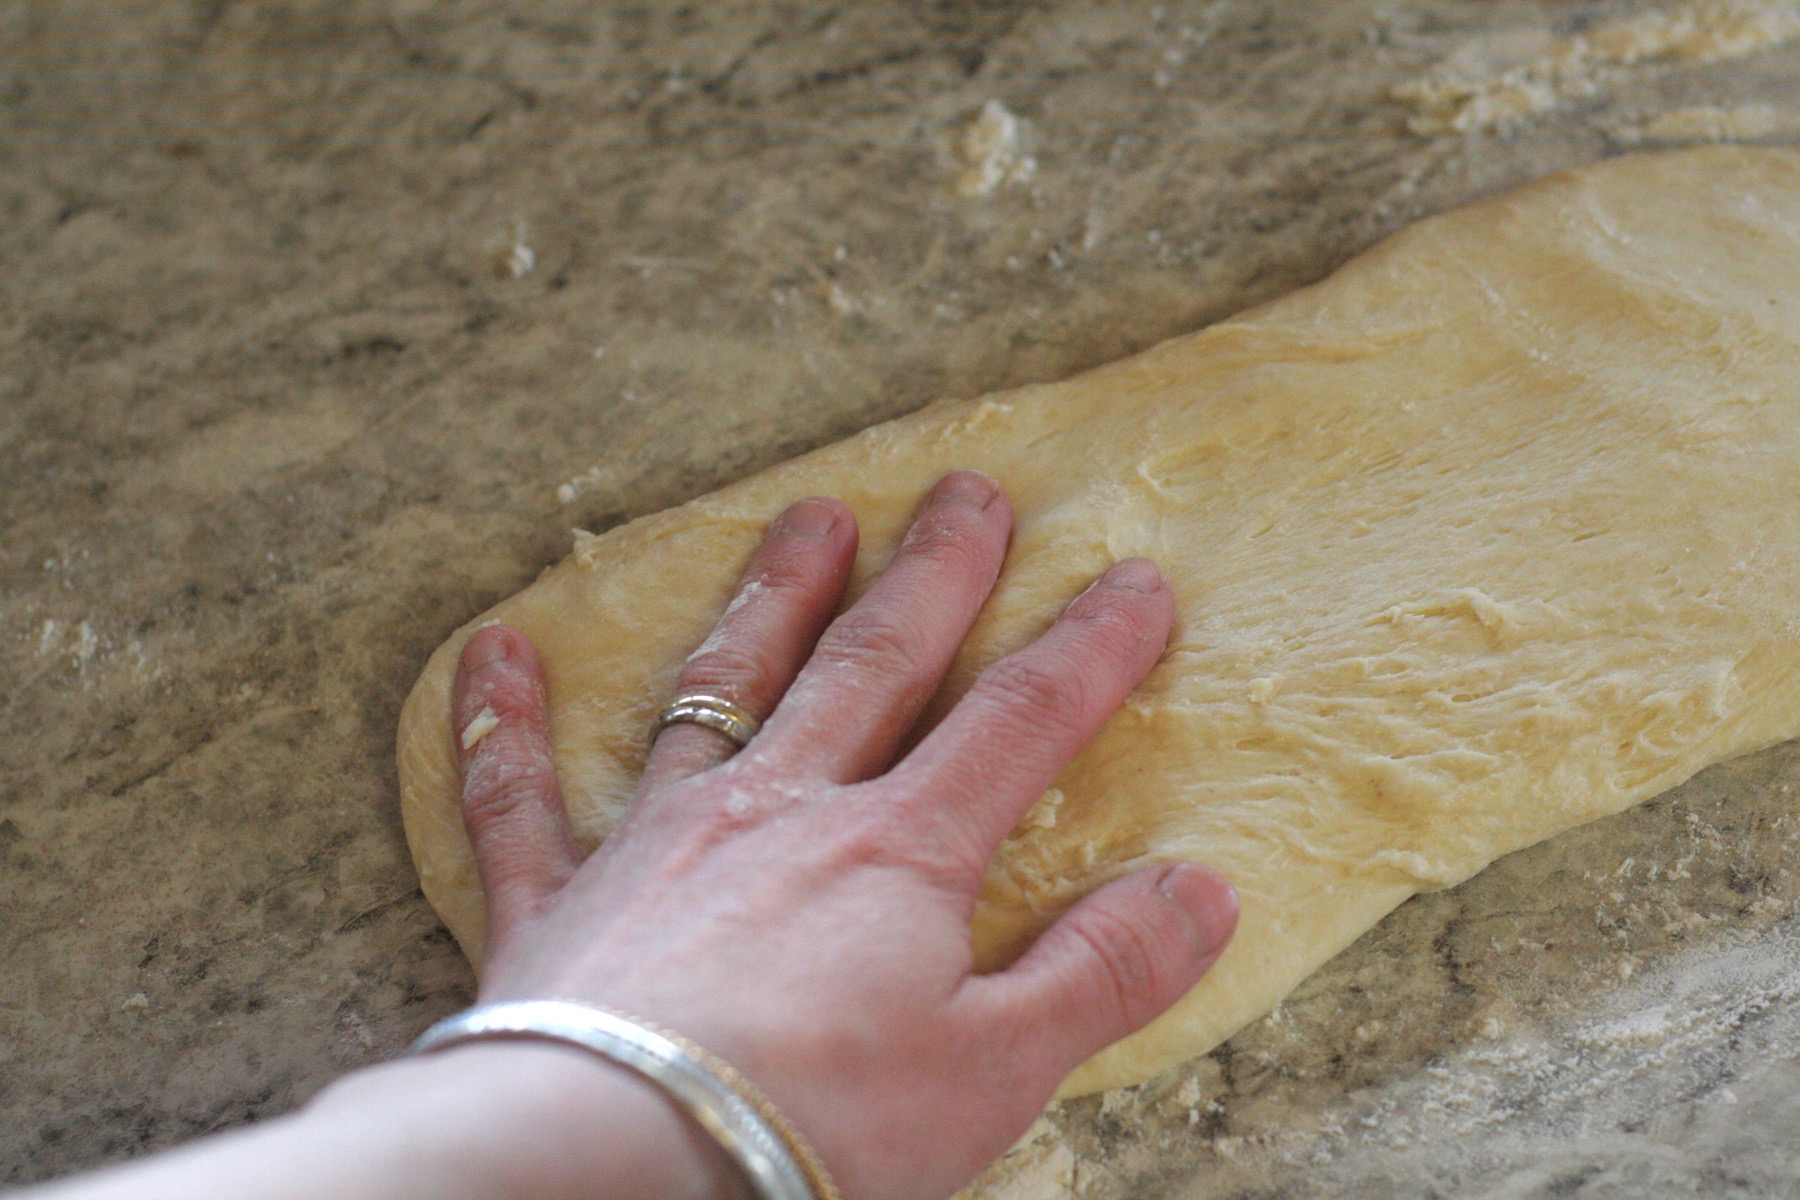
It's always hard to describe in words, but hopefully these photos help you fold your dough! First I make a rectangle and then roll it up and let it rest a bit with the seam side down before continuing.
Step 5
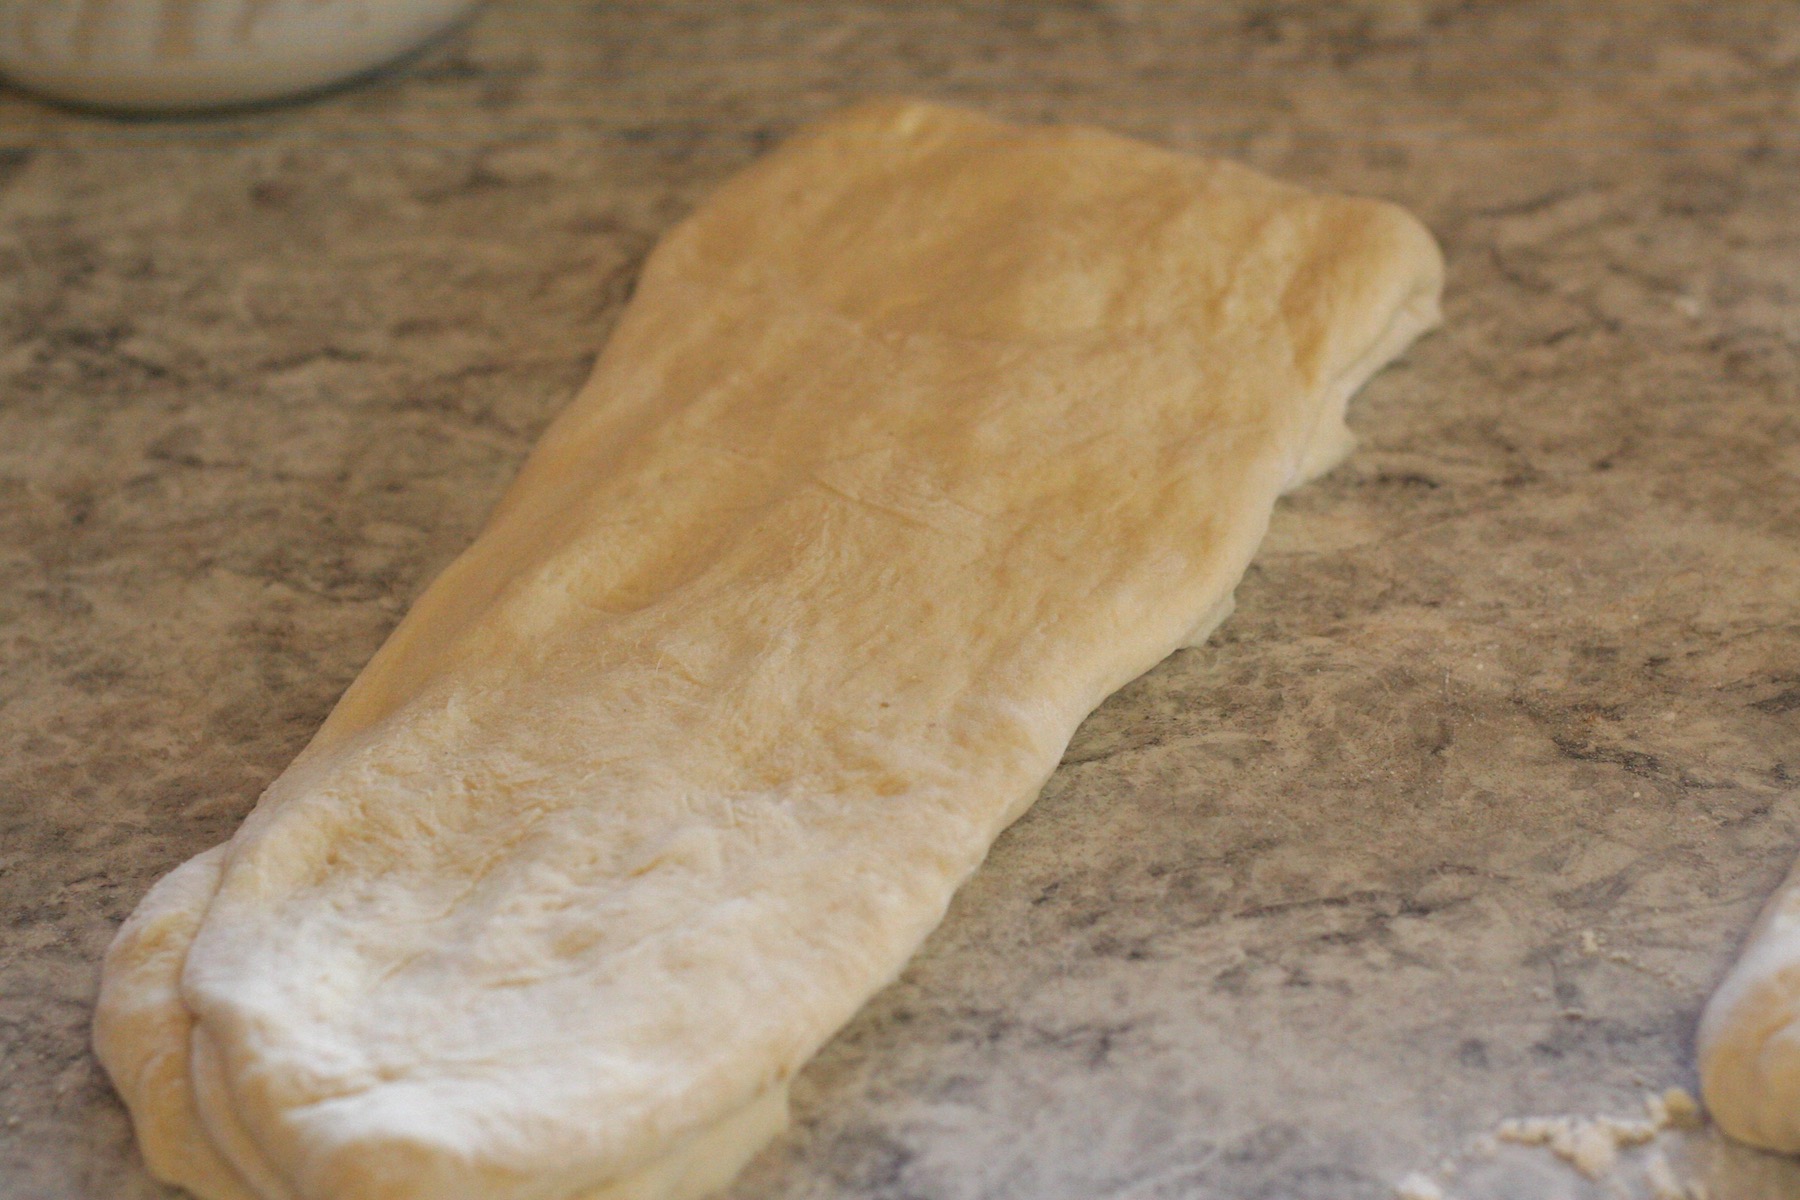
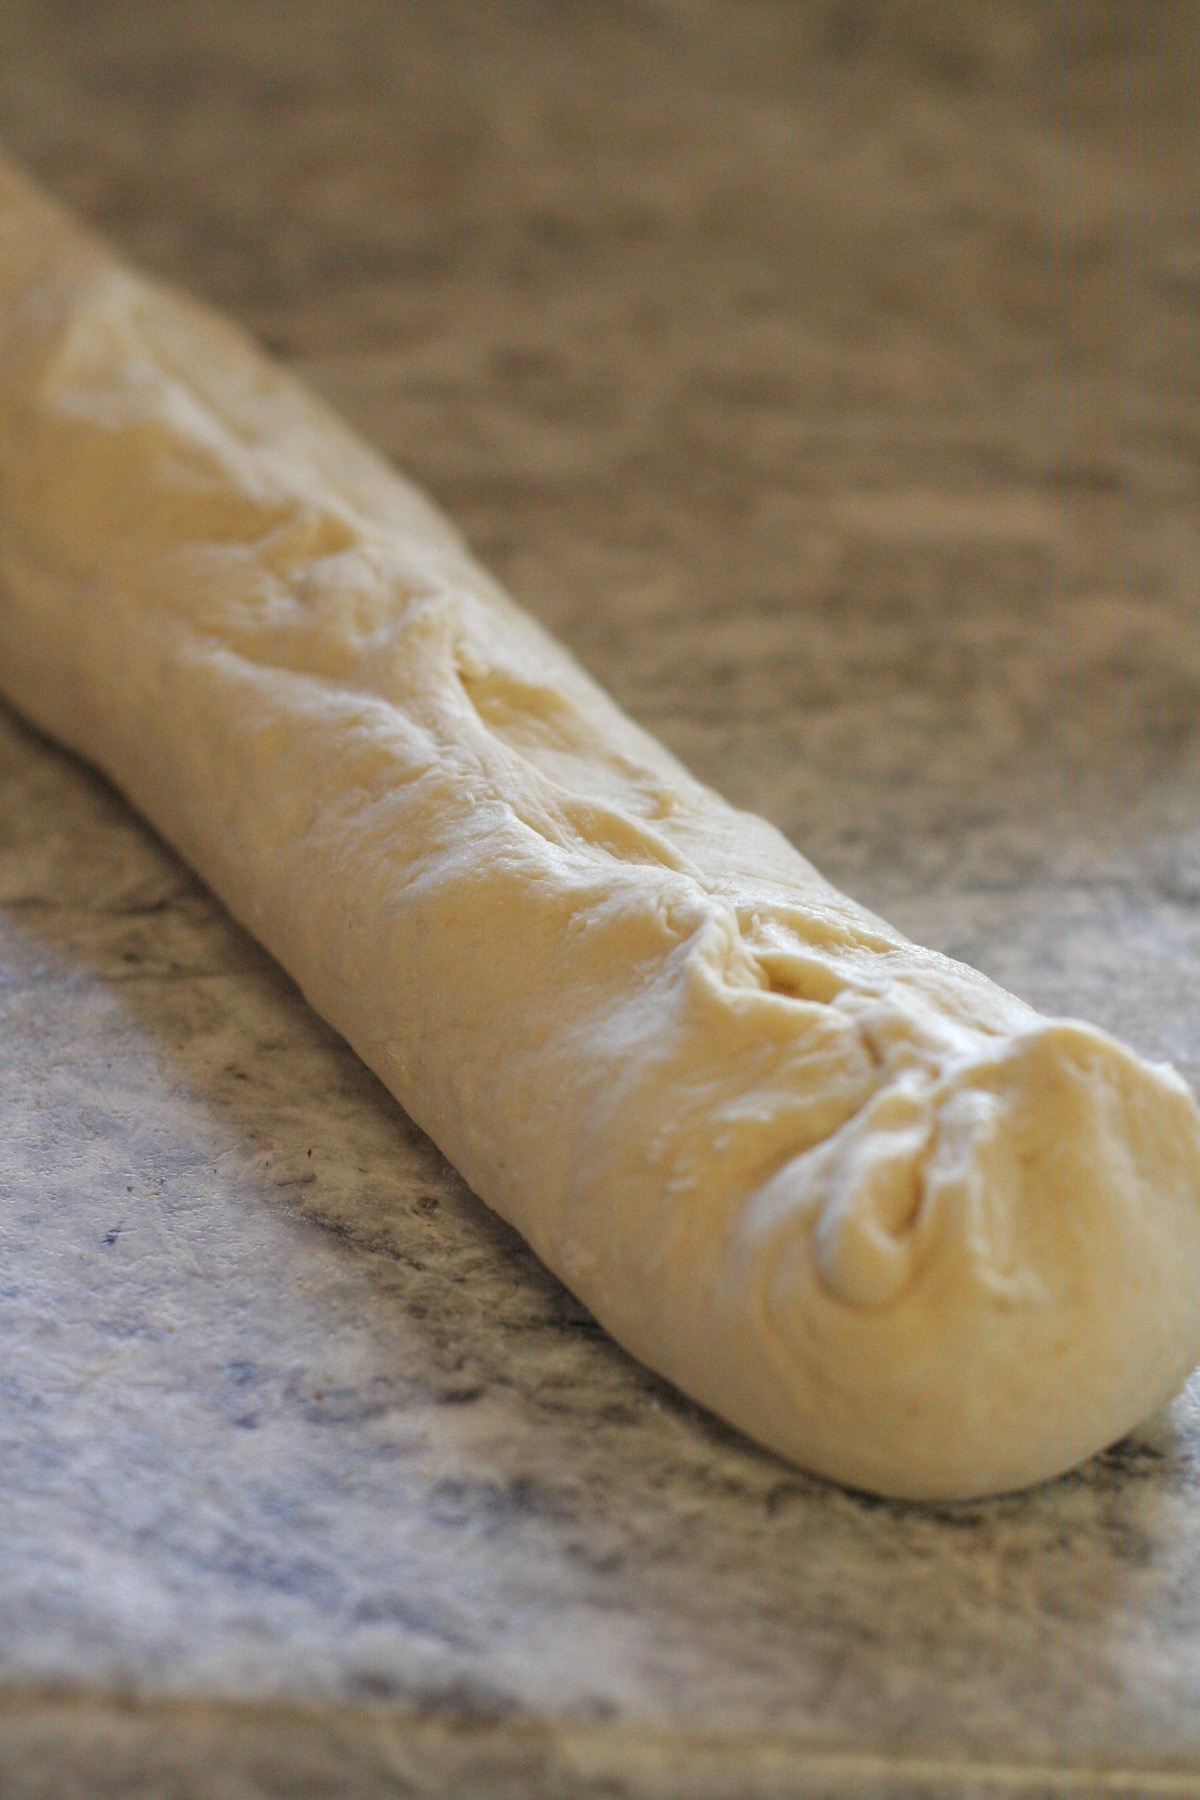
With the seam up, flatten into a rectangle again, but super long. Then fold in half (hamburger style) to shorten, then roll and pinch the seam.
Step 6
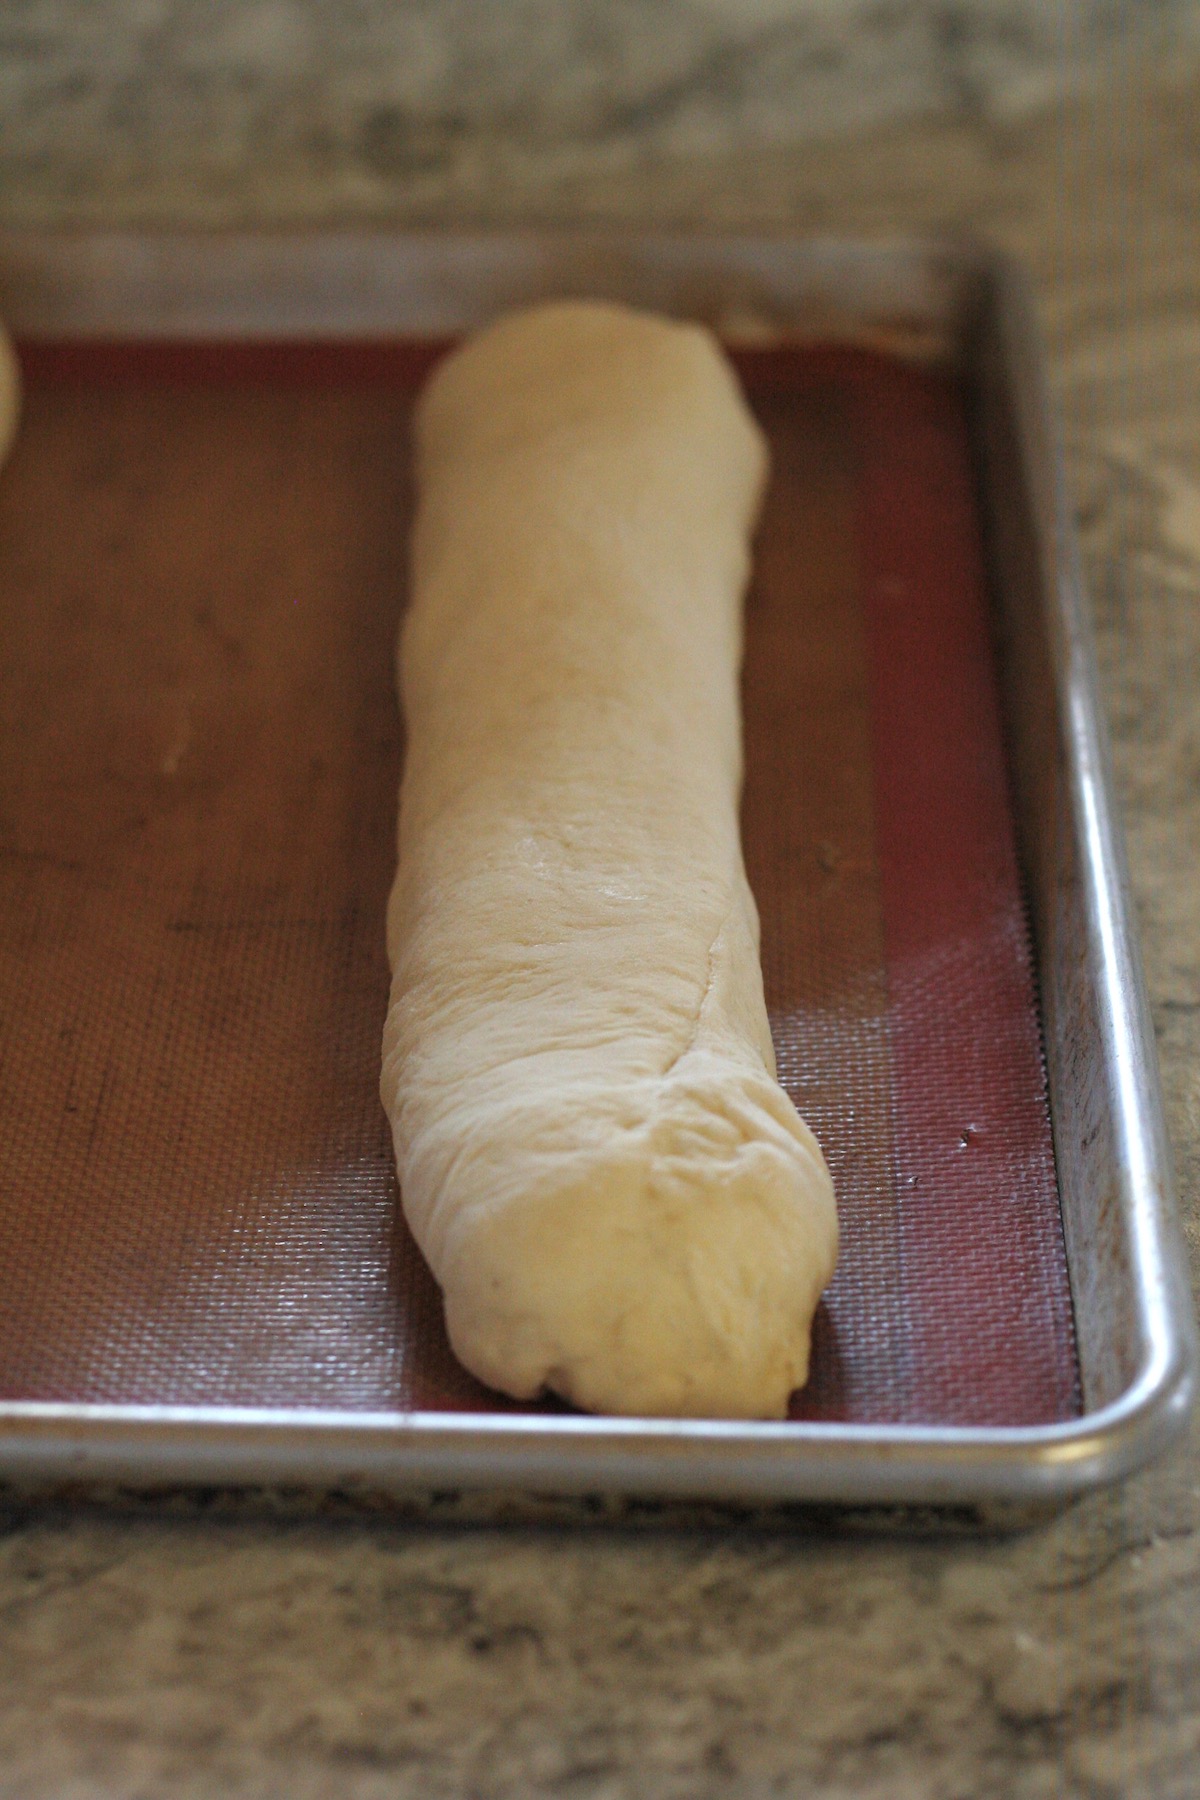
Fold the short ends under to create lots of tension! Then place with the seam down on a prepared baking sheet.
Step 7
Let double in size and then give the three classic slashes before baking.
Step 8
Once fully baked (use a thermometer to check!) the best final step is to brush on some butter. These keeps the crust nice and soft, which is what so many people prefer!
Tips and Tricks
- You can start this the night before - making it really easy to shape and bake the day you want to eat it.
- Brush the finished loaf with butter. Either melt and use a pastry brush or just grab the stick and rub it on top. This is the key to keeping the crust soft!
- I think bread is always best eaten the day it's made, but it's of course still great tomorrow. And if you make two loaves, hide the second and slice it up to get stale for French toast!
Substitutions
Don't make your own butter? You can use milk, nondairy milk, or even cultured buttermilk or yogurt that has been watered down to milk consistency. This recipe is super forgiving and it makes it easy to work around allergies.
Prefer not to use honey to keep vegan? Use maple syrup 1:1 or twice as much of granulated sugar. That's always a good rule of thumb in baking - to use half as much honey as granulated sugar due to their different levels of sweetness.
Have a bunch of eggs to use up? You can easily add one to this recipe. A large egg is about ¼ cup liquid, but to be sure, add it to your measuring cup first and then top up with your milk of choice to ¾ cup.
FAQs
Totally! You can use whatever milk you'd like, an egg is optional, and you can sub out the honey and butter. This means it fits most allergies (just has gluten) and can also be made vegan.
This isn't a recipe for discard - you won't get enough rise and your loaf will be too dense. But the bonus here is that it doesn't have to be "optimal" for bread-baking, either. As long as it's still happy and has recently doubled, you are ready to go.
More Sourdough Recipes


Hey friends, don't forget to follow me over on Instagram, cause if you like me here, I post there a LOT! I'm also on YouTube with tutorials and Facebook for all sorts of things.
If you like this recipe, I’d love if you reviewed it so others can find it easier. Sharing this recipe on Facebook or Pinterest is another way you can help us out at no cost to you. Thanks, xo Kate
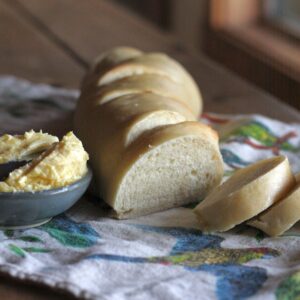
Soft Sourdough French Bread
Ingredients
Pre-Ferment
- ½ cup sourdough starter see notes
- ½ cup warm water
- ⅔ cup all-purpose flour
Dough
- Pre-ferment from above
- 1 tablespoon butter or use coconut oil or olive oil
- 1 tablespoon honey or try 1 tablespoon maple syrup or 2 tablespoons granulated sugar
- 1 teaspoon salt
- ¾ cup milk see notes
- 2 ¼ - 2 ¾ cups all purpose flour
- Butter to brush crust after baking
Instructions
Pre-Ferment
- Mix the pre-ferment of sourdough starter, flour, and water up 8-24 hours before you want to bake. The longer beforehand, the more sour your end product will be. If I plan to mix the dough in the morning, I make it before bed. Cover with plastic wrap or a plastic bag and let sit on the counter.
To Make the Dough
- Melt butter, honey, and salt on low in a saucepan. When it's melted and combined, turn off the heat, add your milk, and stir to combine. With a thermometer or your finger, test the temperature of the mixture. By thermometer, it should be no more than 105F. By your finger...you should be able to comfortably hold it in for 10 seconds. If it's not this warm, turn the heat back on to warm it. If I use a heavy bottom pot, there is enough residual heat to heat the milk, if I use something like a thin enamel pot, there isn't.
- Add the warm liquid to your mixer (or bowl you plan to mix the dough in) and add your pre-ferment.
- Stir to combine; it's not going to combine super well until you start adding flour.
- Add your flour, starting on the low end, and mix the dough, adding more flour as needed just until it's combined, but not a cohesive, nice dough.
- Let sit 15-30 minutes, then knead the dough.
- This dough takes more kneading than most. My mixer kneads on low for 10 minutes, so if kneading by hand, you're going to knead about 10-15 minutes.
- If the dough sticks to the bowl or your hands, add a little more flour, but try not to add too much. It's not a stiff dough, it's on the softer side. Try wetting your hands/counter for kneading if it's sticking and you've already added a lot more flour.
Bake in One Day Method
- Cover your dough with plastic wrap or a plastic bag and let rise 2-3 hours until it looks like it's kind of doubled (don't overthink it, as long as it's 1 ½ times it's original size).
Overnight Method
- Cover your dough with plastic wrap or a plastic bag and let sit overnight. It will be gigantic and beautiful in the morning.
For Either Method: Continue as Below
- Punch your dough down, give it a few kneads. Yes, you are letting it rise twice before shaping.
- Cover with plastic wrap or a plastic bag and let sit 2-3 hours until it's doubled. To test if your dough has doubled, dip your finger in flour and poke the dough. If the dough bounces back, it's got more to give and needs to keep rising. If the dough stays indented, it's given all it has to give and you can proceed.
Shaping
- Dump your dough out onto a lightly floured counter, roll out to an 18x6-inch rectangle.
- Roll your dough up so it's now an 18" long log and let it rest, seam side down, for 5-10 minutes.
- Then turn it seam side up, flatten it out into a looong rectangle, fold it in half to make a shorter rectangle, then roll up, pinch the seams together well and fold in the ends, pinching well. Put seam side down on a lined tray. This makes your dough have lots of tension, and gives you a taller, more round loaf instead of a flatter loaf.
- Cover and let rise 2-3 hours. If your house is REALLY cold, like below 60F/15C, turn your oven on for a minute or two. Tuck a cast iron pan in first to help retain heat. Turn oven off and put covered bread into oven.
- When it's doubled (don't forget to take bread out if its in there!) preheat oven to 375F.
- Slash 3 diagonal slices in the top of the loaf for the classic French bread look.
- Bake for 15 minutes, flip it around and bake another 10 minutes.
- Check the internal temp of your loaves. This is the most reliable way to know your bread is ready. Your bread should be 190-200F; if not put it in for another 5 minutes.
- When the bread is done, take out of the oven, and brush the crust with butter. I either rub a stick of butter on top or melt butter and brush it on with a pastry brush.
LaurieLea
Beautiful loaf, and so tasty!!!
Amy Gerber
Any luck making this with freshly ground whole wheat?
Dee Porter
Fresh ground handles a bit different, just try the recipe with maybe a bit less!
Jeffrey
So this recipe calls for THREE 2-3hr rises? I’m not certain this can be done in a day.
What am I missing?
[email protected]
Yes is seems excessive but that's what helps to make it soft. If your house is warm it's totally manageable in a day. However the overnight rise method works really well and check the notes as well for additional information.
LC
This is an awesome recipe that was perfect the first time I made it. Thanks for sharing. Now, I am going to try it with whole wheat flour. Wish me luck!
Christine
I have been making your master sourdough recipe for almost a year now and we love it! I have been having a problem with my dough being super sticky though. If I add more flour and keep mixing (with my mixer) it just gets sticky again. And rolling it out and folding is near impossible. I usually double the recipe, is that part of my problem?
[email protected]
Maybe you need to add less liquid. Flours can be very different. Doubling it shouldn't make a difference.
Kaitlen
This bread makes the absolute best french toast. Seriously. You will not find a better bread to make french toast with.
Kaitlen
This bread makes the best french toast. Seriously you will not find a better bread to make French toast with! It’s amazing enough on its own and surprisingly easy to make.