Can you smell it now? That cinnamon, caramel, fresh bread scent wafting from the oven? It's such a fun treat for kids (and adults) to have Sourdough Cinnamon Pull-Apart Bread straight from the oven.

There are lots of amazing breakfast bread options, and I think people are more likely to bake for holidays and reach for something with a pretty presentation. Monkey bread has long been a holiday favorite of many, and just about everyone knows exactly what you are talking about and gets excited.
It can be a bit time intensive to make the little dough balls, but the taste and the kids' excitement is so worth it. I based this on my soft sourdough master recipe, and have also turned it into cinnamon rolls, too. If you like to have more of a donut feel or dip something in your coffee, make some sourdough cinnamon twists too!
Why You Need This Recipe
- I don't know about you, but I always want to find more ways to use up my sourdough starter! You gotta use it to keep it happy.
- Perfect for holidays or other days when you have some things going on like chores. This bakes for 45 minutes so perfect for in between.
- This just looks fancy and everyone will truly be in awe it's 100% from scratch.
Key Ingredients

Sourdough - Keep a well-fed jar of starter on your counter at all times and you can make this any weekend.
Flour - More AP flour to feed your starter and turn this into a great, perfectly sough dough.
Butter - When combined with sugar and honey you are going to make the most delicious caramel sauce ever.
Sugar - Yup, there's a decent amount of sugar here, and it's combined with honey. But that's how you make a treat and I am all for it.
How to Make Sourdough Monkey Bread
If you're familiar with bread in general, or with my Master Sourdough Recipe, then this is a cakewalk for you. You can use your favorite bread recipe and follow the shaping and sauce instructions here after your first rise.
***See recipe card below for precise measurements and instructions.***
Step 1: "Feed" your sourdough to make the pre-ferment before bed.
Step 2: When you're ready to continue with the recipe, melt the butter, honey, and salt for the dough in a saucepan.

Step 3: Proceed to mix up your dough in a mixer, or knead by hand, until you have a shaggy dough.
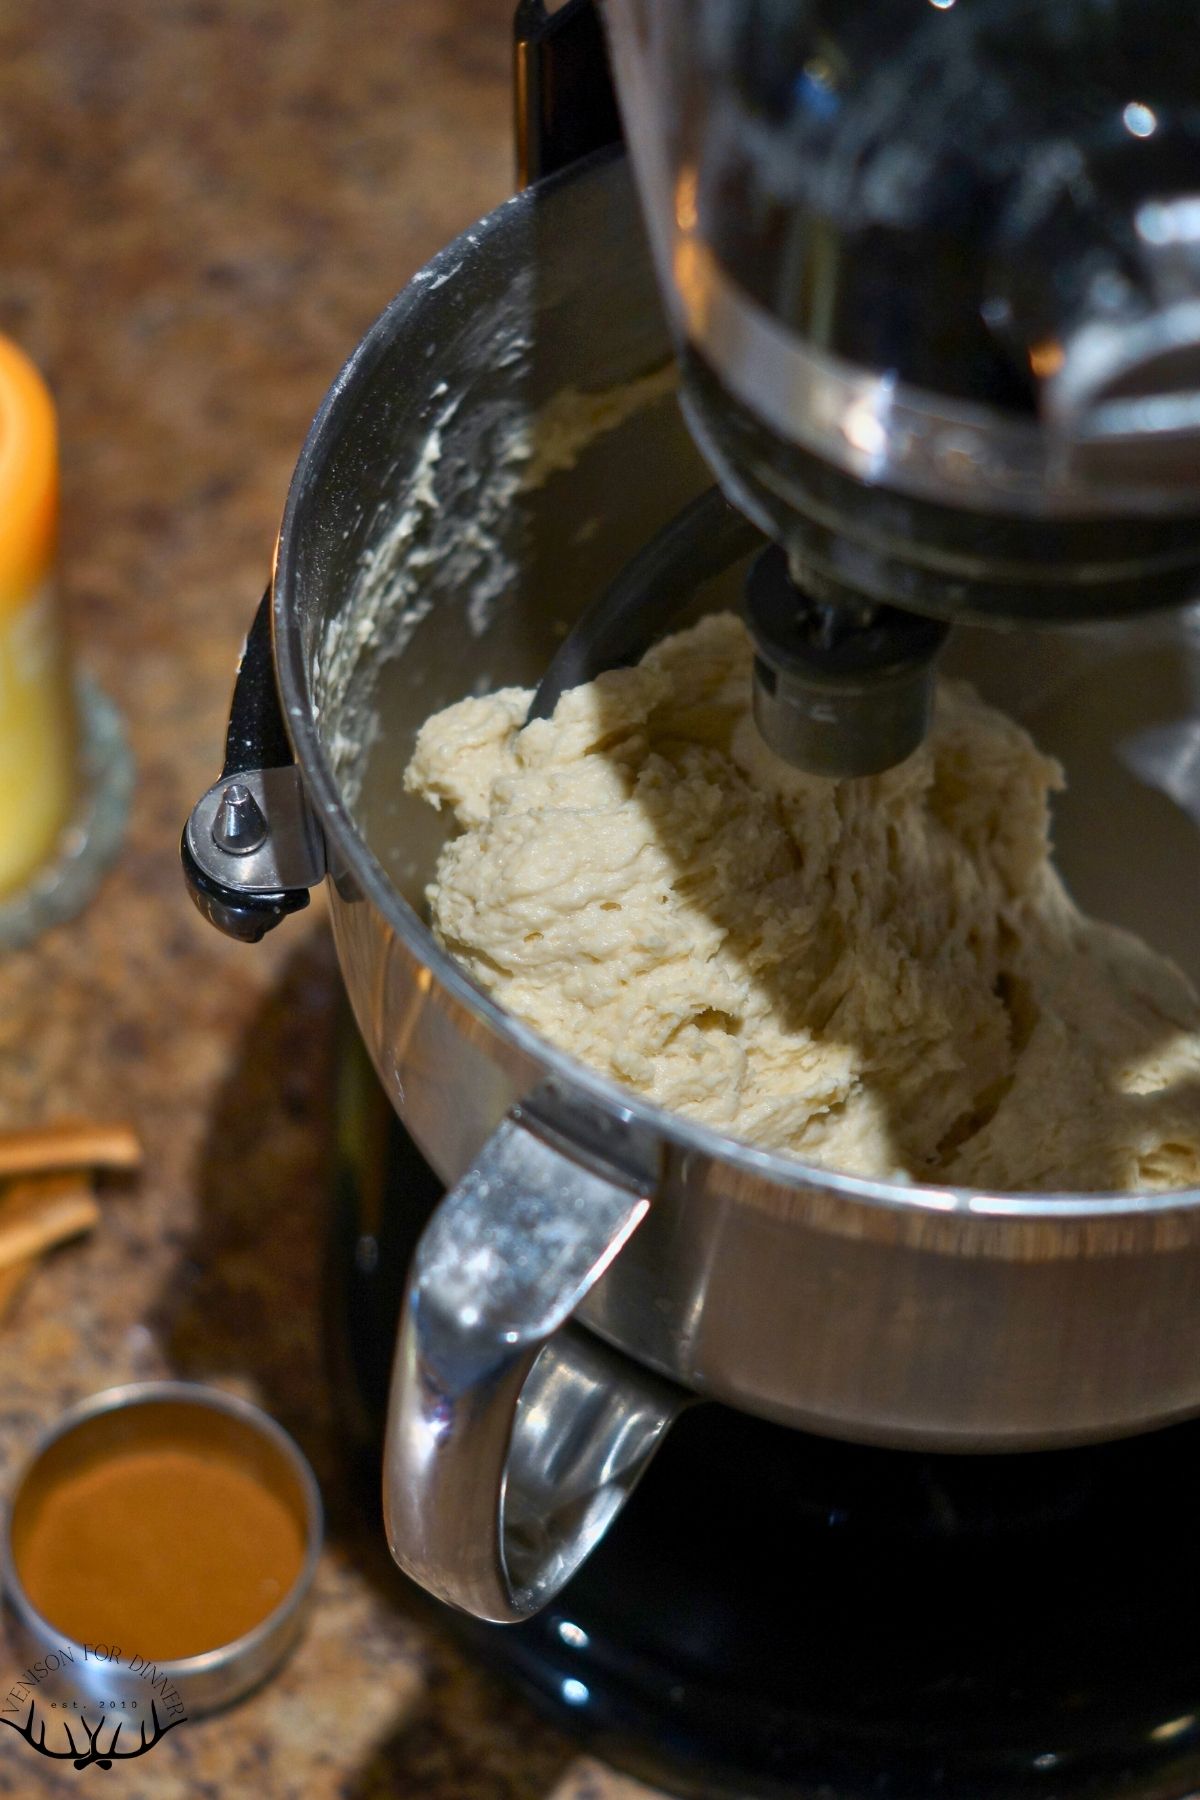
Step 4: Let the dough proof until doubled, a couple hours.
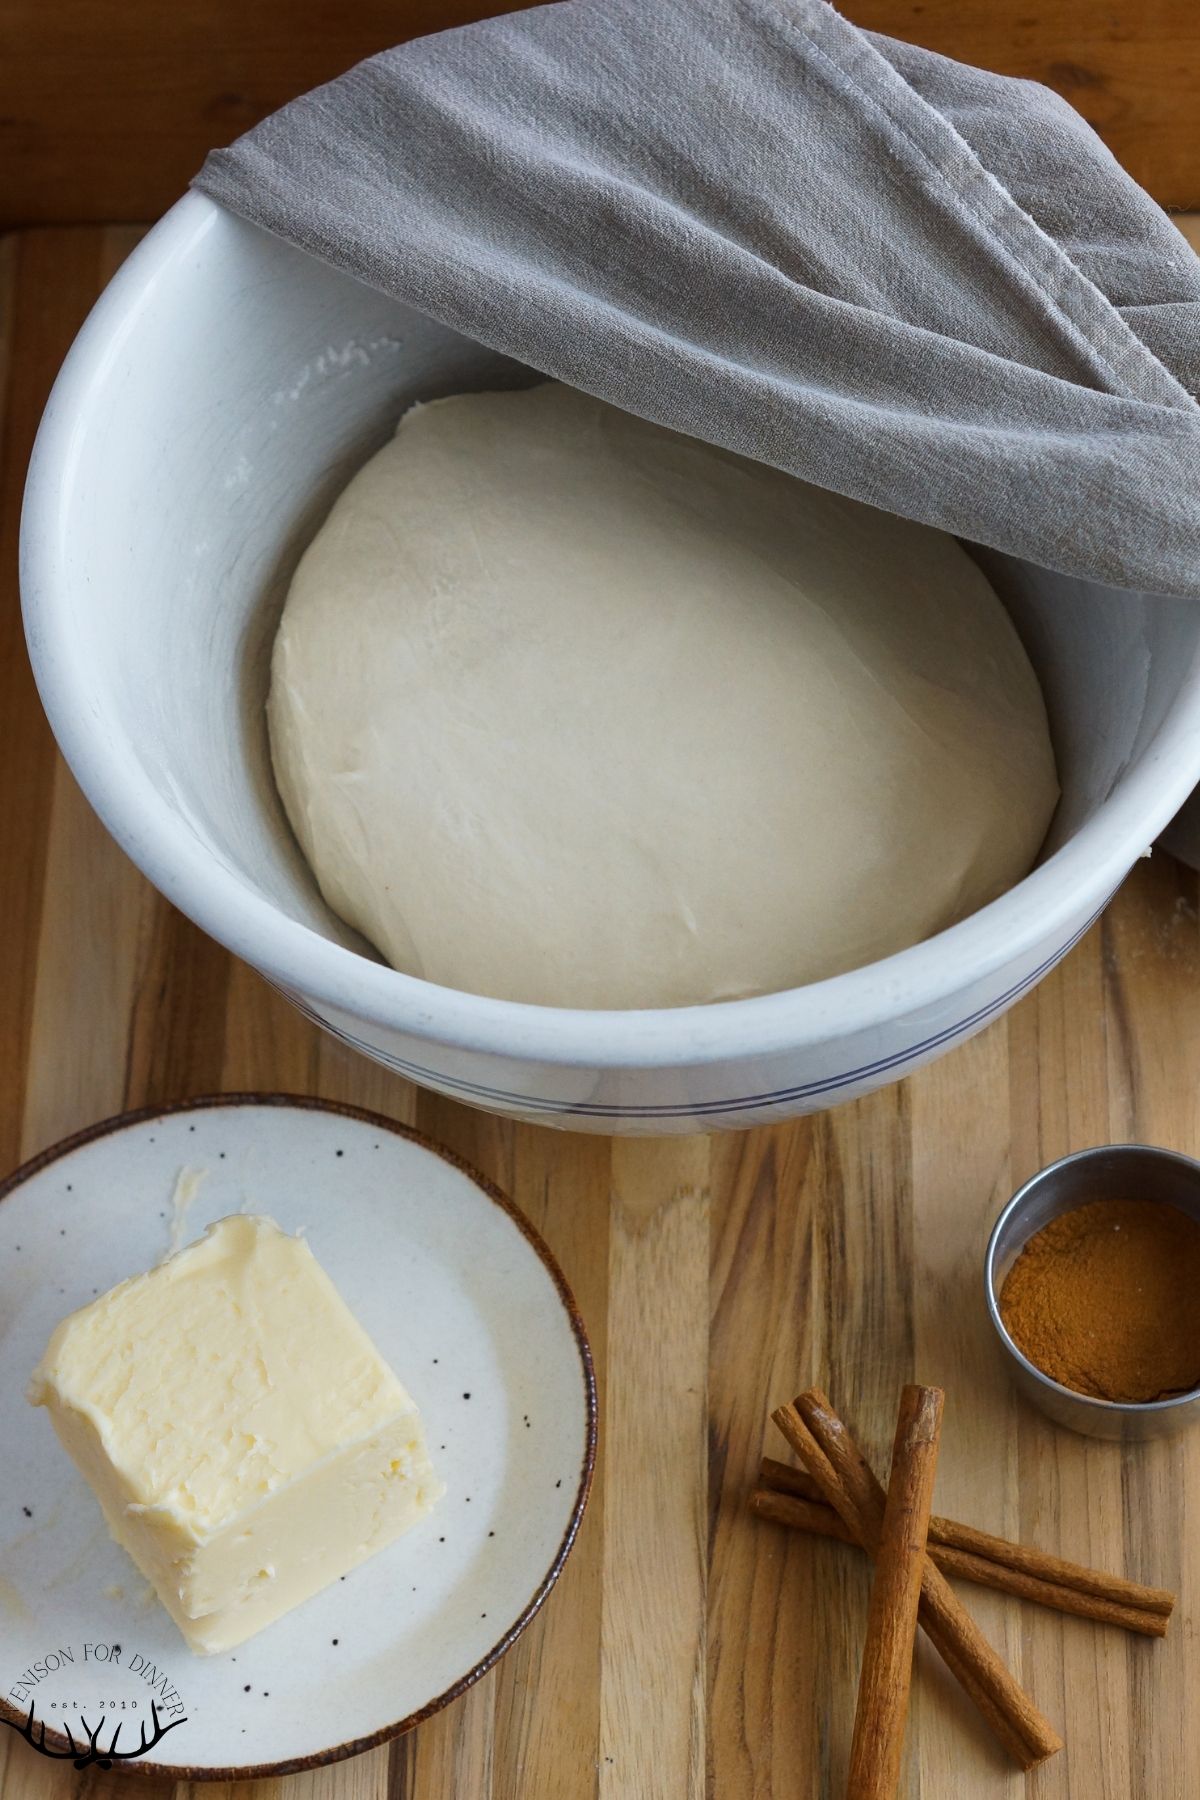
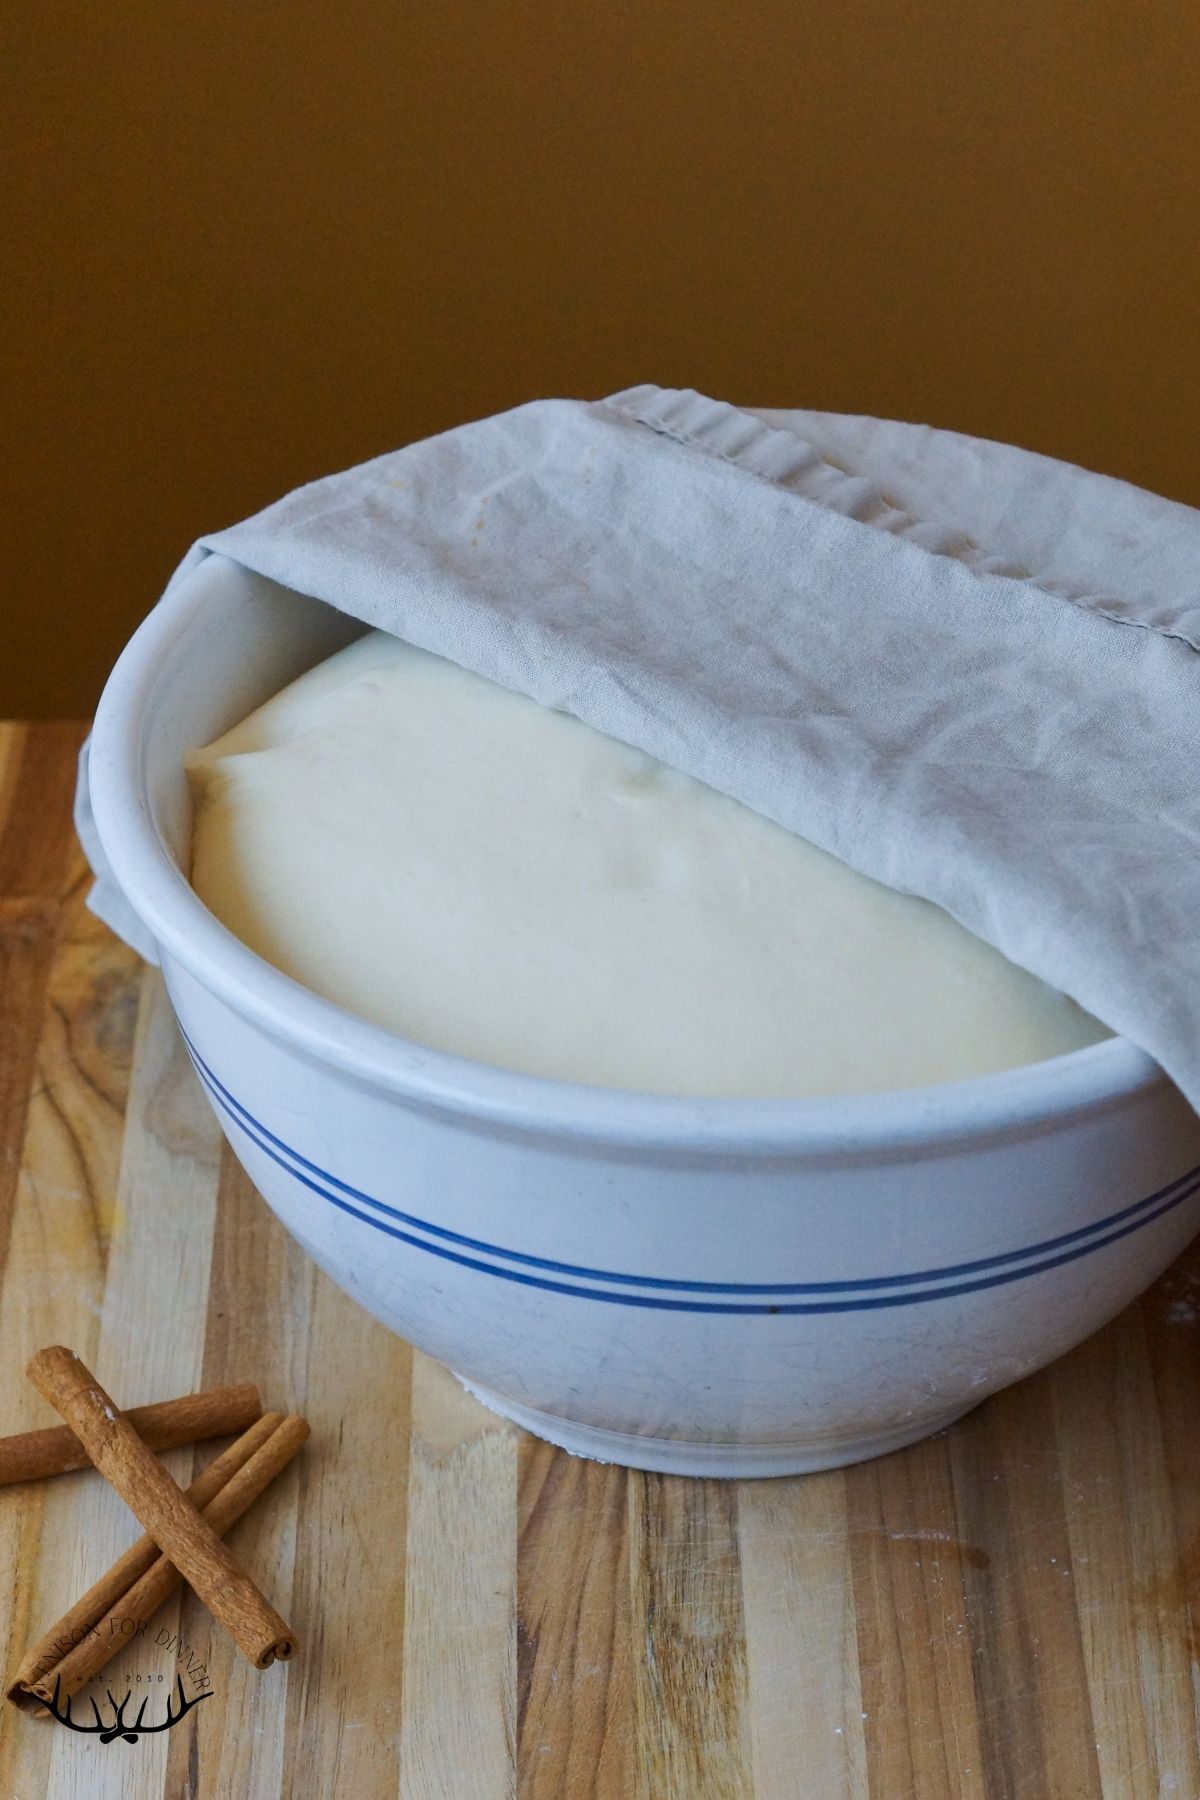
Step 5: When the dough is about ready, prepare the sauce on the stovetop until it is a nice caramelly color. Pour about ⅓ of it into a parchment lined baking dish.

Step 6: Use a knife or bench scraper to cut your dough into mini rolls, think half or smaller the size of your normal dinner rolls. Place them in the sauce in the dish.

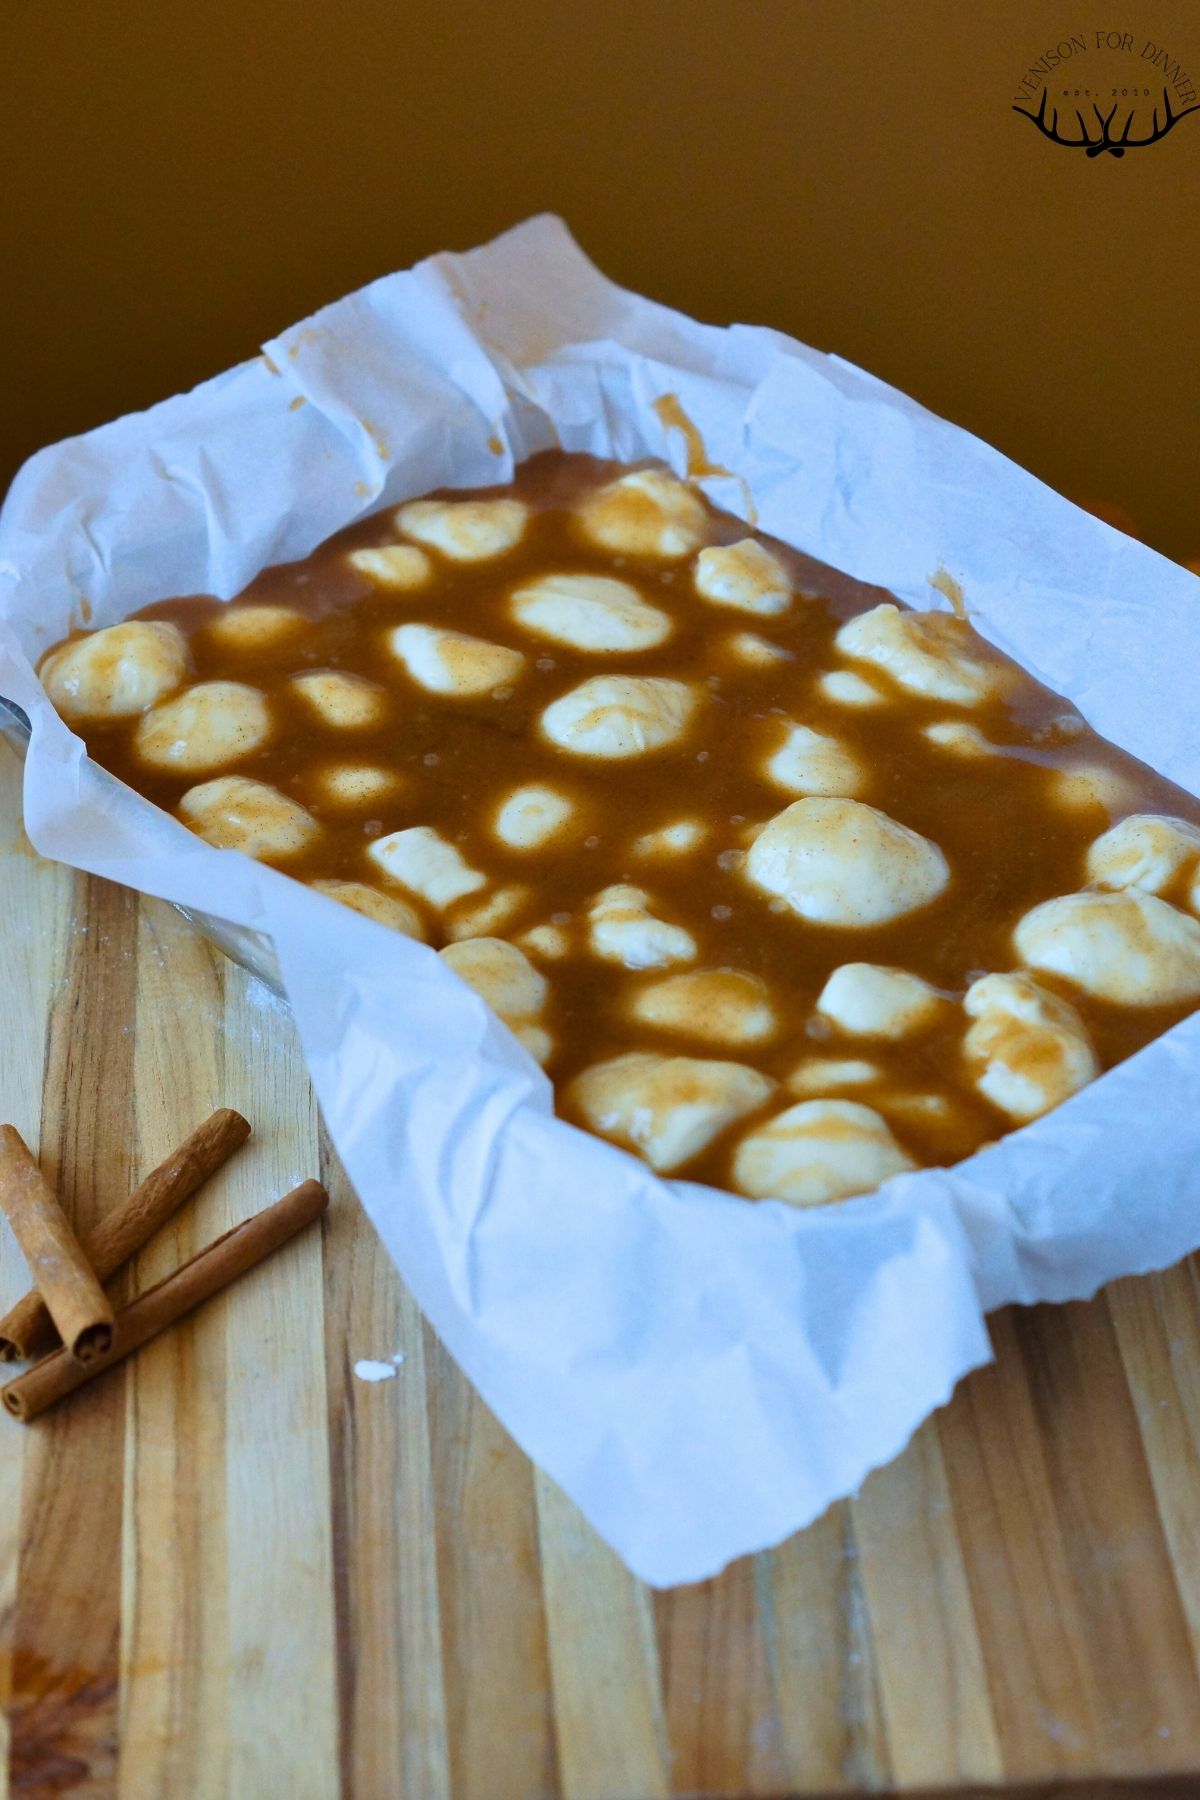
Step 7: Pour remaining sauce overtop the rolls. Let the dough proof until doubled, which won't take as long as you think since it is sitting in the hot liquid.
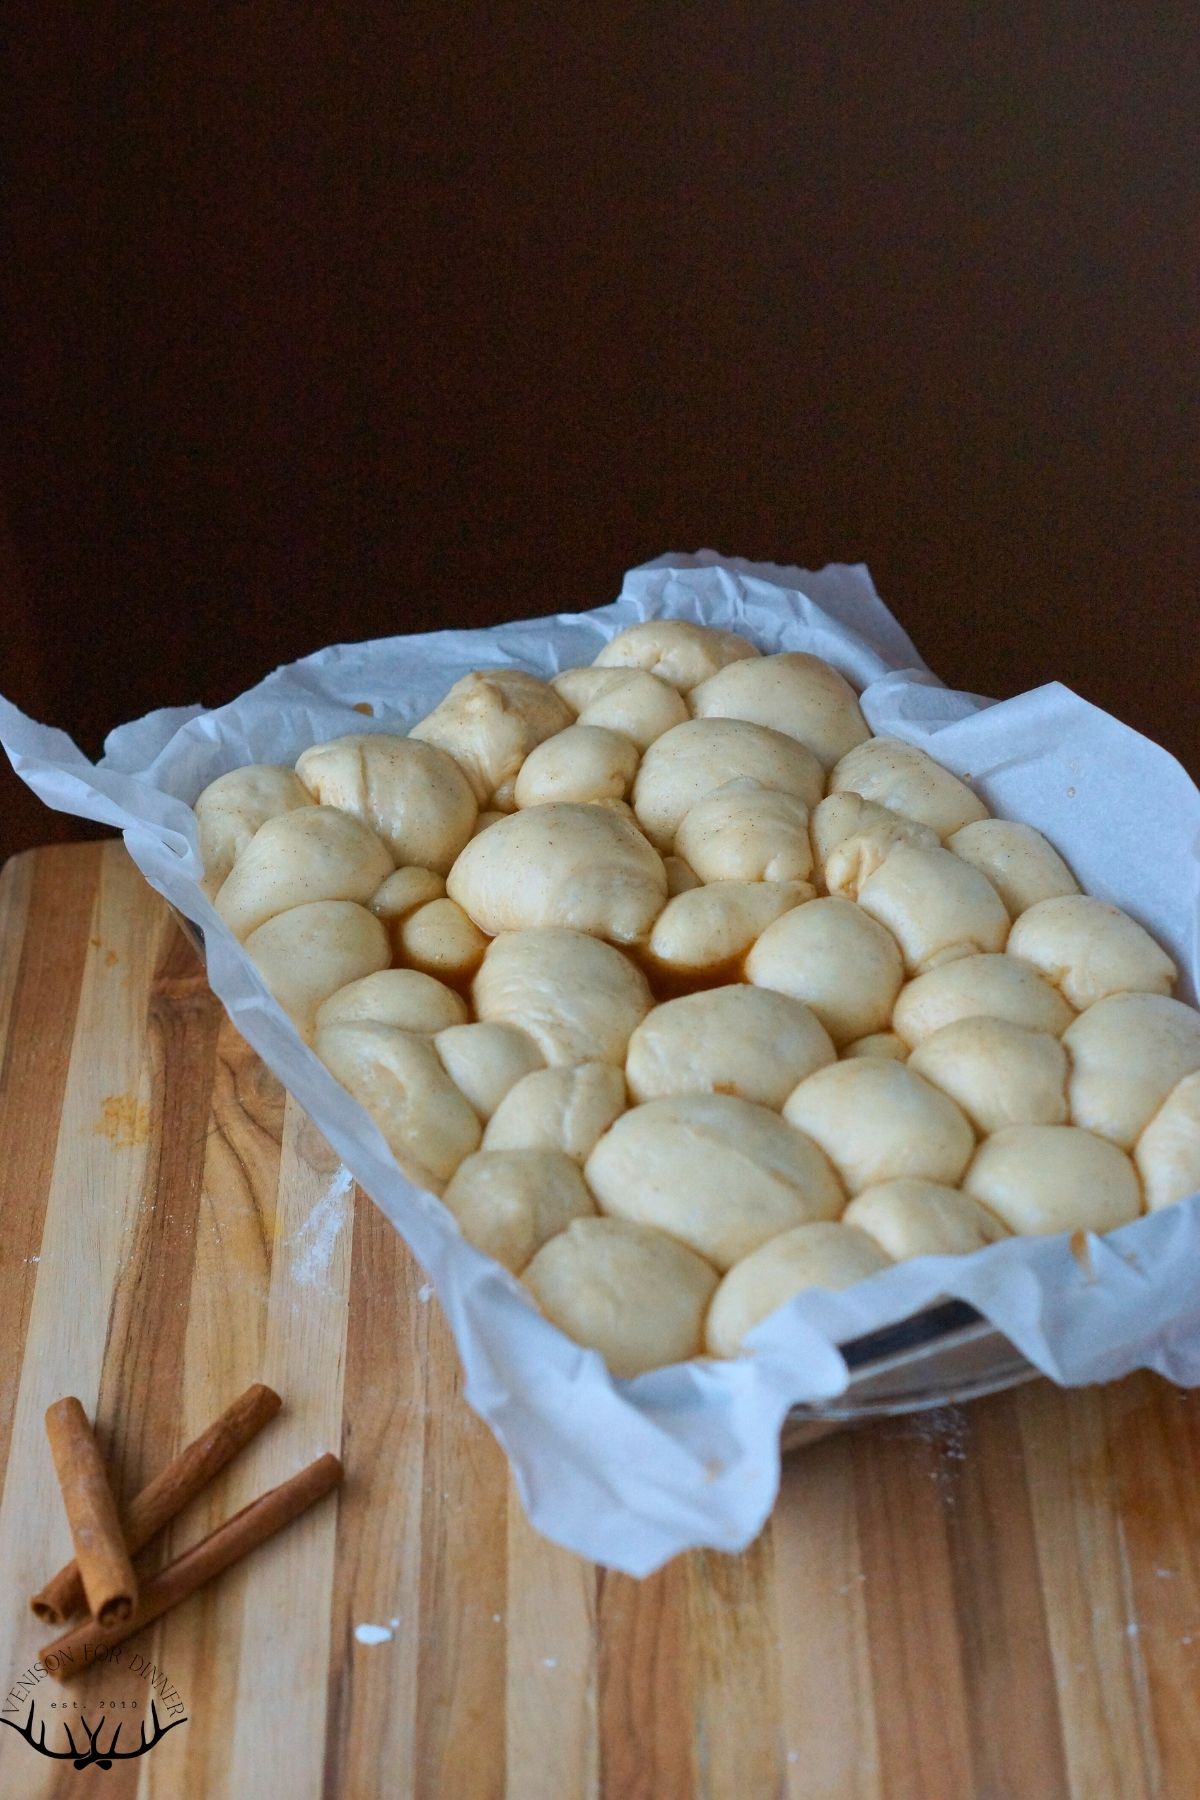
Step 8: Bake until oozy, bubbly, and delicious and enjoy!
Tips and Tricks
- Yes, you will have to get up early. This is a perfect brunch recipe. Throw some eggs at everyone and do chores while this proofs and bakes.
- Leftovers are just as good though different. They won't be quite so gooey but are still amazing reheated.
- Perfect when served with coffee, hot chocolate, or warm rooibos chai.
- I place a half sheet pan over the baking dish and carefully flip it upside down to serve. This allows the sauce to really soak into the bread if you pull it apart some at this time.
Substitutions
As with all my sourdough recipes, the liquid you use in your dough is very adaptable to what you have on hand. If you make butter like me, you can use that "buttermilk" as the perfect milk here. Also use milk, unsweetened nut milks, or even water down some yogurt or cultured store buttermilk down to a milk consistency.
FAQs
I aim for small dinner rolls. You don't want them single bite, but you don't want actual dinner rolls. When people make this from canned biscuits they are generally cutting a single biscuit into 4 parts. You don't have to be even and you don't have to be perfect!
I think it's all because you sit around the pan and pick at it like monkey's do to each other. Not appetizing, eh? Hence why I call it "pull apart" bread. Anyway you slice it, it's delicious and amazing.
I haven't found a great way to make it ahead. You can certainly do the first proofing of the dough overnight if you want, so that in the morning it's only making the sauce and the quick second proof of the rolls. But because we are proofing in the hot sauce and going straight to the oven then, there's no good way to make ahead. But prepping the dough the day ahead certainly works! Leftovers are also yummy reheated, they just aren't quite as gooey.

photos by Kiara Colebank
More Breakfast Recipes
Hey friends, don't forget to follow me over on Instagram, cause if you like me here, I post there a LOT! I'm also on YouTube with tutorials and Facebook for all sorts of things.
If you like this recipe, I’d love if you reviewed it so others can find it easier. Sharing this recipe on Facebook or Pinterest is another way you can help us out at no cost to you. Thanks, xo Kate

Sourdough Cinnamon Pull-Apart Bread
Equipment
Ingredients
Pre-Ferment
- 1 cup sourdough starter
- 1 cup warm water
- 1 ⅓ cups all-purpose flour
Dough
- Pre-ferment from above
- 2 tablespoons butter coconut oil or olive oil
- 2 tablespoons honey OR use 1 tablespoon maple syrup OR 2 tablespoon sugar
- 2 teaspoons salt
- 1½ cups milk
- 4½-5½ cups all purpose flour
Topping
- 1 cup butter
- 1½ cups sugar
- ¾ cup honey
- 1 tablespoon cinnamon
Instructions
Pre-ferment
- Mix the pre-ferment of sourdough starter, flour, and water up 8-24 hours before you want to bake. The longer beforehand, the more sour your end product will be. If I plan to mix the dough in the morning, I make it before bed. Cover with plastic wrap or a plastic bag and let sit on the counter.
Make the dough
- Melt butter, honey, and salt on low in a saucepan. When it's melted and combined, turn off the heat, add your milk, and stir to combine. With a thermometer or your finger, test the temperature of the mixture. By thermometer, it should be no more than 105F. By your finger...you should be able to comfortably hold it in for 10 seconds. If it's not this warm, turn the heat back on to warm it. If I use a heavy bottom pot, there is enough residual heat to heat the milk, if I use something like a thin enamel pot, there isn't.
- Add the warm liquid to your mixer (or bowl you plan to mix the dough in) and add your pre-ferment.
- Stir to combine; it's not going to combine super well until you start adding flour.
- Add your flour, starting on the low end, and mix the dough, adding more flour as needed just until it's combined, but not a cohesive, nice dough.
- Let sit 15-30 minutes, then knead the dough.
- This dough takes more kneading than most- my mixer kneads on low for 10 minutes, so if kneading by hand, you're going to knead about 10-15 minutes.
- If the dough sticks to the bowl or your hands, add a little more flour, but try not to add too much. It's not a stiff dough, it's on the softer side. Try wetting your hands/counter for kneading if it's sticking and you've already added a lot more flour.
- Cover your dough with plastic wrap or a plastic bag and let rise 2-3 hours until it looks like it's kind of doubled (don't overthink it, as long as it's 1.5'd its original size). (or overnight is fine, to bake the next morning!)
Shape and Bake
- Cut and roll into rough balls about the size you would small dinner buns- about 1-1.5”. No need for them to be perfect.
- Line a 9x13 baking dish with parchment paper for easy release.
- Melt together butter, sugar and honey JUST until melted. Warm but not hot. Melt butter, take off heat then stir everything in until dissolved.
- Pour ⅓ of the sauce in the prepared dish. Layer the bread dough balls. Pour the rest of the sauce on.
- Rise until 1.5x, about 1.5-2 hours. Because of the warm sauce it will rise faster than normal.
- Preheat oven to 375°F when the proofing is almost done.
- Bake for 25 minutes, then rotate in the oven.
- After 20 more minutes, I like to check internal temperature. It should be 180°F or higher. If you’re over 200…bake a little less next time. No harm done.
- Place a cookie sheet over the top of the baking dish and gently flip over to remove from the pan to the cookie sheet. Remove parchment.
- I like to then pull apart some of the bread at this point to allow the excess sugar mix to seep in.
Notes
- Use whatever milk is on hand - just make sure it is "milk consistency" and not thick, like cultured buttermilk.
- This is an egg free recipe because I know sometimes it's hard to find bread without eggs for those with allergies!
- I haven't tried making this completely dairy-free. I have used coconut oil for the butter in the dough itself, but the butter is what really makes the sauce. If you do want to try it, I recommend getting some vegan "buttery sticks" as I know my mum has some success baking with those. Let us know if you try!




Crystal
This was amazing!! Prepared it all ahead of time and put in the fridge. When guests came later that day I pulled it out and put it in in the oven, the house smelled delicious and I already have requests for it again!
Laurie McClary
Ohhhhh, Kate! You have outdone yourself. My kids (and grandkids, including my 18 month old grandson) LOVED and devoured this! Thank you!!!
Jo
Delicious! My whole family loved it. Making it for the 2nd time in 2 weeks right now. ?