
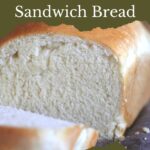
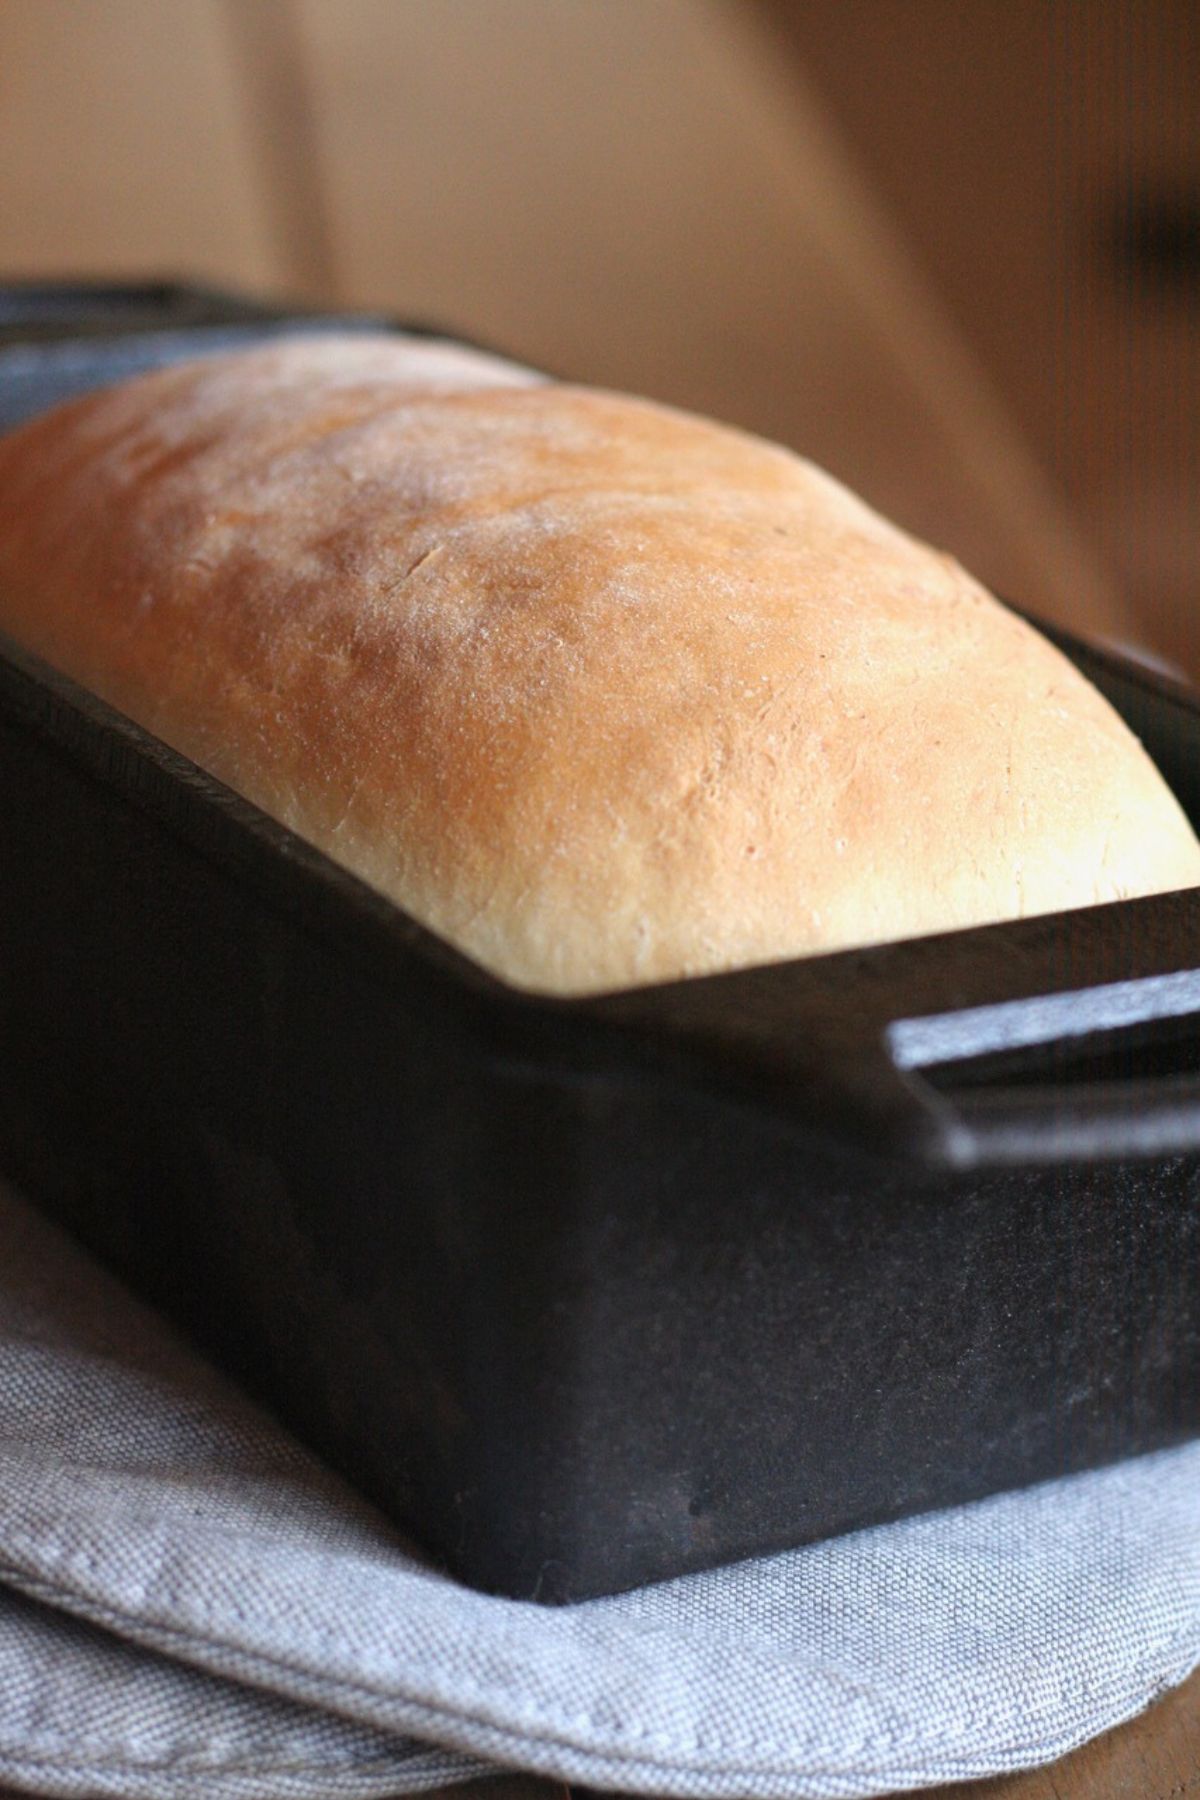
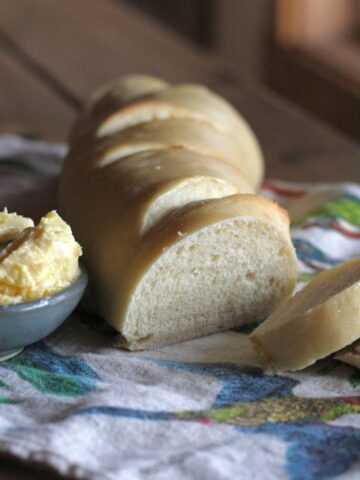
After 15 years of making bread, I'm happy to tell you I've found the holy grail of sandwich bread I have been looking for. My kids go nuts for this fluffy white crustless bread!
Growing up, Marius spent a lot of time at a friends house, whose mom, Elaine, made all sorts of things. Fast forward to us having kids in the house and Elaine has become a weekly fixture for us as well. We enjoy trading different homemade or homegrown food (she makes the BEST wine with homegrown fruit...) and swapping recipes. This recipe is one she gave me after my kids couldn't get enough of the loaf of "fluffy white CRUSTLESS" bread she brought us one day. I tweaked it a bit because I cant help myself, but its inspired by Elaines recipe.
Why You Need This Recipe
- It's super similar to "dead white bread" you get at the grocery. And we all know how kids just LOVE that sort of bread - but of course we are using straightforward, nutritious ingredients!
- This easily doubles (to make 4 loaves) so you can always have fresh bread on hand. It would be perfect to share with new moms, neighbors trading work, anyone!
- It's not much work at all. Use a mixer, let it raise, shape and bake. Nothing is easier.
Key Ingredients
Flour - regular all-purpose here. Even unbleached white flour will still make a "white" loaf. The whole point is we aren't using whole-wheat, which would be too dense.
Milk - not picky here! Milk straight from your cow, from the store. Go for it!
Yeast - always make sure you have fresh yeast. If you haven't used it in a while, it might be a good idea to test it out first so you don't waste ingredients. I keep mine fresh in the freezer.
Sugar and butter - keys to making yeast bread be soft sandwich bread!
How to Make Crustless Sandwich Bread
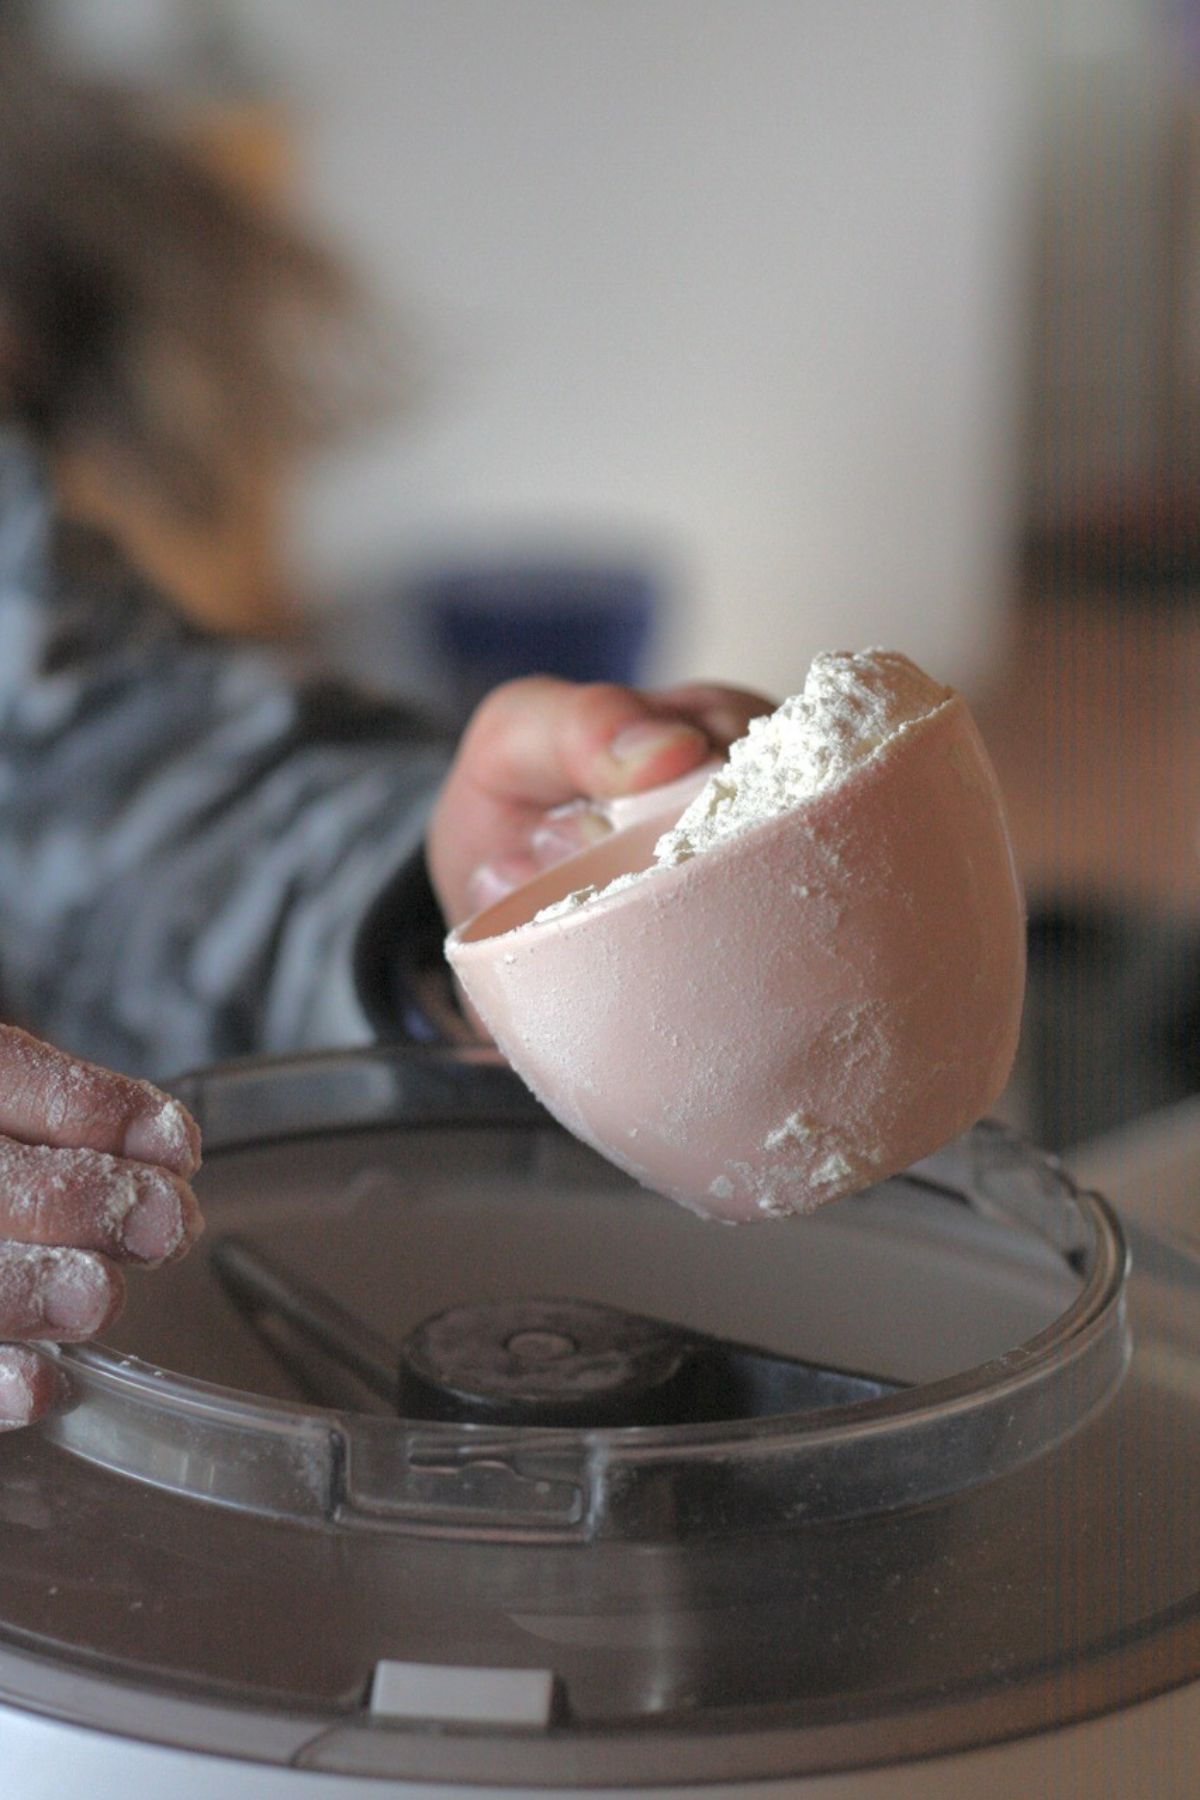
Step 1: Melt the butter into your milk until juuuuust warm, no killing the yeast here!
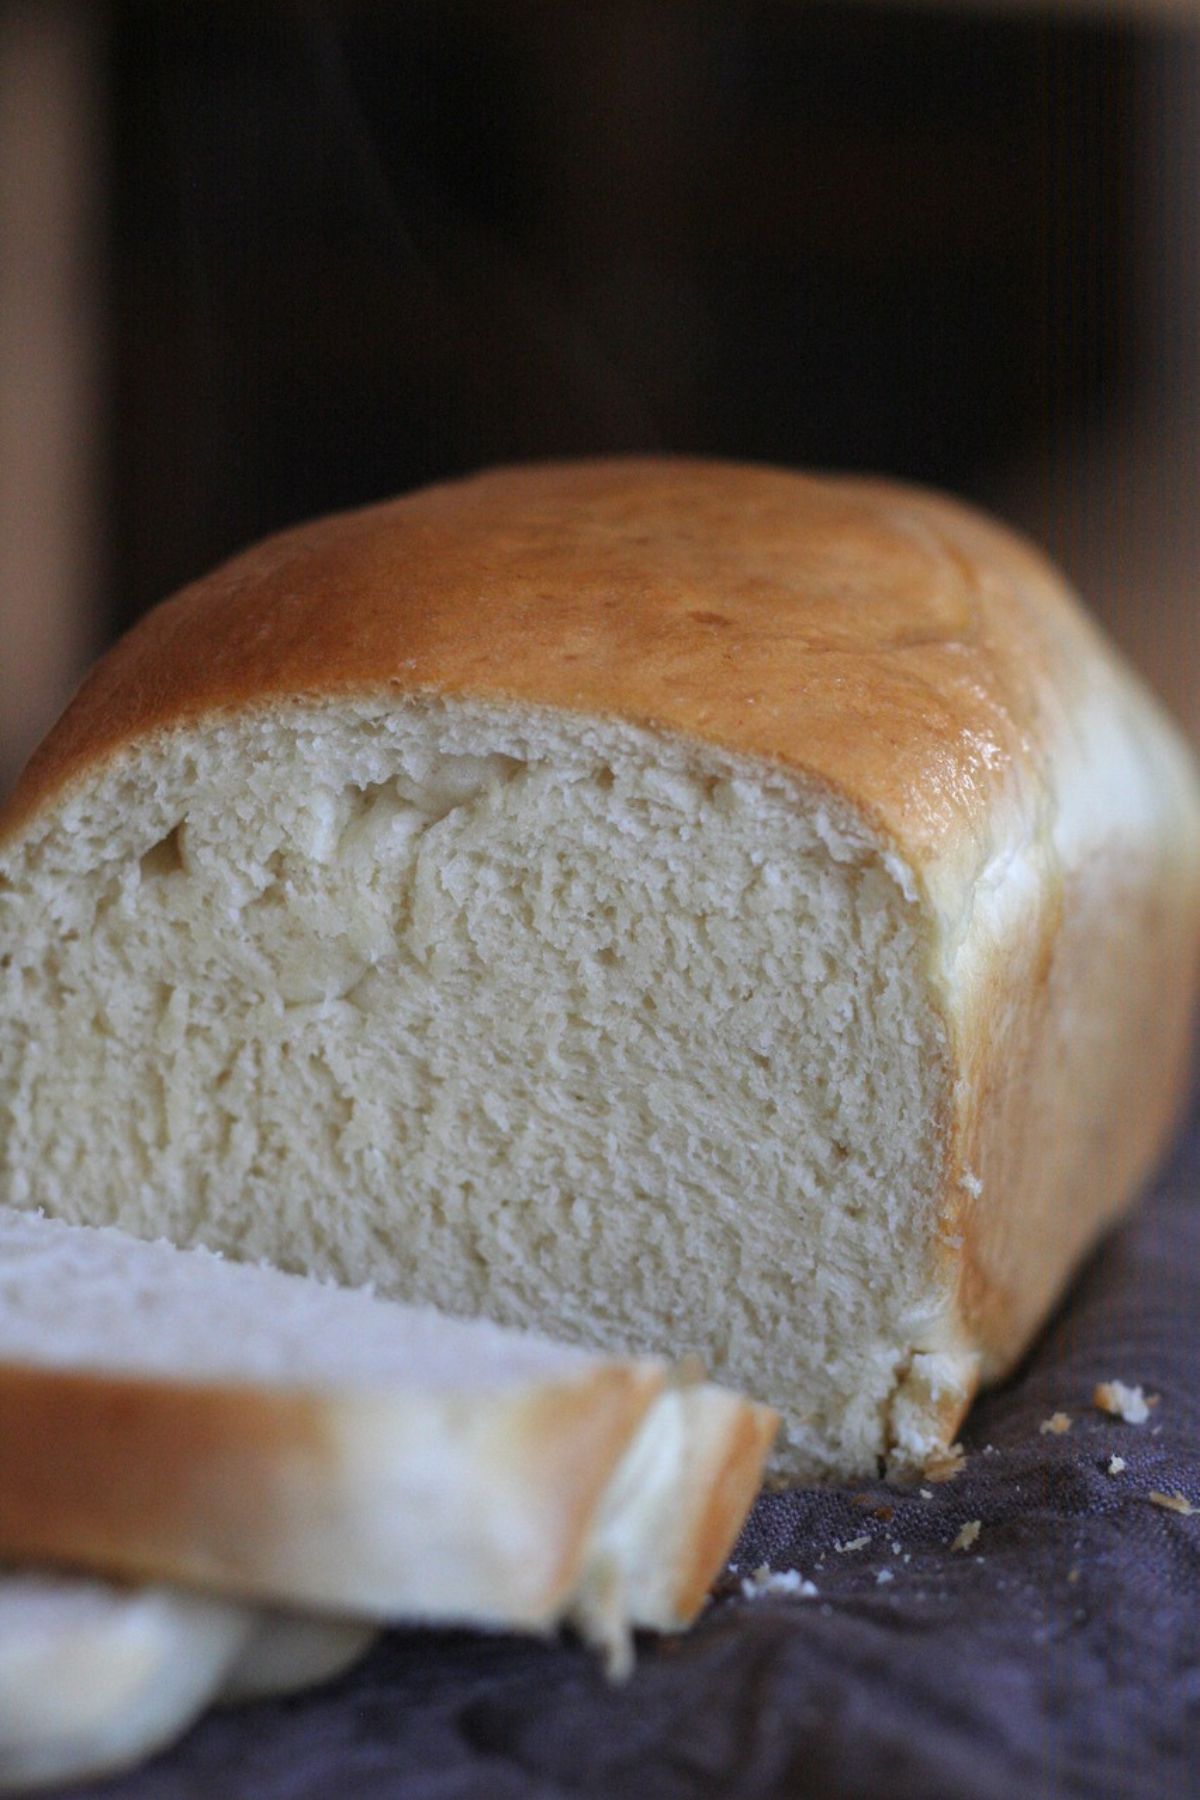
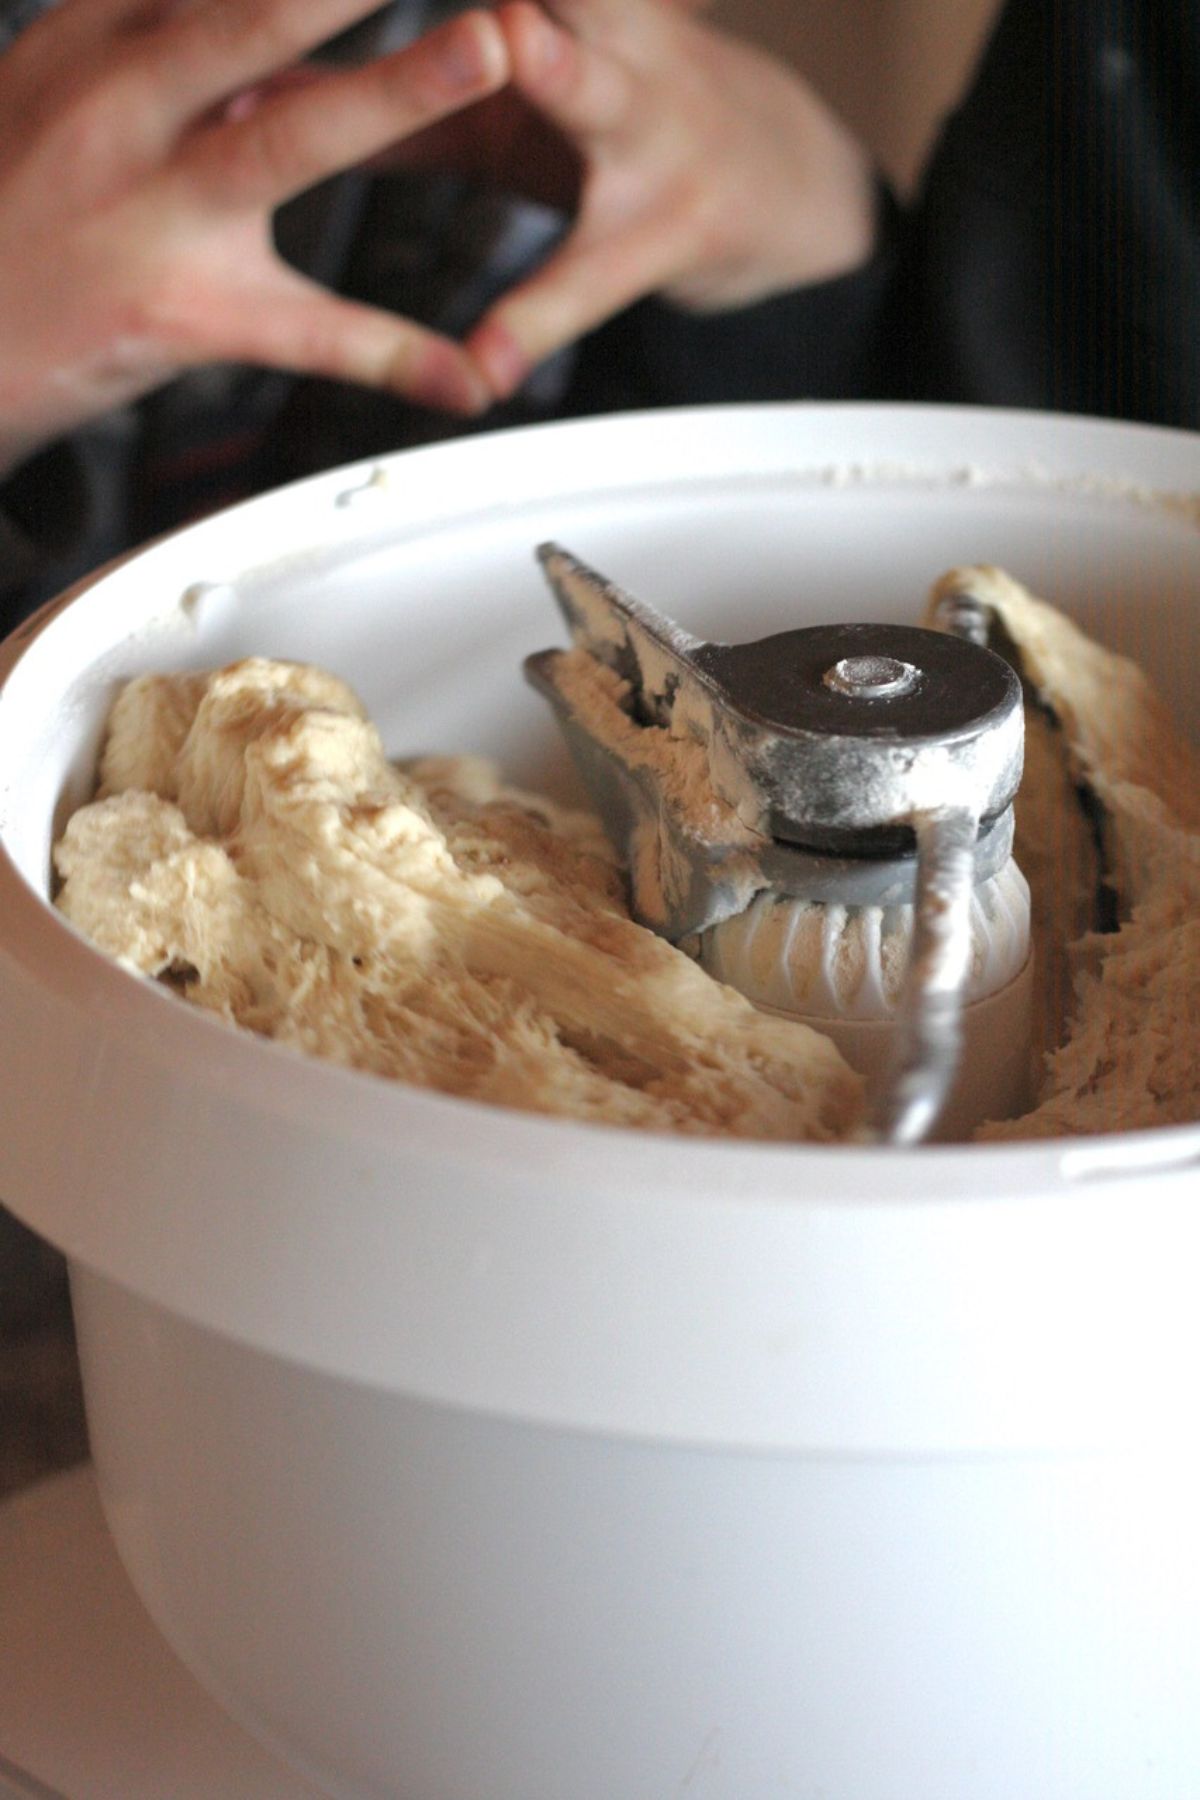
Step 2: Use a stand mixer with a dough hook to mix the dry ingredients (only half the flour).
Step 3: Add butter mix to flour mix and beat on medium speed for 2 minutes.
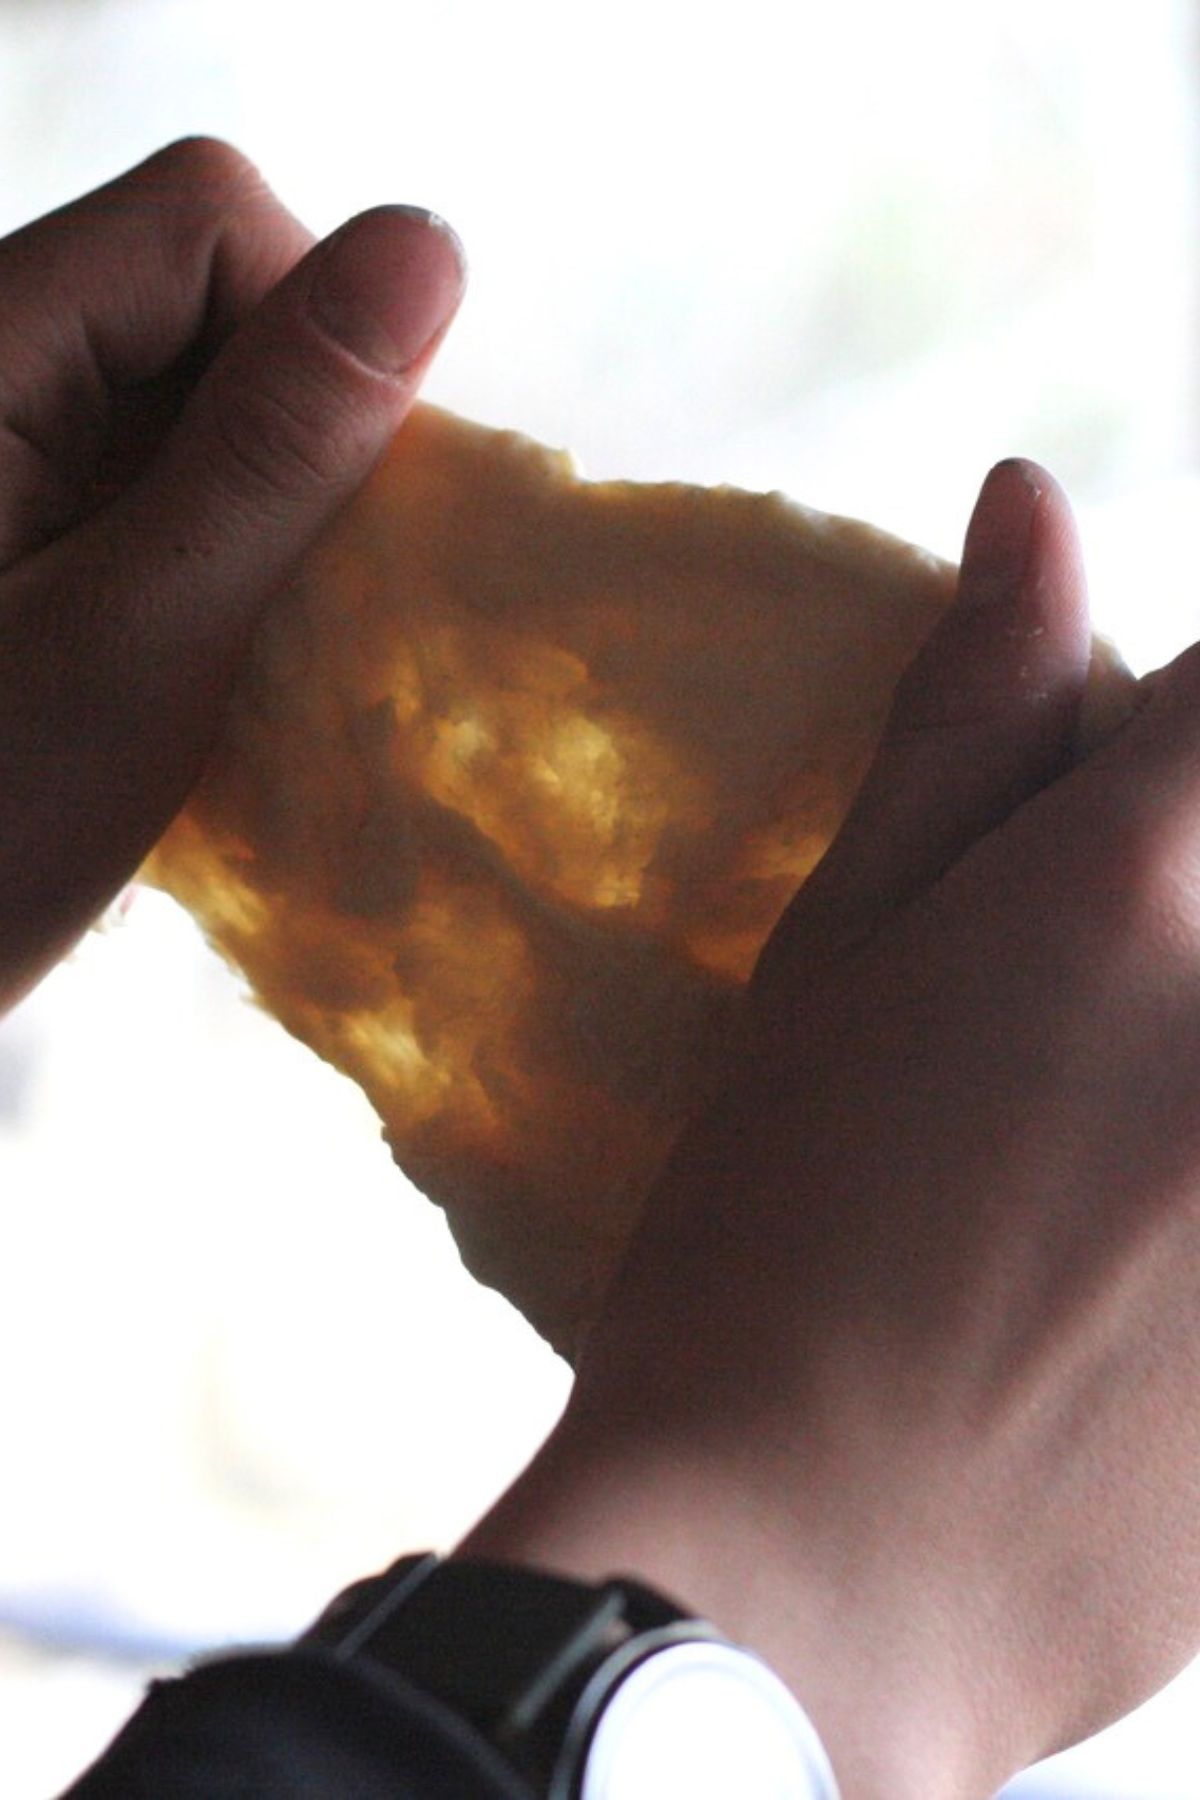
Step 4: Add in remaining flour, and knead until well combined. It should come together away from the sides the bowl. Now knead until windowpane is reached.
Step 5: Cover mixer bowl and let rise until doubled.
Step 6: Line the loaf pans with parchment.
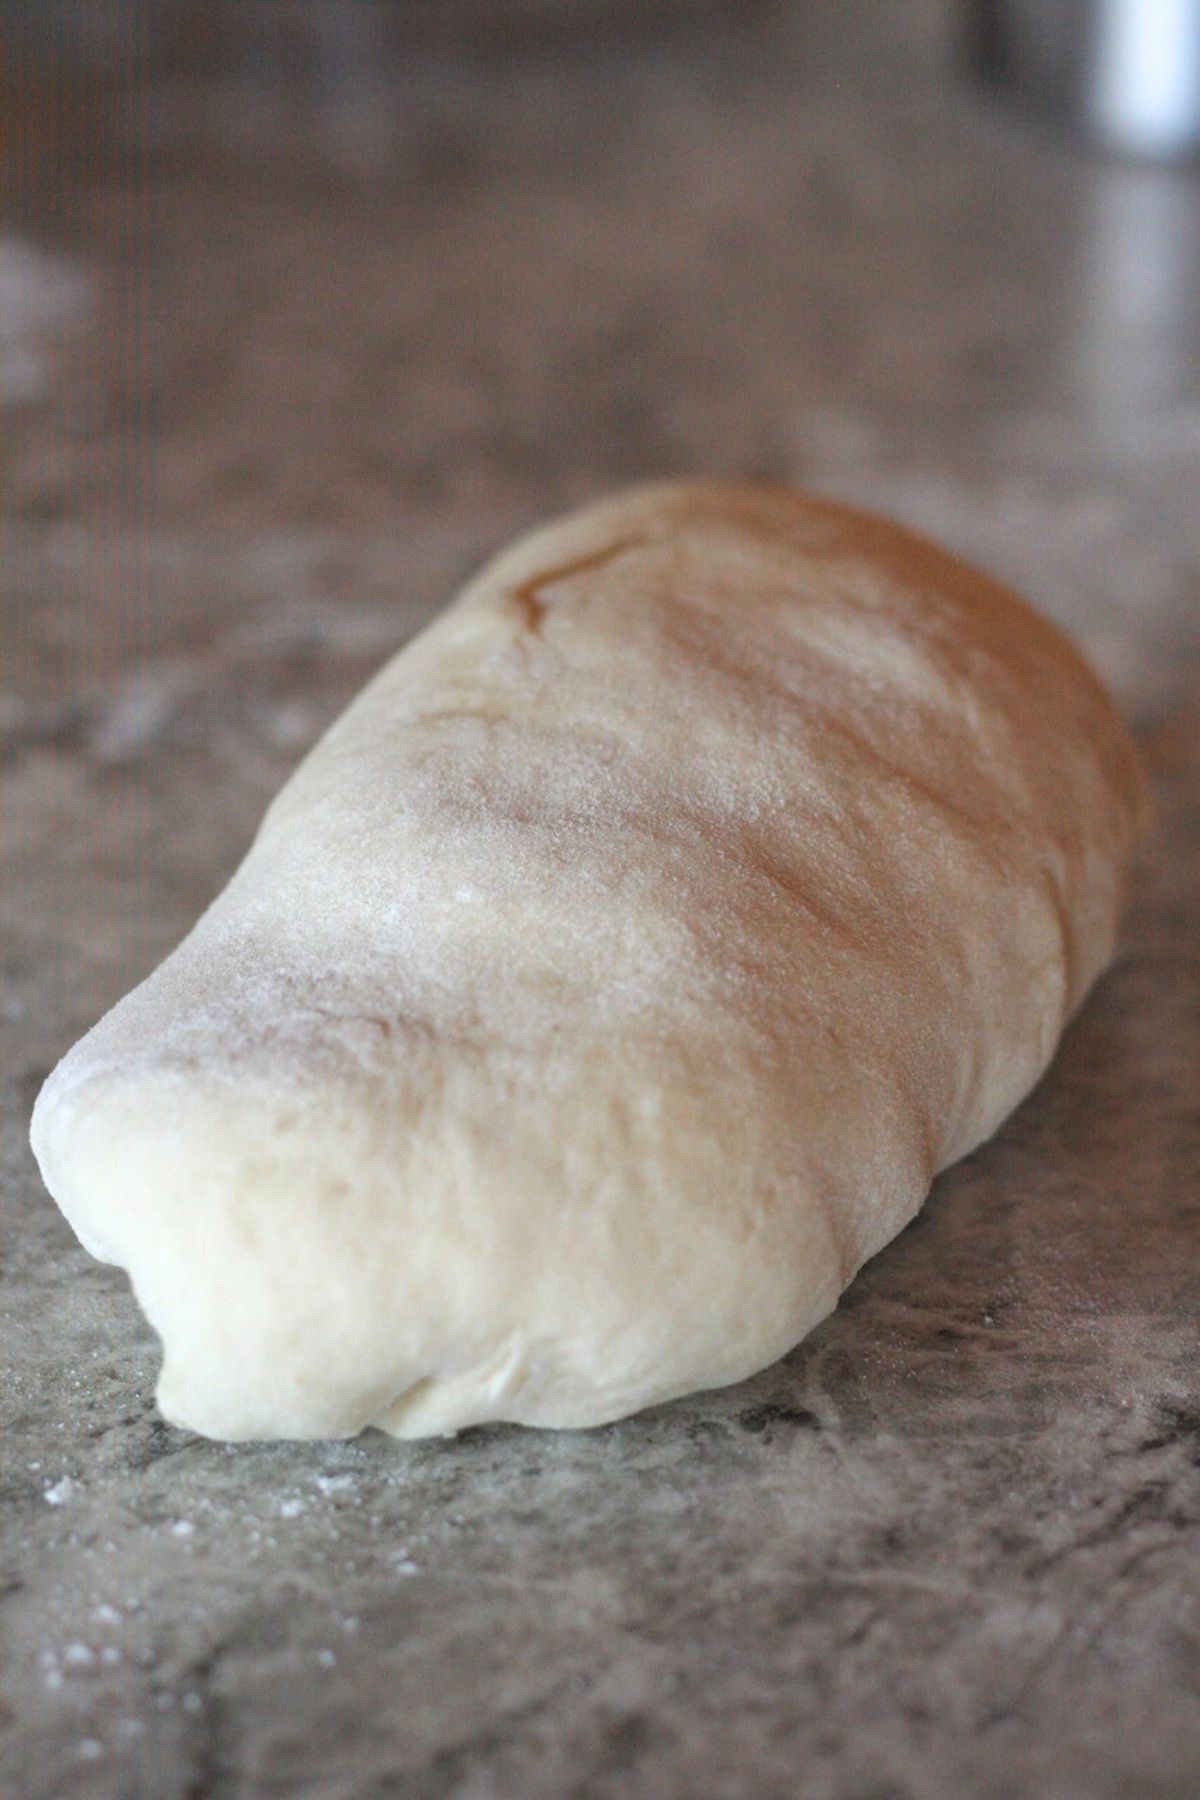
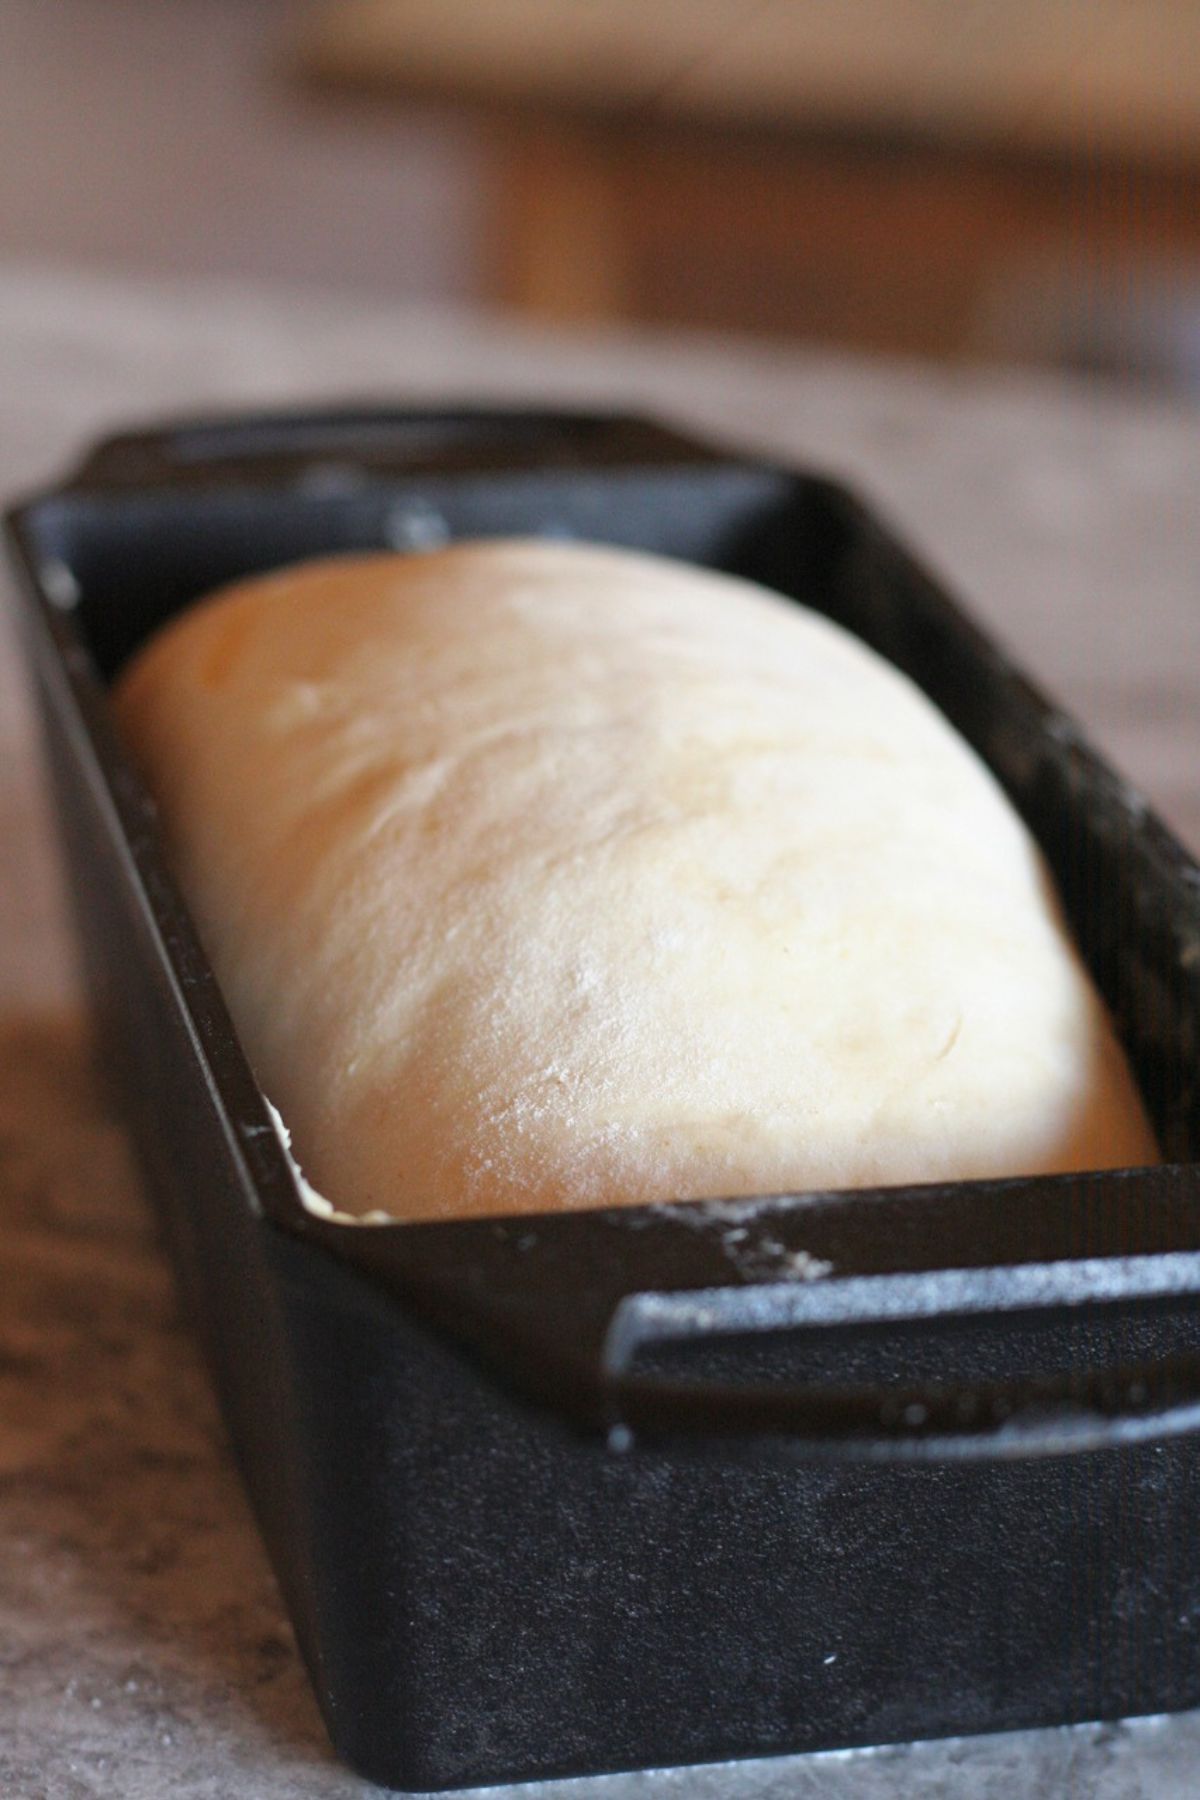
Step 7: Once doubled, divide in two on a floured surface and shape into loaves. Place in the pan and let rise until doubled.
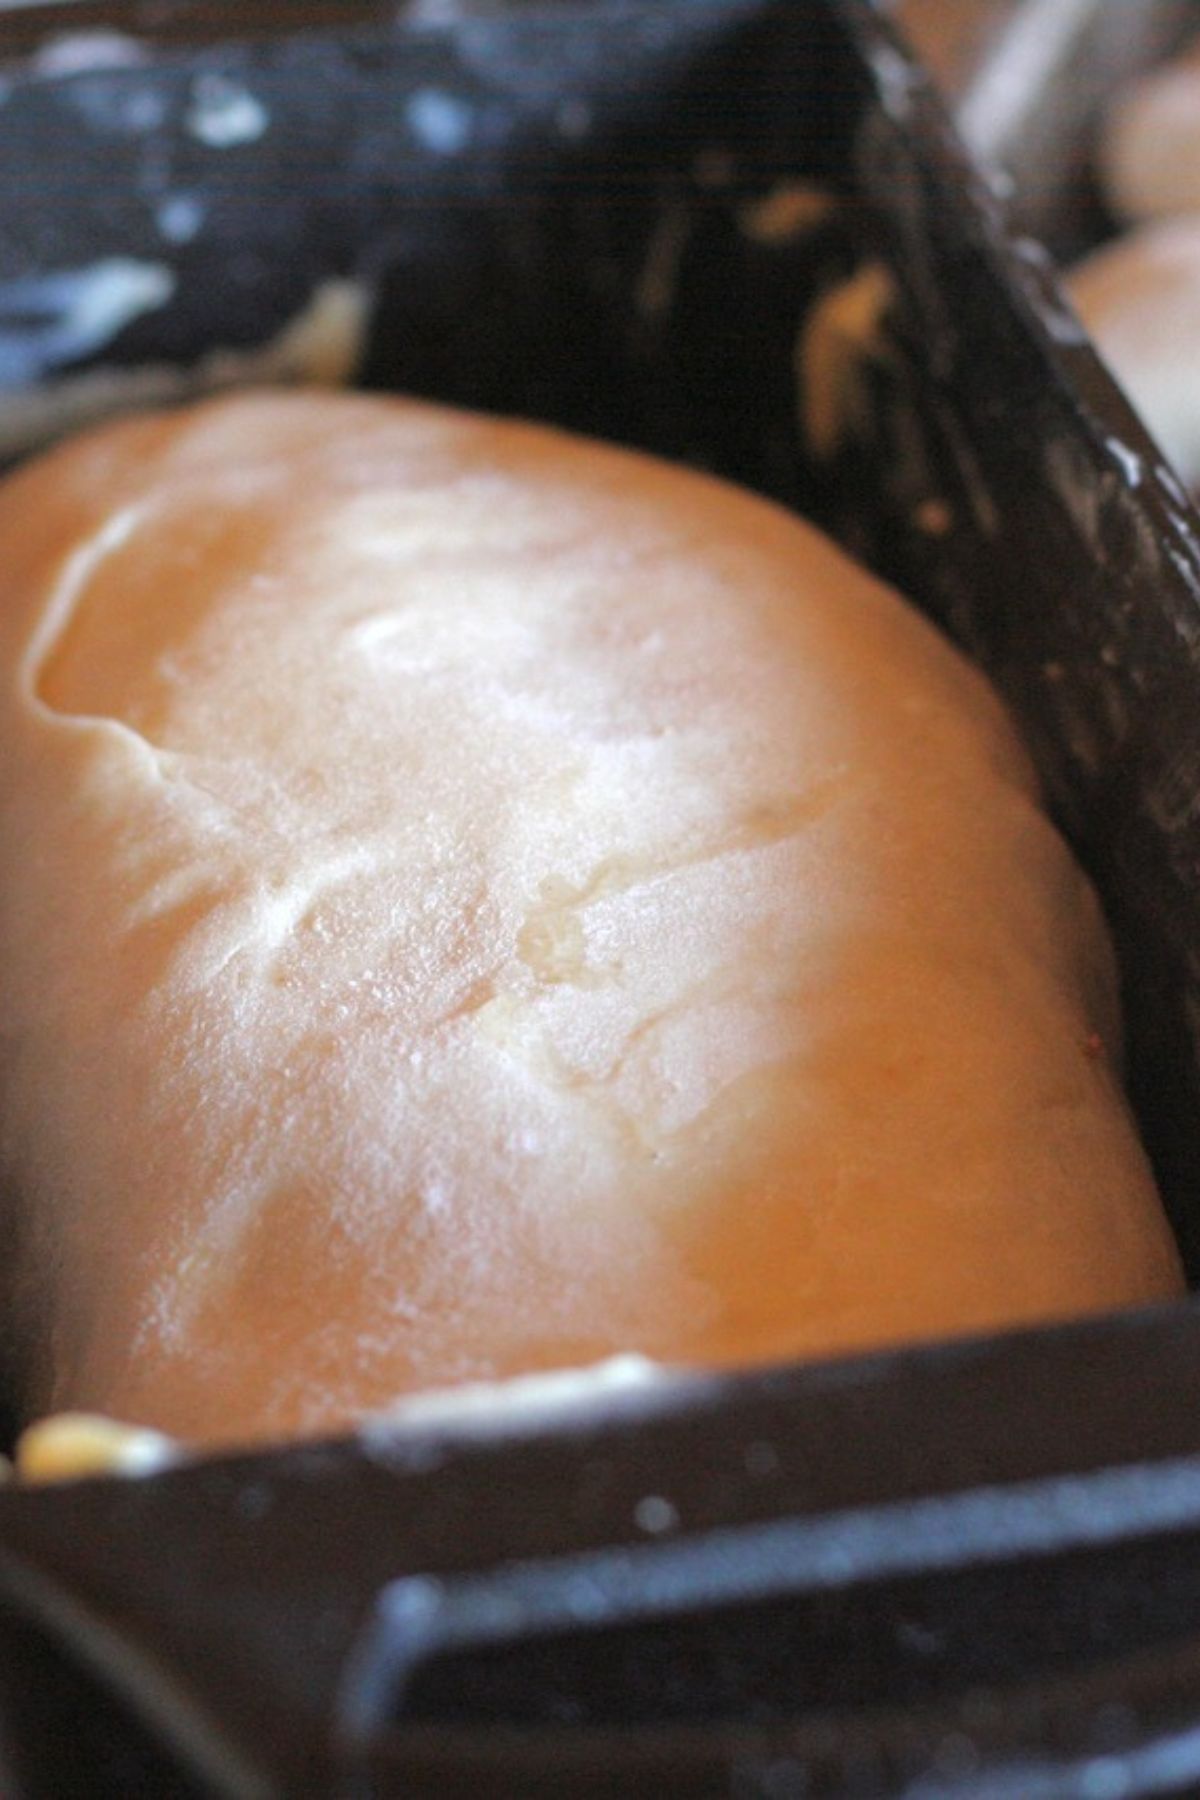
Step 8: Preheat the oven and once the loaves have doubled, get them in!
Step 9: Bake until they reach an internal temperature of 190F to ensure they are baked through.
Step 10: Let rest 10 minutes before turning out of the pans to a rack. Rub the tops with butter for a truly soft crust.
Tips and Tricks
A note about the milk: we save some buttermilk when we make butter to make this bread. This buttermilk is different that the thick cultured buttermilk you buy in the store. If you happen to make your own butter, you're in luck. If you make cheese or strain yogurt, as long as the whey isnt salted, save some back for this bread! Otherwise, swap for milk or water. Water will give you a little different outcome but it's still great bread.
Rubbing a stick of butter over the top of a still-warm loaf is what keeps the crust super soft! Because while we call this bread "crustless" of course all bread has a crust. This one is just thing and not at all crunchy.
Substitutions
- You could also take a few tablespoons of sour cream or yogurt and water them down to make your two cups of liquid. This recipe is very forgiving in this way! Adding the touch of dairy makes it much better than using water alone.
FAQs
Definitely. Water works in place of milk or you can use an unsweetened almond milk. There are "vegan buttery sticks" you can use in place of the butter within the dough, or simply use olive oil. Then either skip the butter on the top of the loaf or use vegan "butter."
If you pull out a golf ball sized piece of dough and gently flatten it/stretch it like youre making a tiny pizza, and hold it up to the light, you should be able to see through it. If it starts to bust holes before you can get it that thin, knead it another minute or two.
To shape loaves, use your hands to push the dough into a rectangle about as big as your two hands with fingers spread out. Then roll it up "like a hot dog," tuck in the ends and pop into your bread pans. When you tuck in the ends you are stretching the top, creating tension, which gives you a nicely domed top as it proofs.
There is nothing worse than slicing into a fresh loaf of bread and finding an underdone center. You can't put it back in the oven at this point, nothing will happen. I like to use an instant-read thermometer and aim for around 190F in the center of the loaf. This tells you the bread is done! It should also sound hollow when knocked on.
More Bread to Bake
Hey friends, don't forget to follow me over on Instagram, cause if you like me here, I post there a LOT! I'm also on YouTube with tutorials and Facebook for all sorts of things.
If you like this recipe, I’d love if you reviewed it so others can find it easier. Sharing this recipe on Facebook or Pinterest is another way you can help us out at no cost to you. Thanks, xo Kate
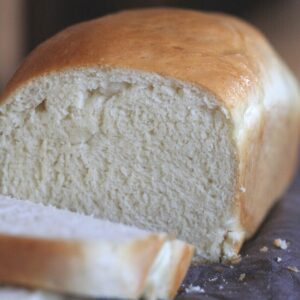
Homemade Crustless Sandwich Bread
Equipment
Ingredients
- 2 tablespoons butter
- 2 cups milk or water whey, or buttermilk left from butter making will work (but NOT cultured buttermilk)
- 1 teaspoon salt
- 2 tablespoons sugar
- 2 teaspoons active dry OR instant yeast
- 4 - 4 ½ cups all purpose white flour
Instructions
- Melt together the butter and water/milk until the butter is just melted and the milk isn't too hot (it will kill yeast if it's too hot for you to hold your finger in).
- In a stand mixer with dough hooks, mix salt, sugar, yeast, and 2 ½ cups flour.
- Add in milk/butter to flour mix and beat on medium speed for 2 minutes.
- Add in 1 ½ cups flour, and knead until well combined. You want the dough to pull away from the sides of the bowl, NOT stick to it, and be "soft as a baby's bottom." If it's not there yet, add in flour a couple tablespoons at a time.
- Once it's the right consistency, let machine knead for 3-5 minutes until bread hits windowpane stage.
- Cover mixer bowl and let rise until doubled, about an hour.
- Get your loaf pans ready - I prefer to line with parchment vs greasing and flouring. It's less work for me. I prefer a smaller sized loaf pan for tall loaves, but two 8"x4" pans work well.
- When doubled, dump dough onto a lightly floured counter, divide in two, and shape your loaves.
- Put your bread pans inside of a plastic bag. I reuse a turkey roaster bag for this but you can even use a grocery bag. Make sure it's inflated with air and tie it off so it stays blown up like a balloon. This creates an excellent "proofing chamber" for your bread to rise well.
- Look at how your dough is now, maybe "measure" how tall up the pan the dough is with your fingers like you were measuring 2 fingers of whiskey. For me, it was 3 fingers. This helps me so I can know when the bread is doubled. Letting your bread truly fully double before baking is the trick to this bread being as light and fluffy as can be. It takes about 30-60 min depending on your house temperature.
- Before the dough is quite doubled, preheat the oven to 350F, with the rack in the middle. NOT CONVECTION. Convection setting actually inhibits your bread from springing up well when baked!
- When dough is sufficiently doubled, slide into the oven and set timer for 20 minutes. After 20 minutes, turn pans around. Bake another 5-10 minutes more. (If your oven runs hot, check after 5 minutes.)
- Because ovens vary, I always suggest taking your bread's internal temperature with an instant read thermometer. It should be over 180F, usually in the area of 190F. If its over 180F you're good, it will continue to rise a bit after you take it out of the oven.
- When the internal temperature is right, take it out of the oven, leave the loaves in the pans, and set a timer for 10 minutes. When the timer goes off, take the bread out of the pans. This 10 minute rest helps the sides and bottom of the loaves stay softer.
- If you really want to do this right, take a stick of butter and rub it all over the tops of the bread while it's still warm for the ultimate soft top crust.
- If you plan to eat the whole loaf in one sitting, you can cut into it while it's still hot. Otherwise let it sit at least an hour, ideally until room temp, until you cut into it. The "crumb" of the bread is still setting up and if you cut into it, it releases the steam that's doing so, and causes your bread to get a bit gummier as it cools.
- Store in a container on bag on the counter. Stays cold sandwich worthy for a good 3 days in our 20C/70F house.
Notes
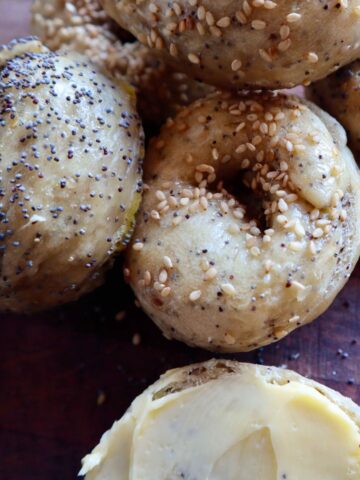
- You can also make this into buns! Instead of shaping into loaves, shape into golf ball sized buns for dinner buns or double that, and flattened out a bit for hamburger buns.
- A note about the milk: we save some buttermilk when we make butter to make this bread. This buttermilk is different that the thick cultured buttermilk you buy in the store. If you happen to make your own butter, you're in luck. If you make cheese or strain yogurt, as long as the whey isnt salted, save some back for this bread! Otherwise, swap for milk or water. Water will give you a little different outcome but its still great bread
- You could mix a few tablespoons of yogurt combined with water to get your 2 cups of liquid if that's what you have. Or you can water down some cream that's needing to be used up.
Ainsley
Gorgeous loaves of bread! Sturdy slices but still soft and light. Our favorite sandwich loaf recipe we’ve tried so far! I really appreciated that it has options to make dairy free.
Beth Ann Sarpong
I have this bread in the oven RIGHT NOW!. it's my go-to recipe for sandwich bread. Turns out great every time.
Christene C
I love this bread. Very easy to make and I love to make this bread to take with me when I am serving meals to sick and new mother's in our church.
Shannon Bomberger
Love this recipe. Perfect consistency and my kids love it which is a double win!
Pam
Best bread recipe ever! I only use this recipe for regular white bread now. Thanks Kate!
Katlin
This bread recipe is not only very easy to follow but it is by far the best soft white bread I've ever had. My whole family loves it, that's including 5 young children who have only really had store bought white bread! Simply amazing ?
Cathy
I love this bread, I’ve made bread for 40 years and this is my go-to for the last 4 - 5 years for everyday sandwich bread. It makes great pan rolls too. I’ve used milk, cream and water mixed, plant milk, and water; and it’s turned out great with them all.
Leah Glick
Even with not using a stand mixer and mixing this up by hand, it is probably the most delicious loaf of bread I have ever been able to achieve. I doubled the recipe and used both honey and sugar in the dough as well as the tzanghong method to keep an even moister and softer crumb
Leah Glick
Updating my prior comment/rating. Still totally 5 stars. I will have to make this more sparingly as one of my parents deals with blood sugar issues and am found that the NON sourdough bread just spikes the sugar too much. Rave reviews from everyone even with that bummer note. I will absolutely make this again!
Ainsley
You guys. If I could rate this recipe higher than 5 stars, I would.
Cheese-filled garlic buns, dinner rolls, sandwich bread, hamburger buns, hot dog buns, monkey bread- etc.
This recipe does it all *and* it does it all so so so very well. I’ve written this recipe out on a card for myself as well as for friends/family. And the fact that I can do all the kneading in my mixer?! *chefs kiss* Seriously. Try it. It’s the best.
Kaylene
We love this recipe and my 10 year old daughter loves to make it for us! Have you tried to convert this using fresher milled flour? I’d love to start using fresh milled flour but hate to give up your recipe and looking for one that’s not sourdough.
[email protected]
Kate hasn't spent time converting this to fresh milled flour yet. I always experiment will a little bit at a time. There is always a tipping point where you've reached the maximum without ruining the recipe.