
Dont be scared of rendering fat! The great news is no matter the fat youre rendering, the method is the same. No fancy tools needed, although a meat grinder will make the job quicker. Years ago I did a post on rendering it in your crockpot, but I've found stovetop is quicker with a cleaner end result.
Pork leaf lard/kidney fat is my favourite for baking- biscuits, crackers, pie crusts.
Pork back fat we use for deep frying and oven roasting.
Beef leaf lard/kidney fat I use for tallow balm
Beef back fat we use for deep frying and oven roasting
Bear fat is new to us. So far I made candles with the back fat and love the results! The cat also liked it and ate one...bear kidney fat/leaf lard I plan to use for a pot pie crust. I'll update this when I try!
How to Render Lard and Tallow from Pork, Bear or Beef Fat
Equipment
- Stockpot
Ingredients
- Pork, Beef or Bear Fat
Instructions
- Working with the fat at as frozen as possible (Its easier to handle this way) chop it into a 1 inch dice or smaller OR slice into strips that will fit in your meat grinder and run it through the meat grinder.
- Dump your fat into a pot that fits it all, and add ½ cup water to the pot. Turn onto medium low heat
- Gently warm your fat, giving it a stir. As soon as the "cracklings" start to turn a greyish brown and all the fat is melted, strain it through a fine mesh strainer
- You DO NOT want the cracklings to start sizzling or they will flavour the fat. This is not bad, its just not ideal
- Dump the strained fat into a clean pot and warm on medium low heat until no steam comes out. This way you've evaporated the water and it will last longer
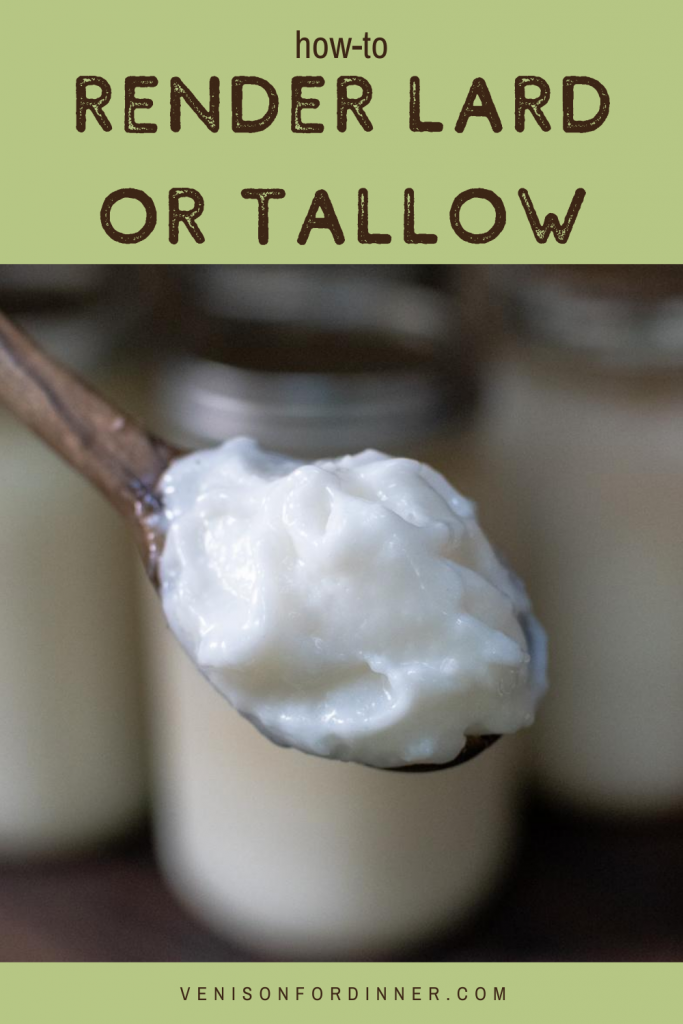
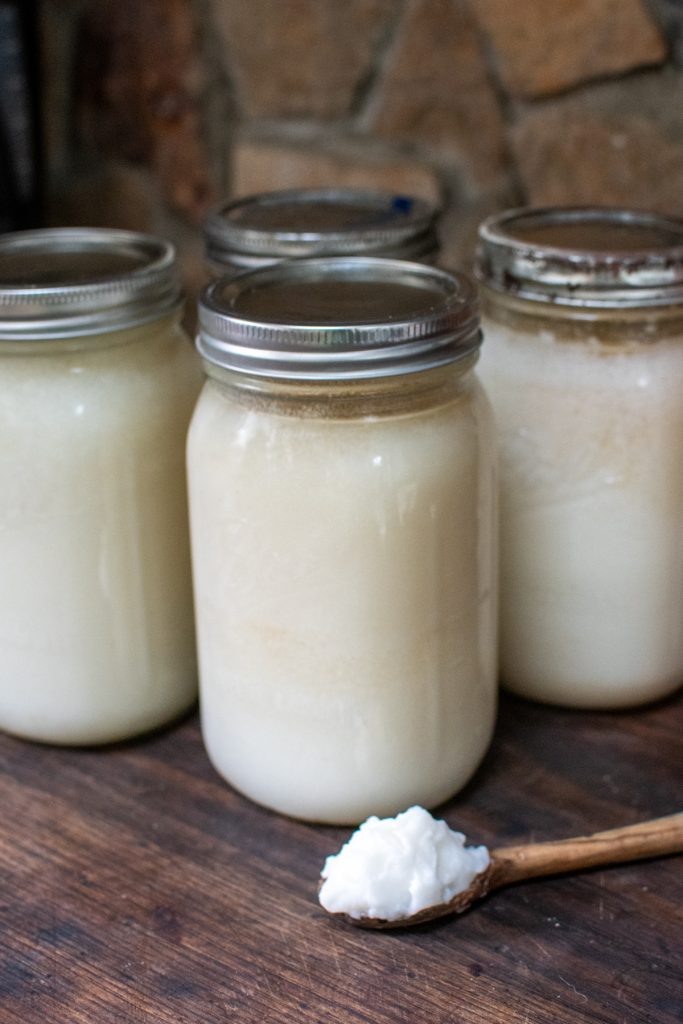
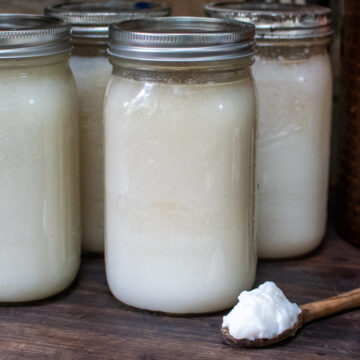
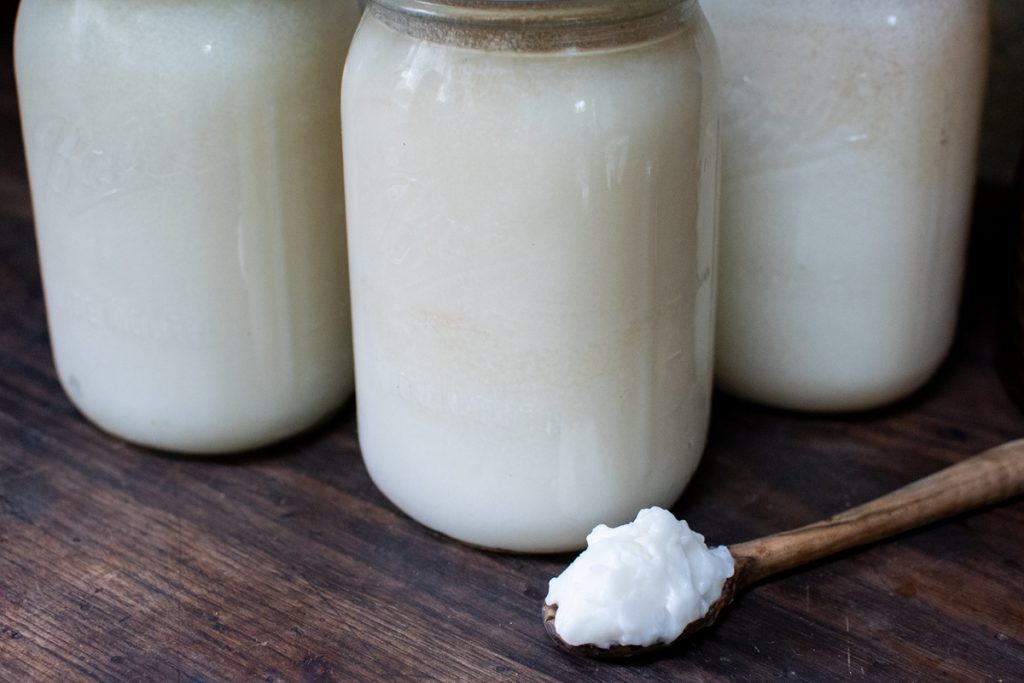
- Pour fat into containers or jars of choice. I find getting fat out of jars and cleaning them REALLY ANNOYING so I use freezer containers.
- Let the fat cool until firm/solid, then put the lids on
- Label it and put either in a cool dark place, fridge or if no other place, the freezer.
- I've kept it in a cupboard at 15C/60F for a couple years without it going bad, but your climate may be different. I currently store it in my root cellar which is 5C/40F in winter and 12C/55F in summer
Video
Nutrition
Want ideas on how to use it?
- Oven Fries (or vegetables!)
- Anything Goes Pot Pie
- Freezer Meal Fried Rice
- DIY Deer Fat Candles (Use this method for bear fat too. Deer fat isnt good for cooking)
- Old Fashioned Donuts
Christene C
we butchered a hog in November at the time I had no energy or time to render my fat. I did put it through the grinder after we made our sausage. However, now it is a large block of mush but frozen - should I still chunk it?
katehosie
Id say you can just gently warm and add
Claudia
You mentioned a book but said you would leave the name below. I don’t see it.
kateschat
Oh whoops! Heres the book https://amzn.to/3ljrkaB
Kaeleigh
Followed this recipe to render deer tallow. We did not have a meat grinder so just cut into chunks and it worked fine. Fine mesh strainer was great for filtering when done, then we just used cheesecloth to get the rest out of the pot prior to making candles!
Samantha
Would you use beef kidney fat similarly to pork kidney fat?
[email protected]
yes for the most part but there is a different flavour so you have to judge which works best for your palette.
Caitlin Gray
Used this method last week on 10 pounds of beef suet and it worked great!
Rebecca
Storing in freezer containers are genius! It’s a pain getting pain out fats out of jars, and especially cleaning them.
Chelsey Beringer
Loved making this tallow balm, such a simple and powerful skincare item. Thanks for sharing!
Andrea Barber
Agreed
Holly
We just butchered our 3rd hog in October and we rendered the lard for the first time. It was much easier than we thought it was going to be and works great to use for cooking. Thanks for the recipe!
Annette
I had rendered lard before and it was very strong tasting, this recipe and video tips taught me to strain out the bits much sooner, and my lard turned out fabulous!
Andrea Barber
Because of this recipe, I now use tallow balm instead of store bought lotion. My skin is so happy!
RachelCornelsen
This was a great guideline for rednering deer fat for making candles! Thanks
Lauren
Do you have to add water?
[email protected]
No just keep it on low heat so it doesn't burn
Lesley
Hi! I was introduced to you today while listening to your podcast with Simple Farmhouse. I love Tallow moisturizers and would love to make my own. Do I follow this redering recipe then use the rendered fat (tallow) in your Tallow Balm recipe? I over think thinks so excuse my ignorance.
mandi
If I were to ask a local butcher shop to save me some fat to render, what is a good amount to ask for? I want to render the fat to make lard for soap. Just not sure what is a good starting poin to ask for. Can anyone here offer any advice?
Kristin Plante
Thanks, Kate! I refer back to this every year to be sure I am "doing it right" - 10 (1.5 pint) jars of leaf lard yielded from our two pasture raised and organically fed pigs today.
Breanna
What freezer containers do you recommend? The silicone ones?
[email protected]
Kate says "I like Reditainer Freezer containers" Here is the link https://amzn.to/4ajHk60
Julie
Did you just poor hot grease into plastic containers?? ???????
[email protected]
Nope, it's slightly cooled down. As well, well rendering tallow and lard you keep the temperature as low as possible to keep from 'cooking' the fat.(which makes it smell like the meat.)
Maria Larson
I used this recipe for my first time rendering fat and it worked great! Thanks for the tips!