Naturally sweetened marshmallows are super easy to make, and the perfect addition to your mug!

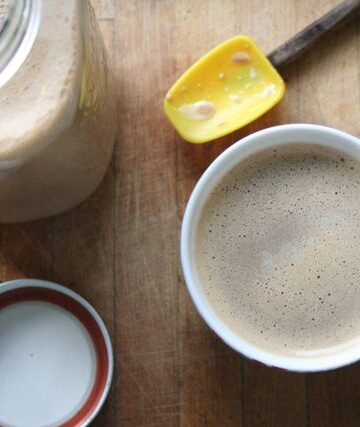
Marshmallows are really a fun treat. Kids love the texture and the entire family will love the taste. I think these are truly decadent in a mug of coffee. They melt and flavour the entire mug and it just makes me smile!
Add these to a cookie tray or serve them up on their own. I will let the kids add them to their mug of hot chocolate or I drop them in my coffee. You could probably mix up your own sort of hot toddy with marshmallows and homemade Bailey's?? Let me know if you do!
Gelatin is a pantry staple to me - I use it to make homemade elderberry gummies!
Why You Need This Recipe
- Literally just five ingredients! Which includes water!
- Many marshmallow recipes call for boiling your water and sweetener which this doesn't, speeding up the process.
- The kids can help. You could even use it for homeschool science with the gelatin.
- Get creative with your shapes of marshmallows for extra fun.
Key Ingredients

Gelatin - I aim for grass-fed as my preference. Check your local health market and see what they have. Great Lakes is one brand, but make sure you are buying gelatin and NOT collagen! If you can't get grass-fed then use Knox Unflavored.
Maple Syrup - There is great local syrup by me that I stock up on in huge jugs. Make sure you are using pure maple syrup that you love the flavour of.
Vanilla - A touch of this really rounds out the recipe! You can use homemade, of course.
How to Make Homemade Marshmallows
***See recipe card below for precise measurements and instructions.***
Step 1: Let the gelatin bloom in cool water before heating to dissolve.


Step 2: Add in the remaining ingredients and stir to combine.

Step 3: Prepare your pan by lining with parchment and then sprinkling with cornstarch. Be generous!
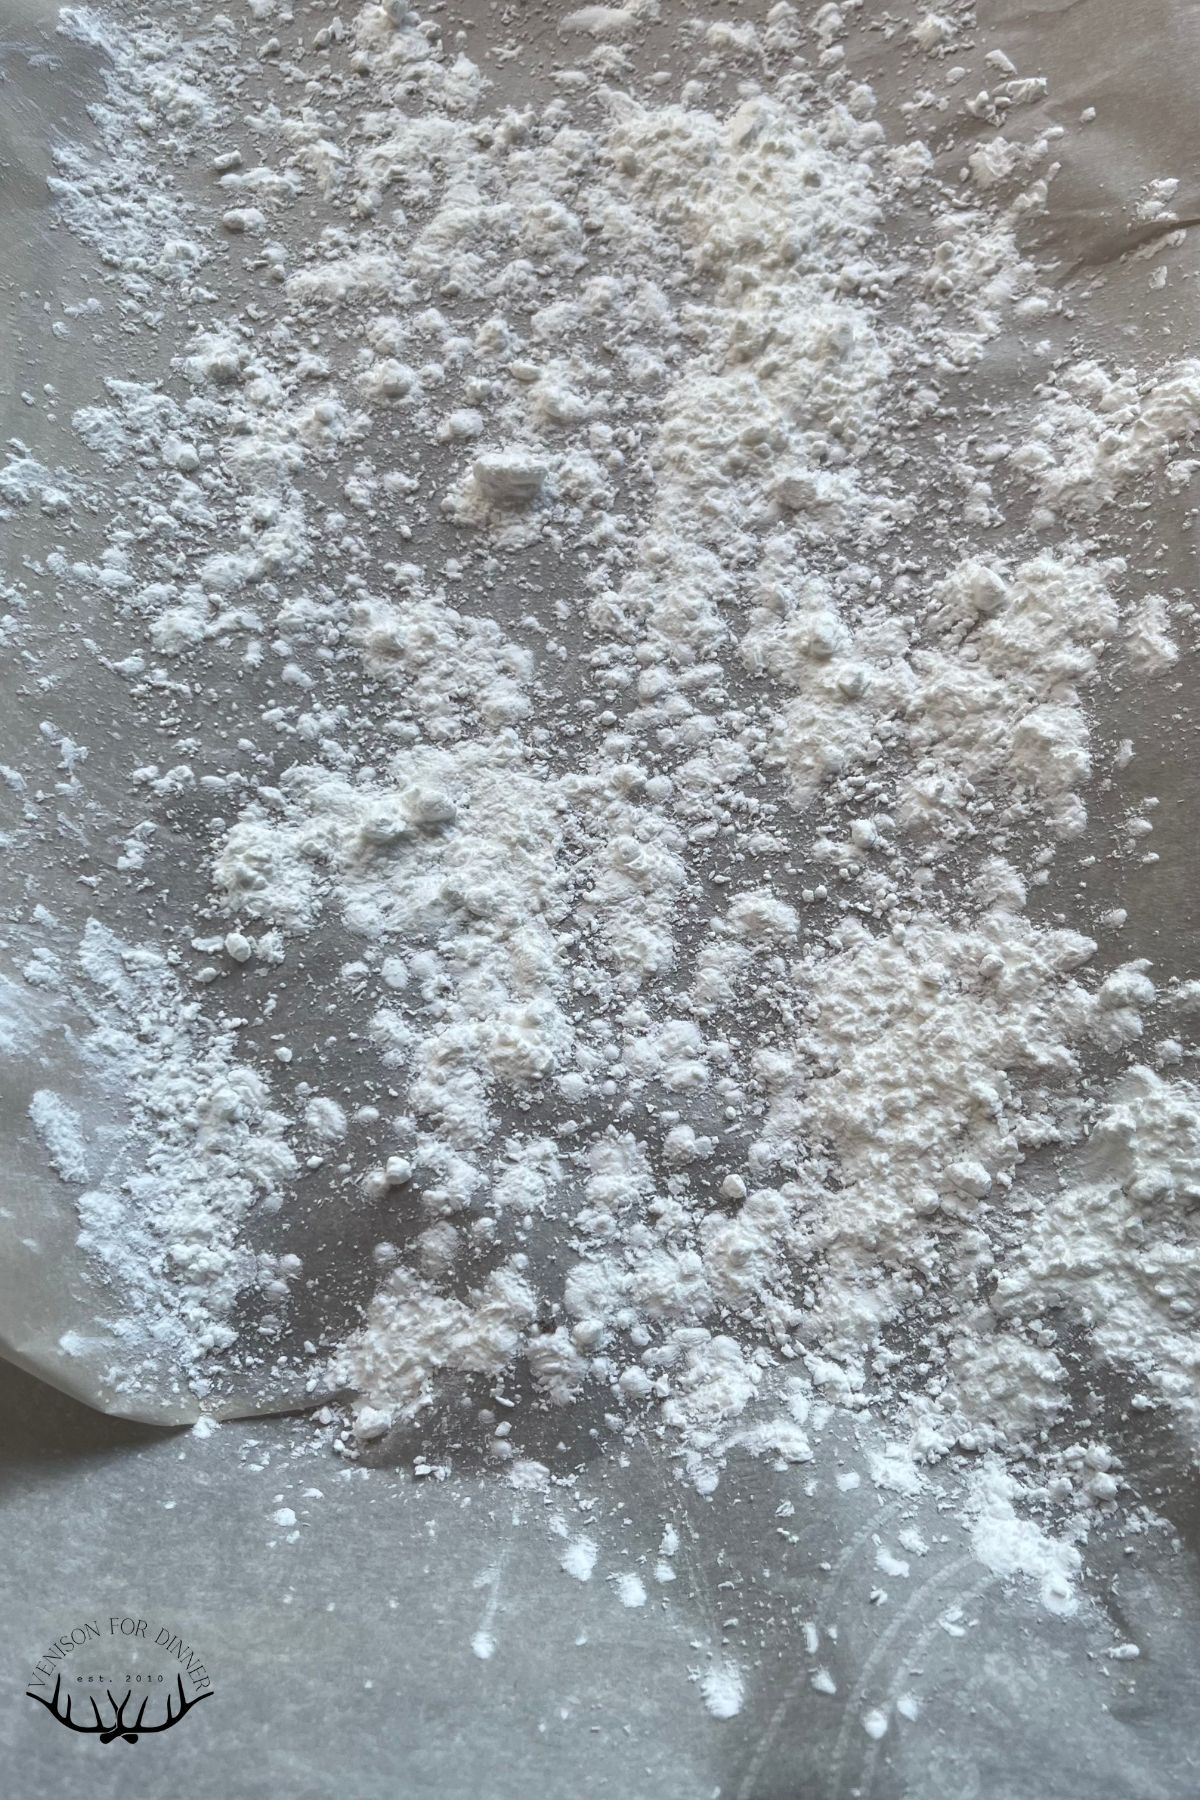
Step 4: Whip the mixture in a stand mixer or with a hand mixer until soft peak stage.
Step 5: Carefully spread into the prepared pan and sprinkle with more cornstarch. Let rest for several hours before slicing.

Tips and Tricks
- Do NOT over mix these - going past soft peak stage will give them a tough texture and they also won't want to spread into the pan.
- Always bloom gelatin before using.
- Lining the pan with parchment means you can easily lift the entire "sheet" of marshmallows out of the pan to easily cut with a knife.
- Want fun shapes? Dip cookie cutters in cornstarch before cutting out shapes. Then enjoy the scraps!
- Do be aware that marshmallows can be a choking hazards for littles, so you might want to cut them up smaller for them or only use them melted in a drink.
FAQs
"Bloom" is the term that is used to get gelatin ready to use. The easiest way is to sprinkle it over top of your cool water first. Let it rest to soften up, which you will know is done when it darkens in color. Then you can whisk it in as you heat up your water and you'll be sure to have a smooth mixture!
The "coating" is the answer! There are lots of ways to go with this. You can use cornstarch, powdered/icing sugar, unsweetened cocoa powder, or even mix some unsweetened shredded coconut in with any of those. Cornstarch is my preference because I can see what I am doing. The powdered sugar tends to soak in more so isn't as effective.
After cutting, I dust them again with cornstarch. This way the cut ends will lose a bit of the stickiness. You can leave them on a baking sheet to air dry for up to two days before storing in a closed container. This helps them not to sweat. Who wants sweaty marshmallows?

Photos by Dante from Shire by the Sea
More DIY Recipes
Hey friends, don't forget to follow me over on Instagram, cause if you like me here, I post there a LOT! I'm also on YouTube with tutorials and Facebook for all sorts of things.
If you like this recipe, I’d love if you reviewed it so others can find it easier. Sharing this recipe on Facebook or Pinterest is another way you can help us out at no cost to you. Thanks, xo Kate

Maple Syrup Marshmallows
Equipment
- Hand mixer
Ingredients
- 1 cup cold water
- 6 tablespoon grass-fed gelatin
- ¾ teaspoon salt
- 2 cups maple syrup
- 1 tablespoon vanilla extract
Instructions
- Mix cool water and gelatin in a small pot. Let sit 5 minutes, then warm until it gently simmers.
- In a stand mixer or mixing bowl add salt, syrup and vanilla. Add the water/gelatin mix and turn on low then increase to high speed. Can use a hand mixer.
- Beat until soft peaks form, which takes me about 5 minutes.
- Do not over beat or they will be ugly and won't spread into the pan well!
- Lin a 9x13 pan with parchment paper. Dust the paper liberally with cornstarch, powdered sugar, cocoa powder, or shredded coconut.
- Carefully spread the mixture into the pan.
- Dust the top with more of the same and let rest several hours before cutting.
Notes
- I like to cut, dust with more of what I did to start, and leave spread out on a
cookie sheet to air dry a bit so they don't sweat in a closed pan. They can be left
air drying up to 2 days, and then into a container and they will last a few more
days. I don't actually know how long they last because we eat them too fast! - These are decadent in coffee!!


Leave a Reply